photography

Travel: What It Means by Amanda Liew

Travel.

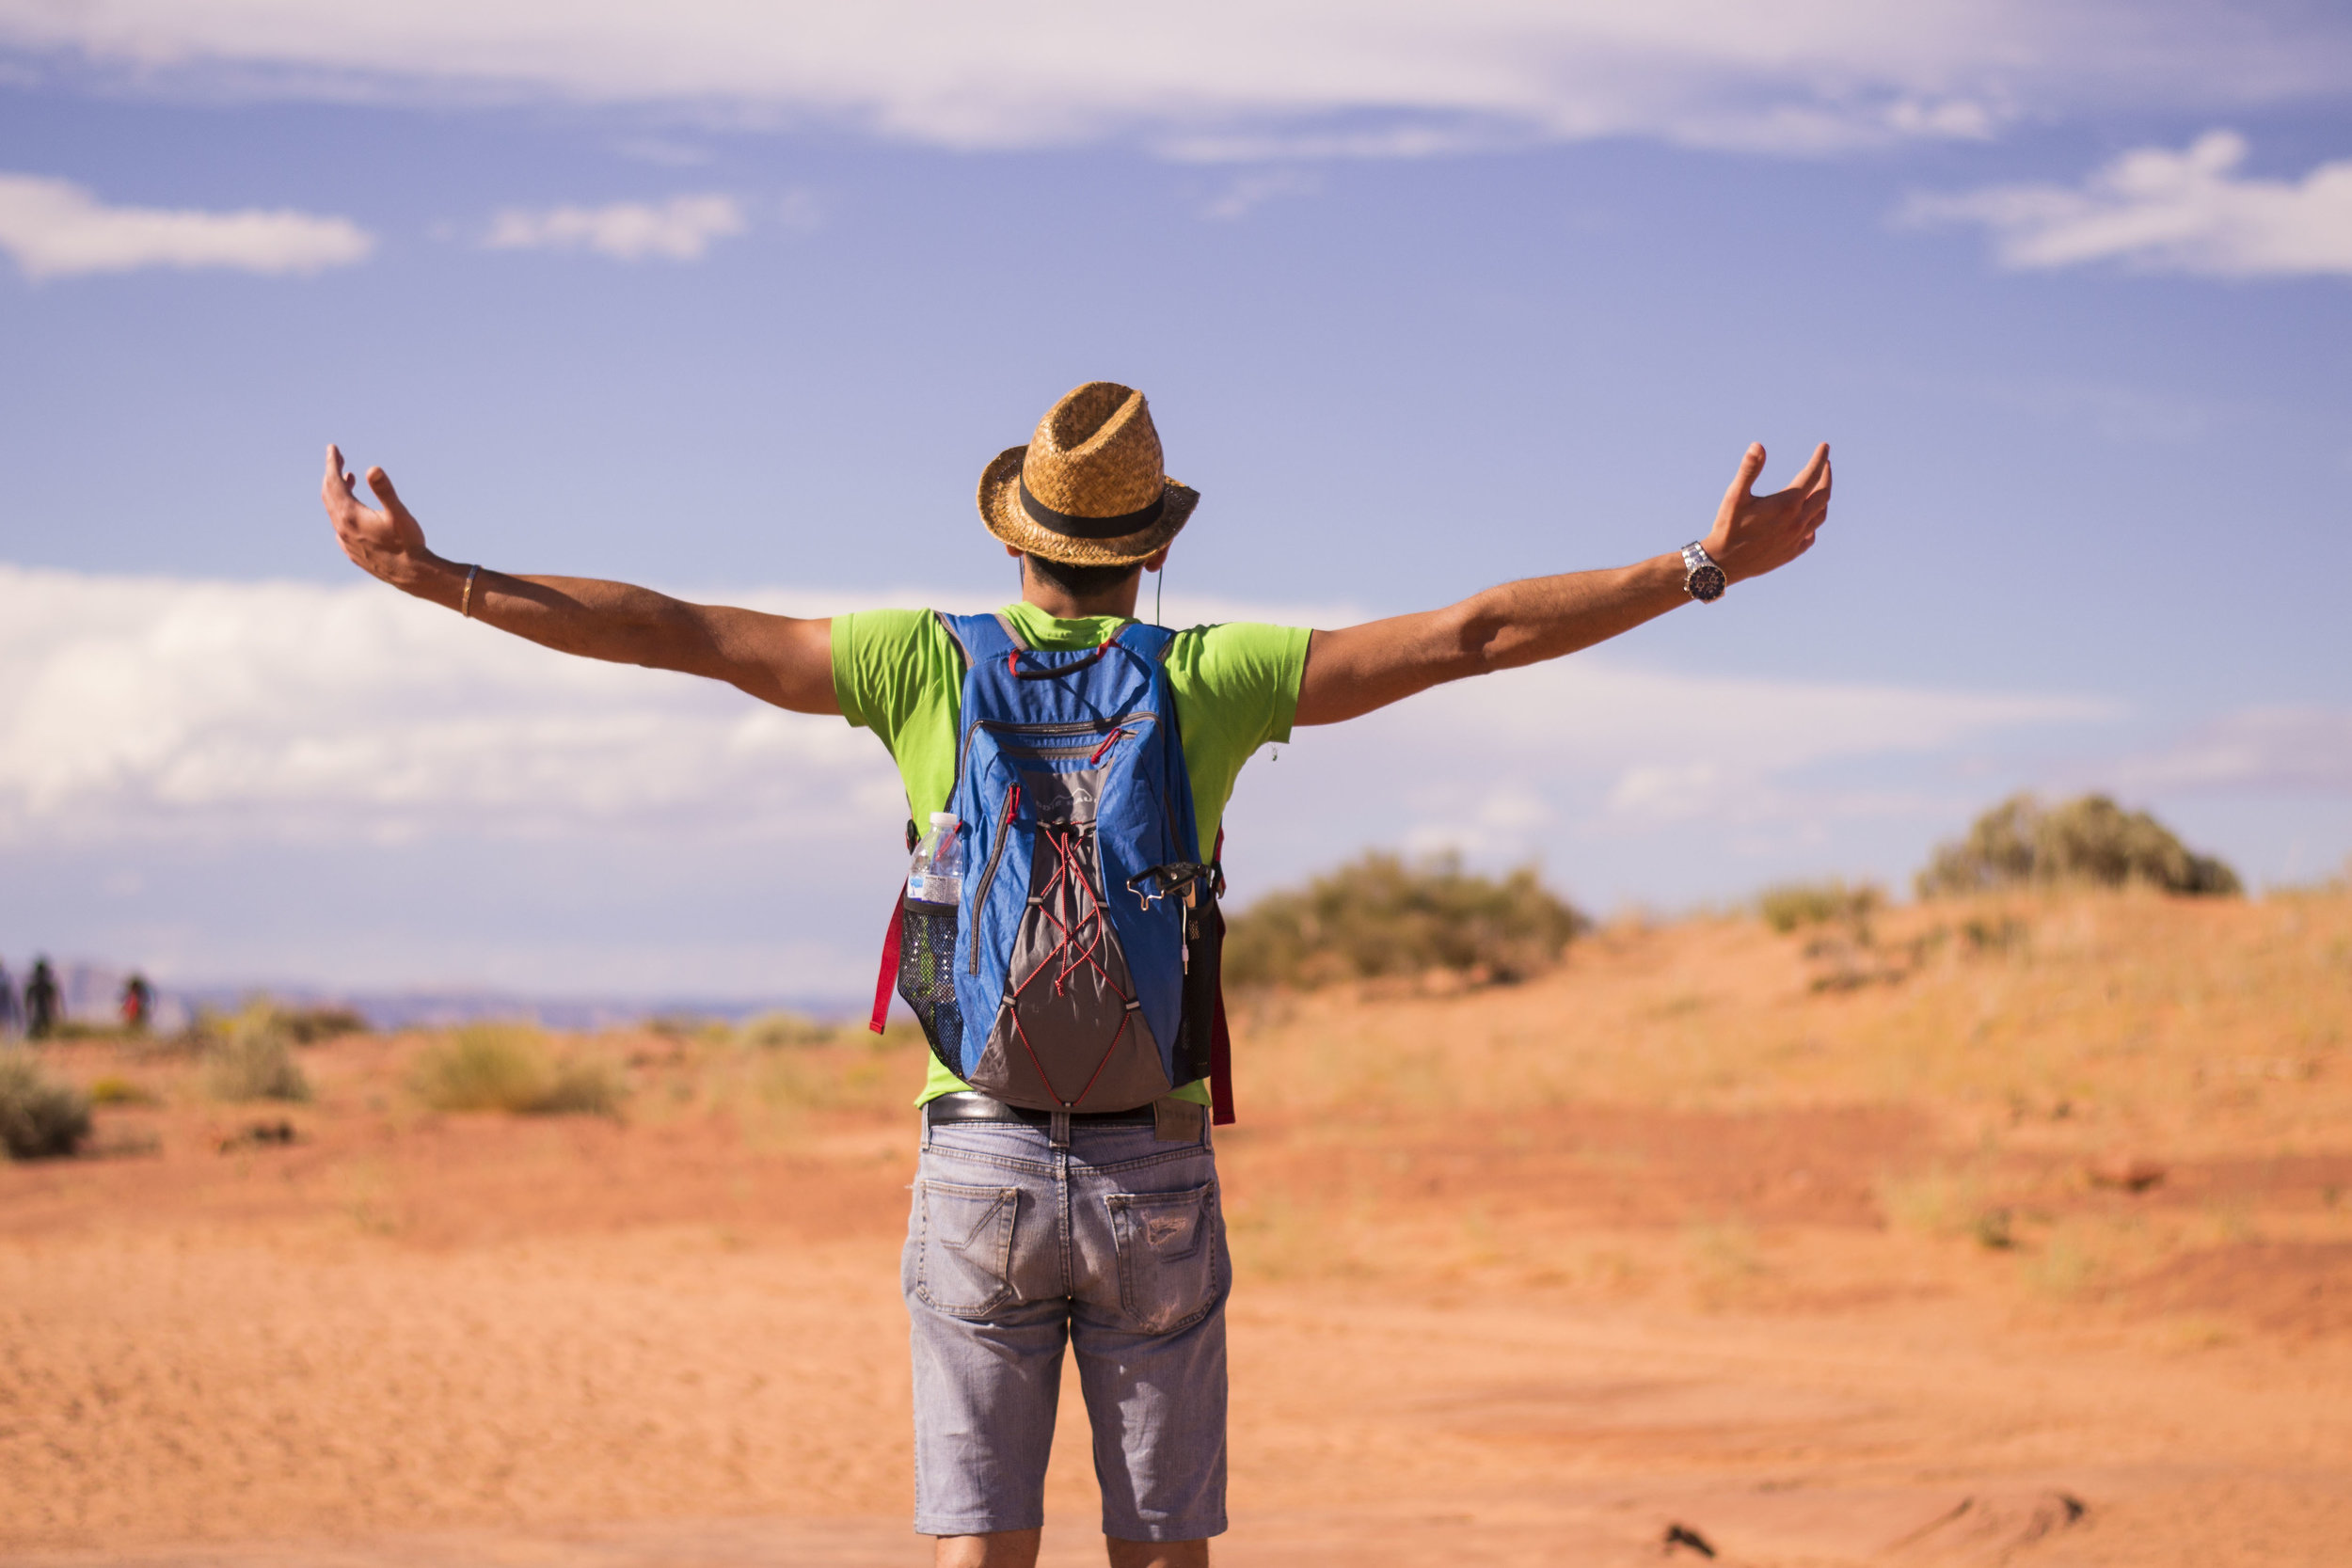
Over the past few years my travels have defined me in ways I could never expect.

I've begun to see my trips as markers along my path purely because of how much each trip has taught me -- how I changed after I studied abroad, how my perspective on solitude changed during my first real solo trip. It's taught me a different kind of self confidence, how to interact with strangers, how to be satisfied with solitude, how to be flexible, the list goes on. 

It's also taught me how to appreciate "home."

2015 was filled with Australia, Jordan, National Parks, and 17 European cities. To say the least, it was a whirlwind. When I came back, though, I made a different kind of New Years Resolution: "to grow deeper roots."

To me, that meant spending more time in New York City & deepening my roots in my faith, my relationships, my job, and my community.

It has been a beautiful year of exactly that: growing roots deep. After 8 months of limiting myself to a few domestic trips here and there, in 3 short days I embark on my first international trip of the year: Iceland. I feel that familiar sense of excitement tingling in my stomach, my wanderlust ready to burst out, my eyes already imagining incredible photographic shots, and more.

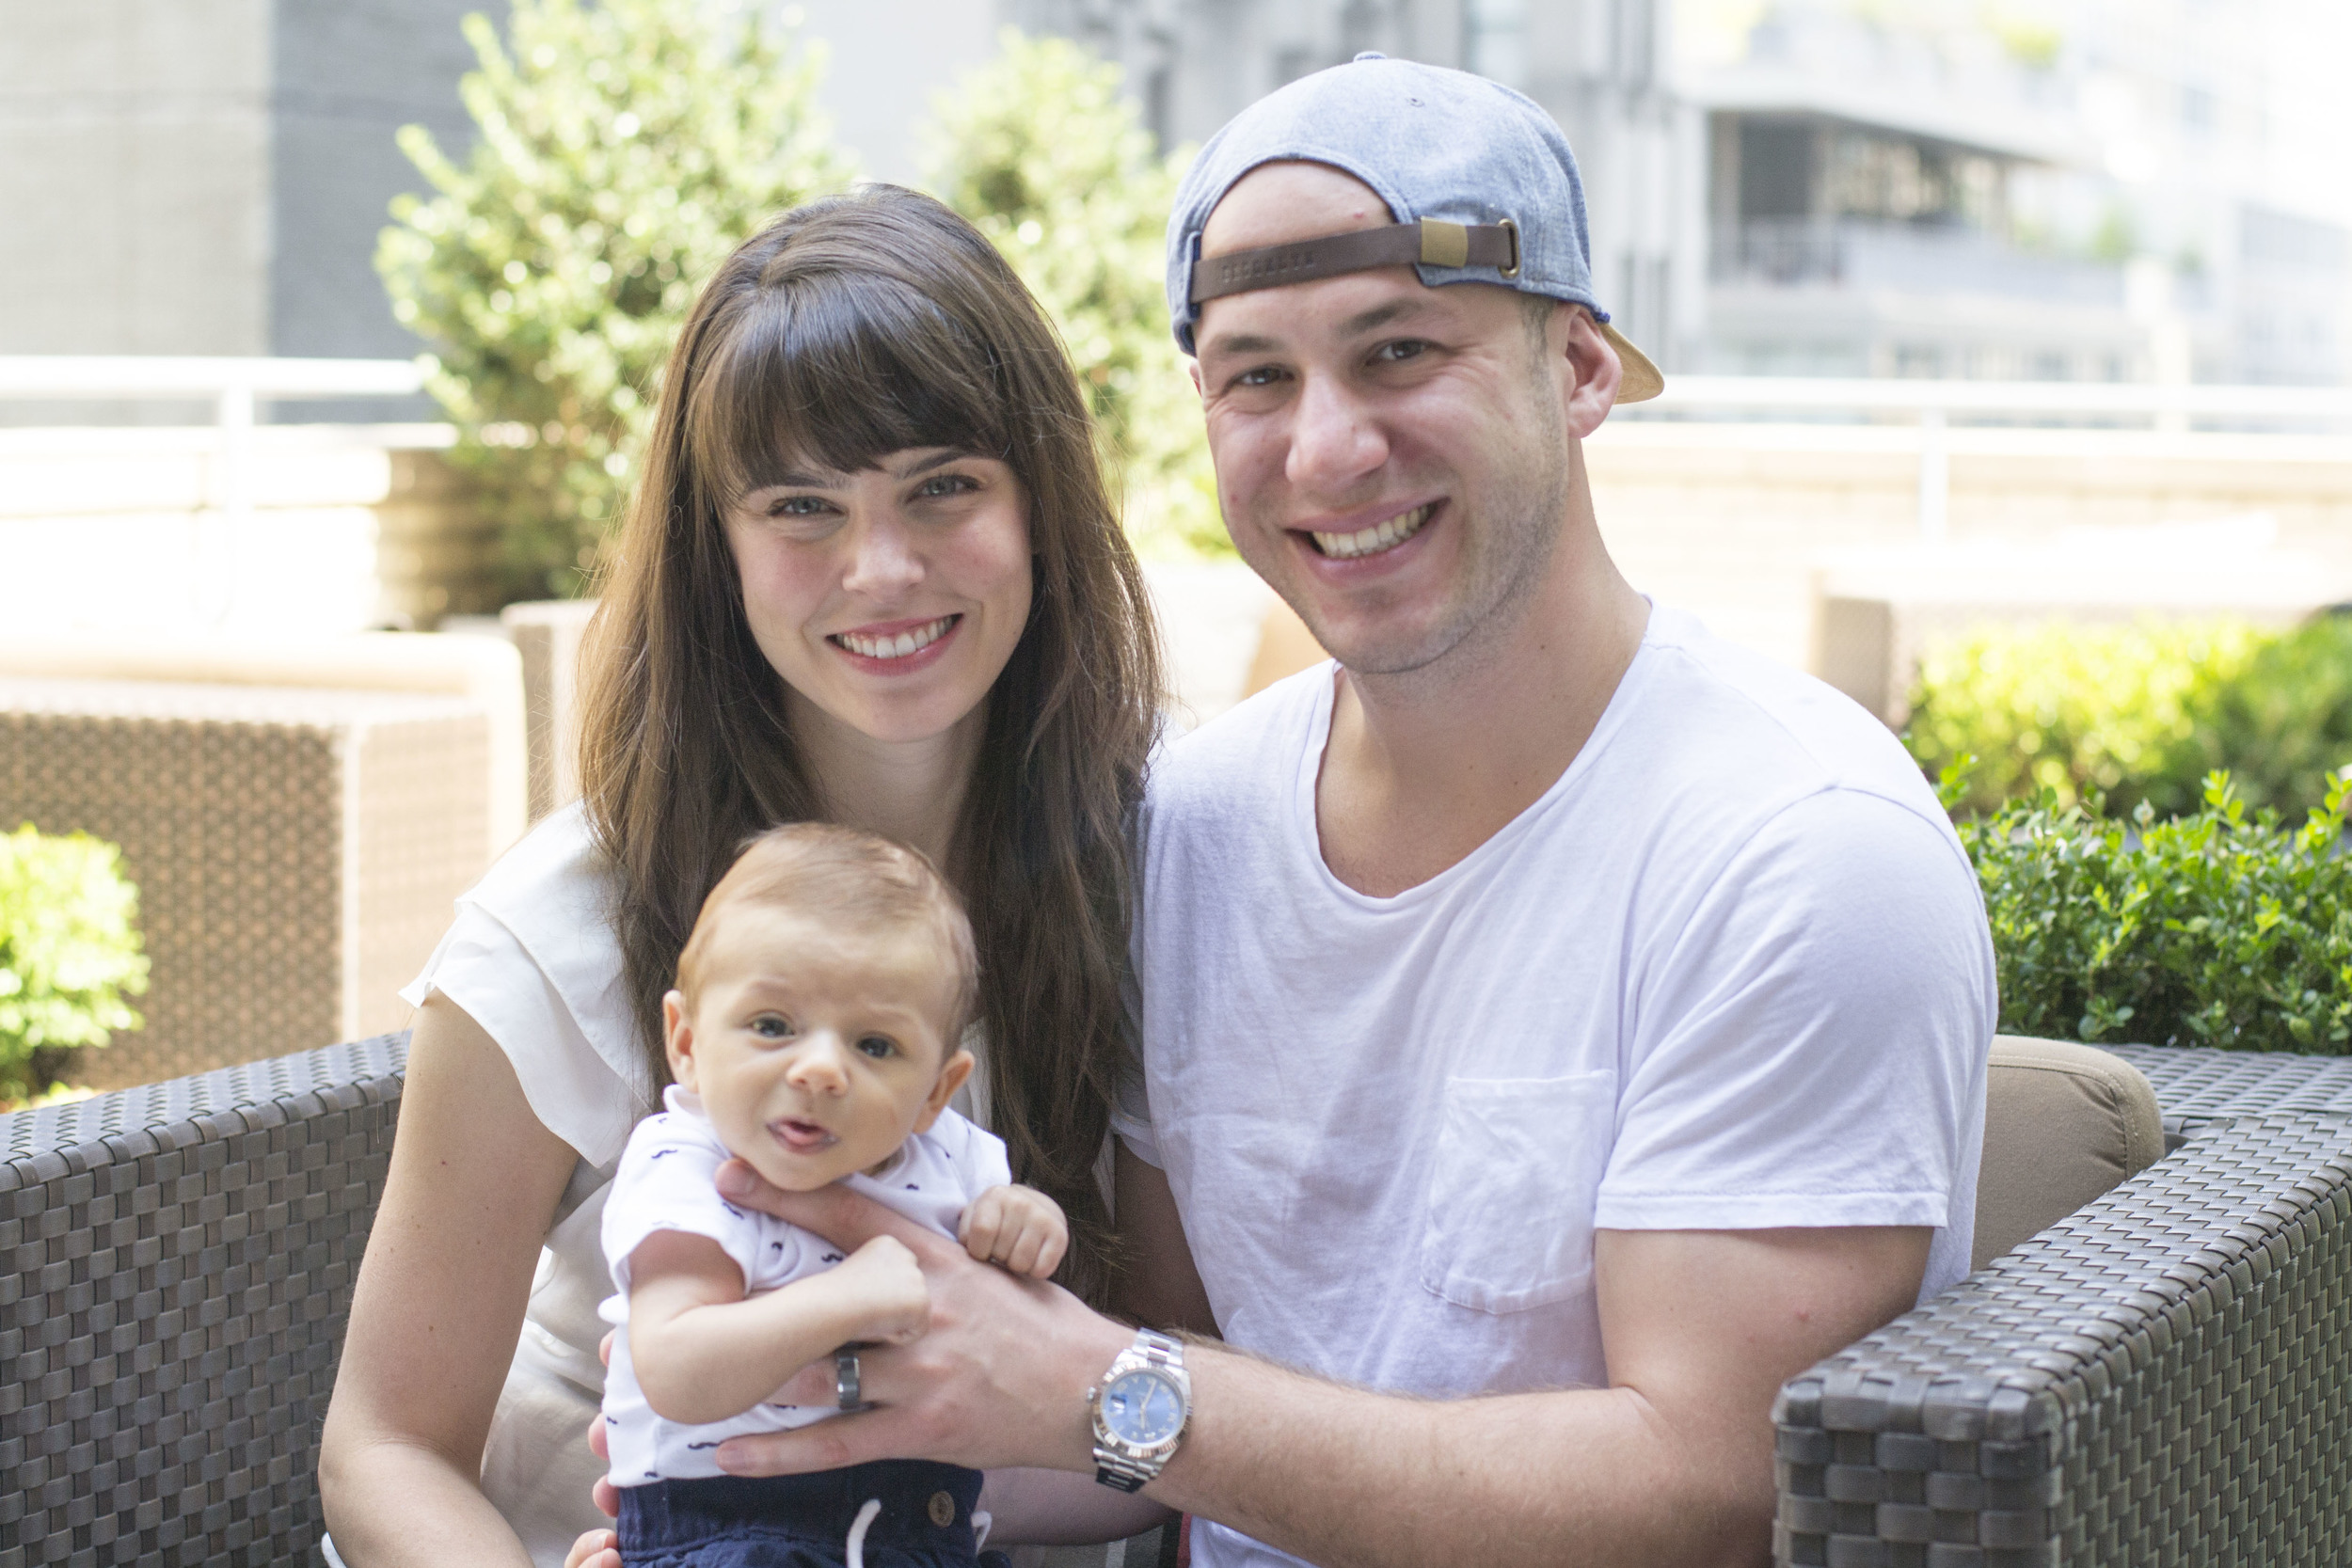
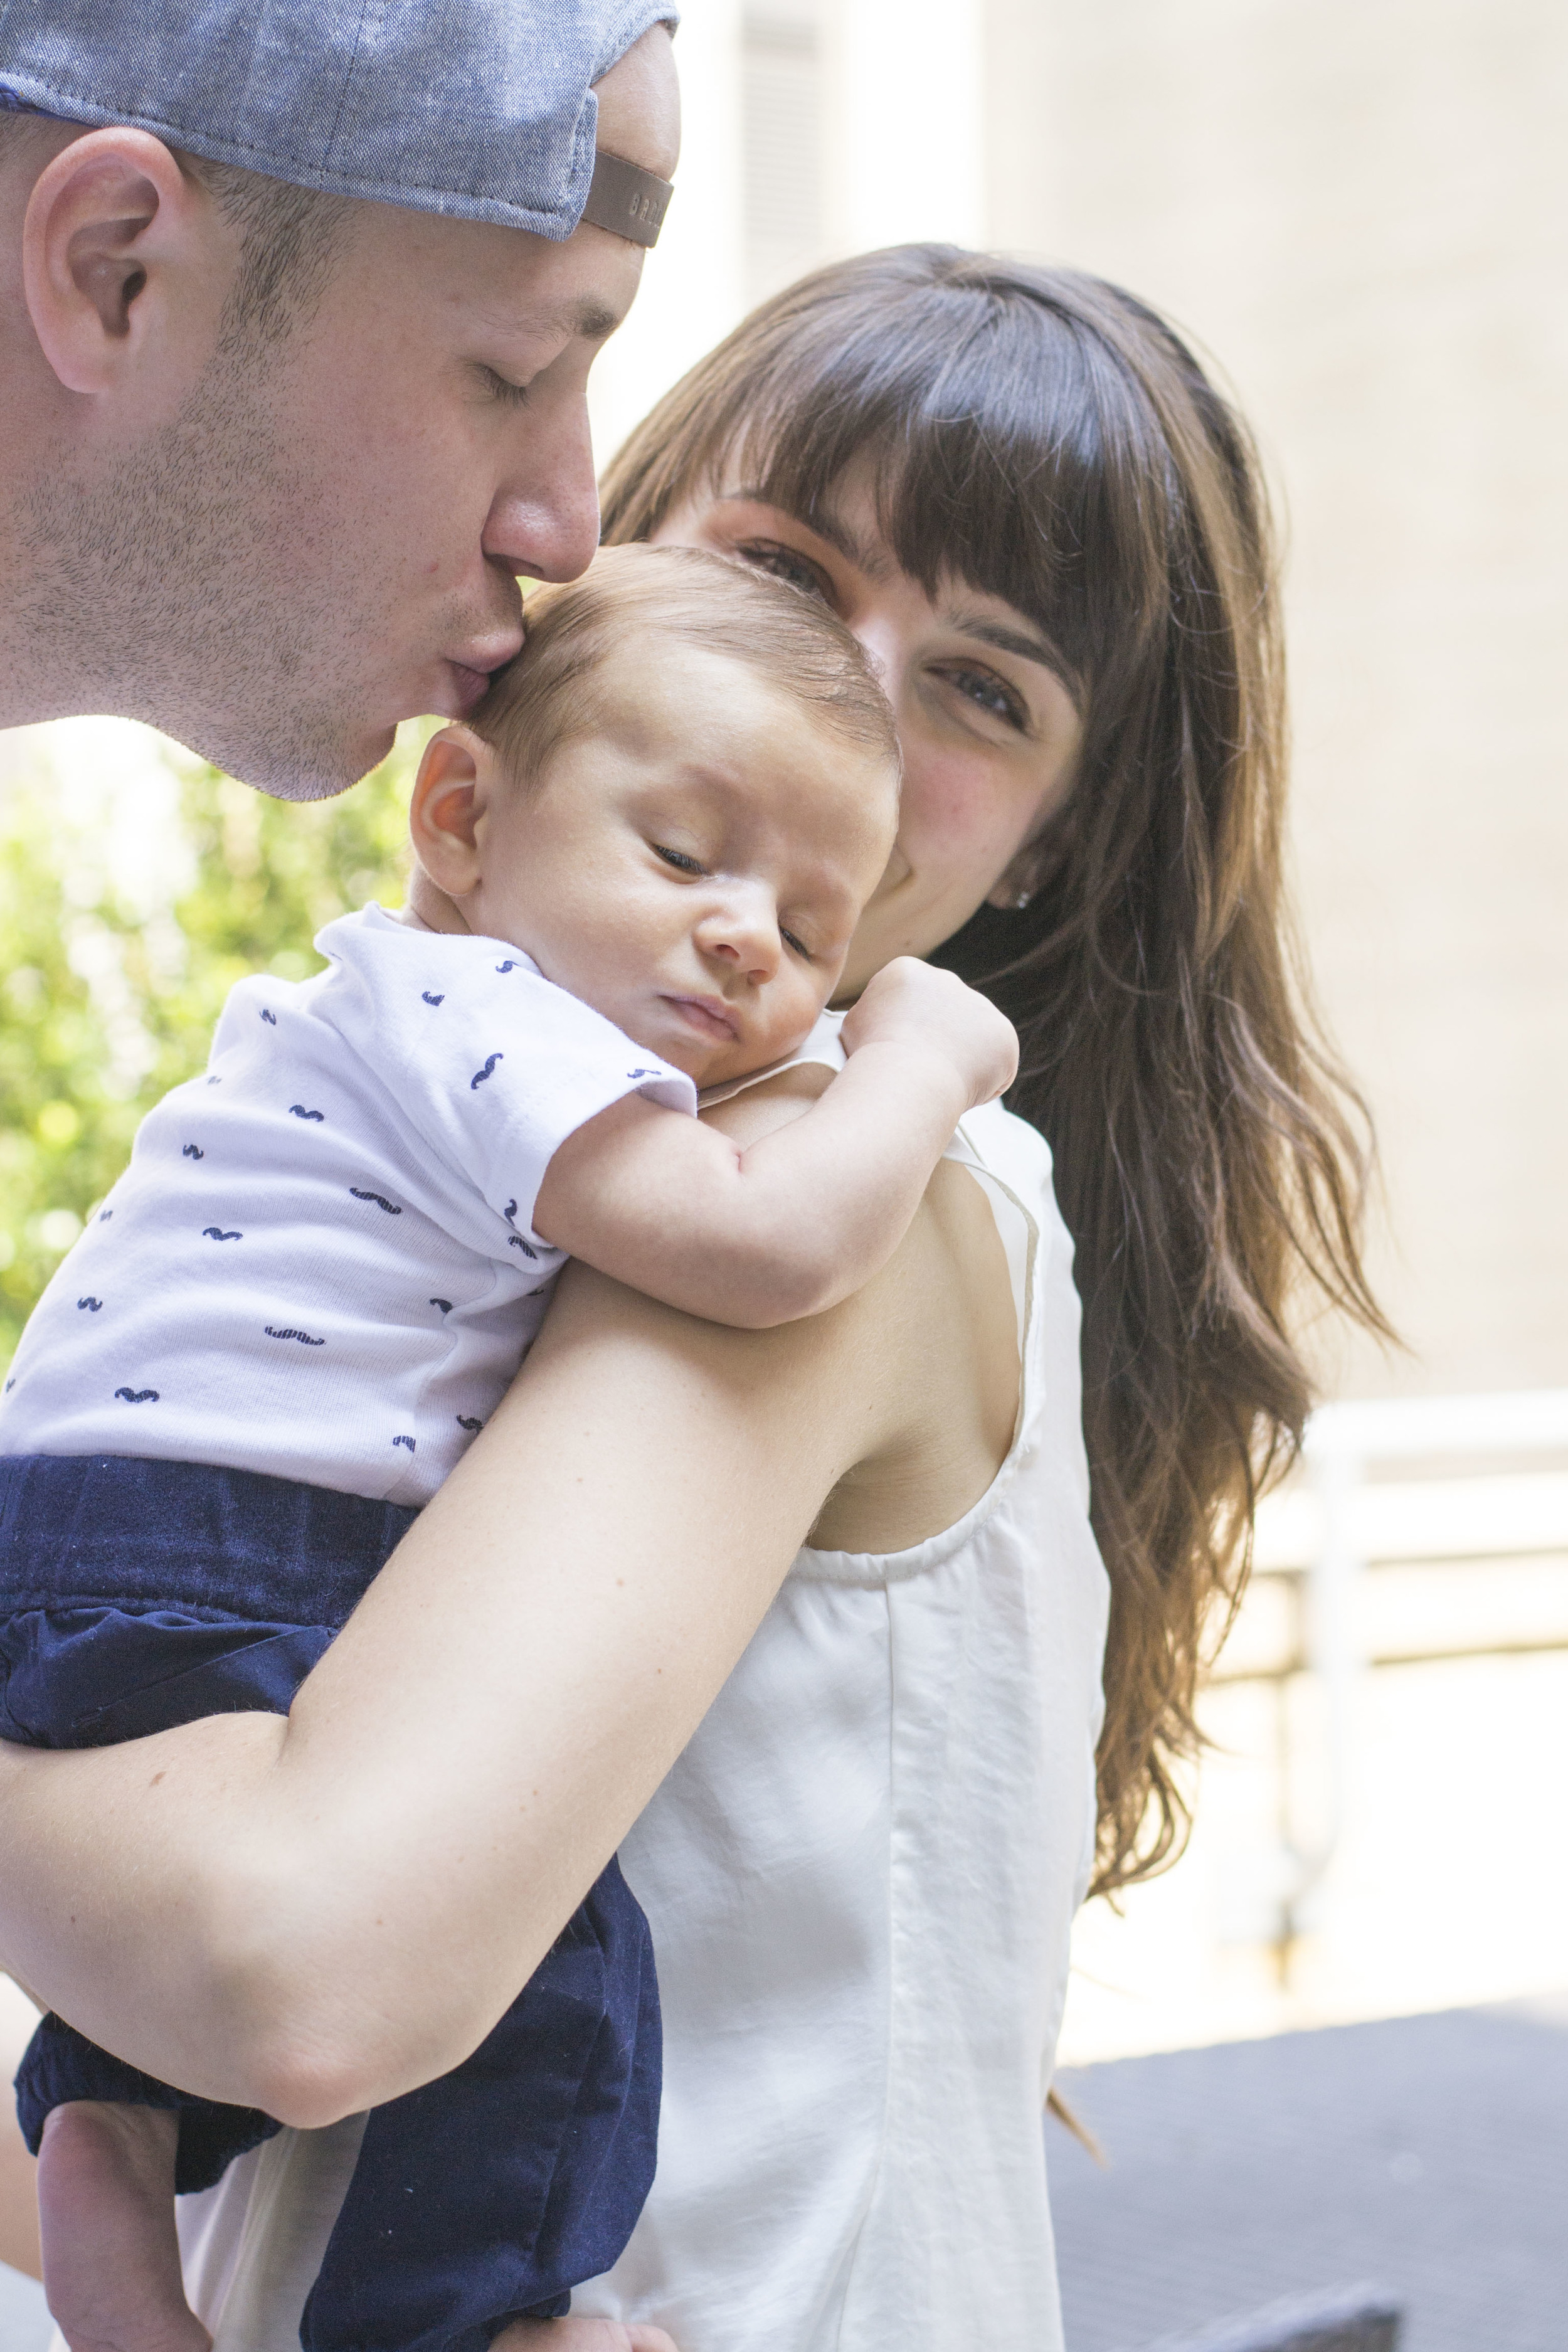
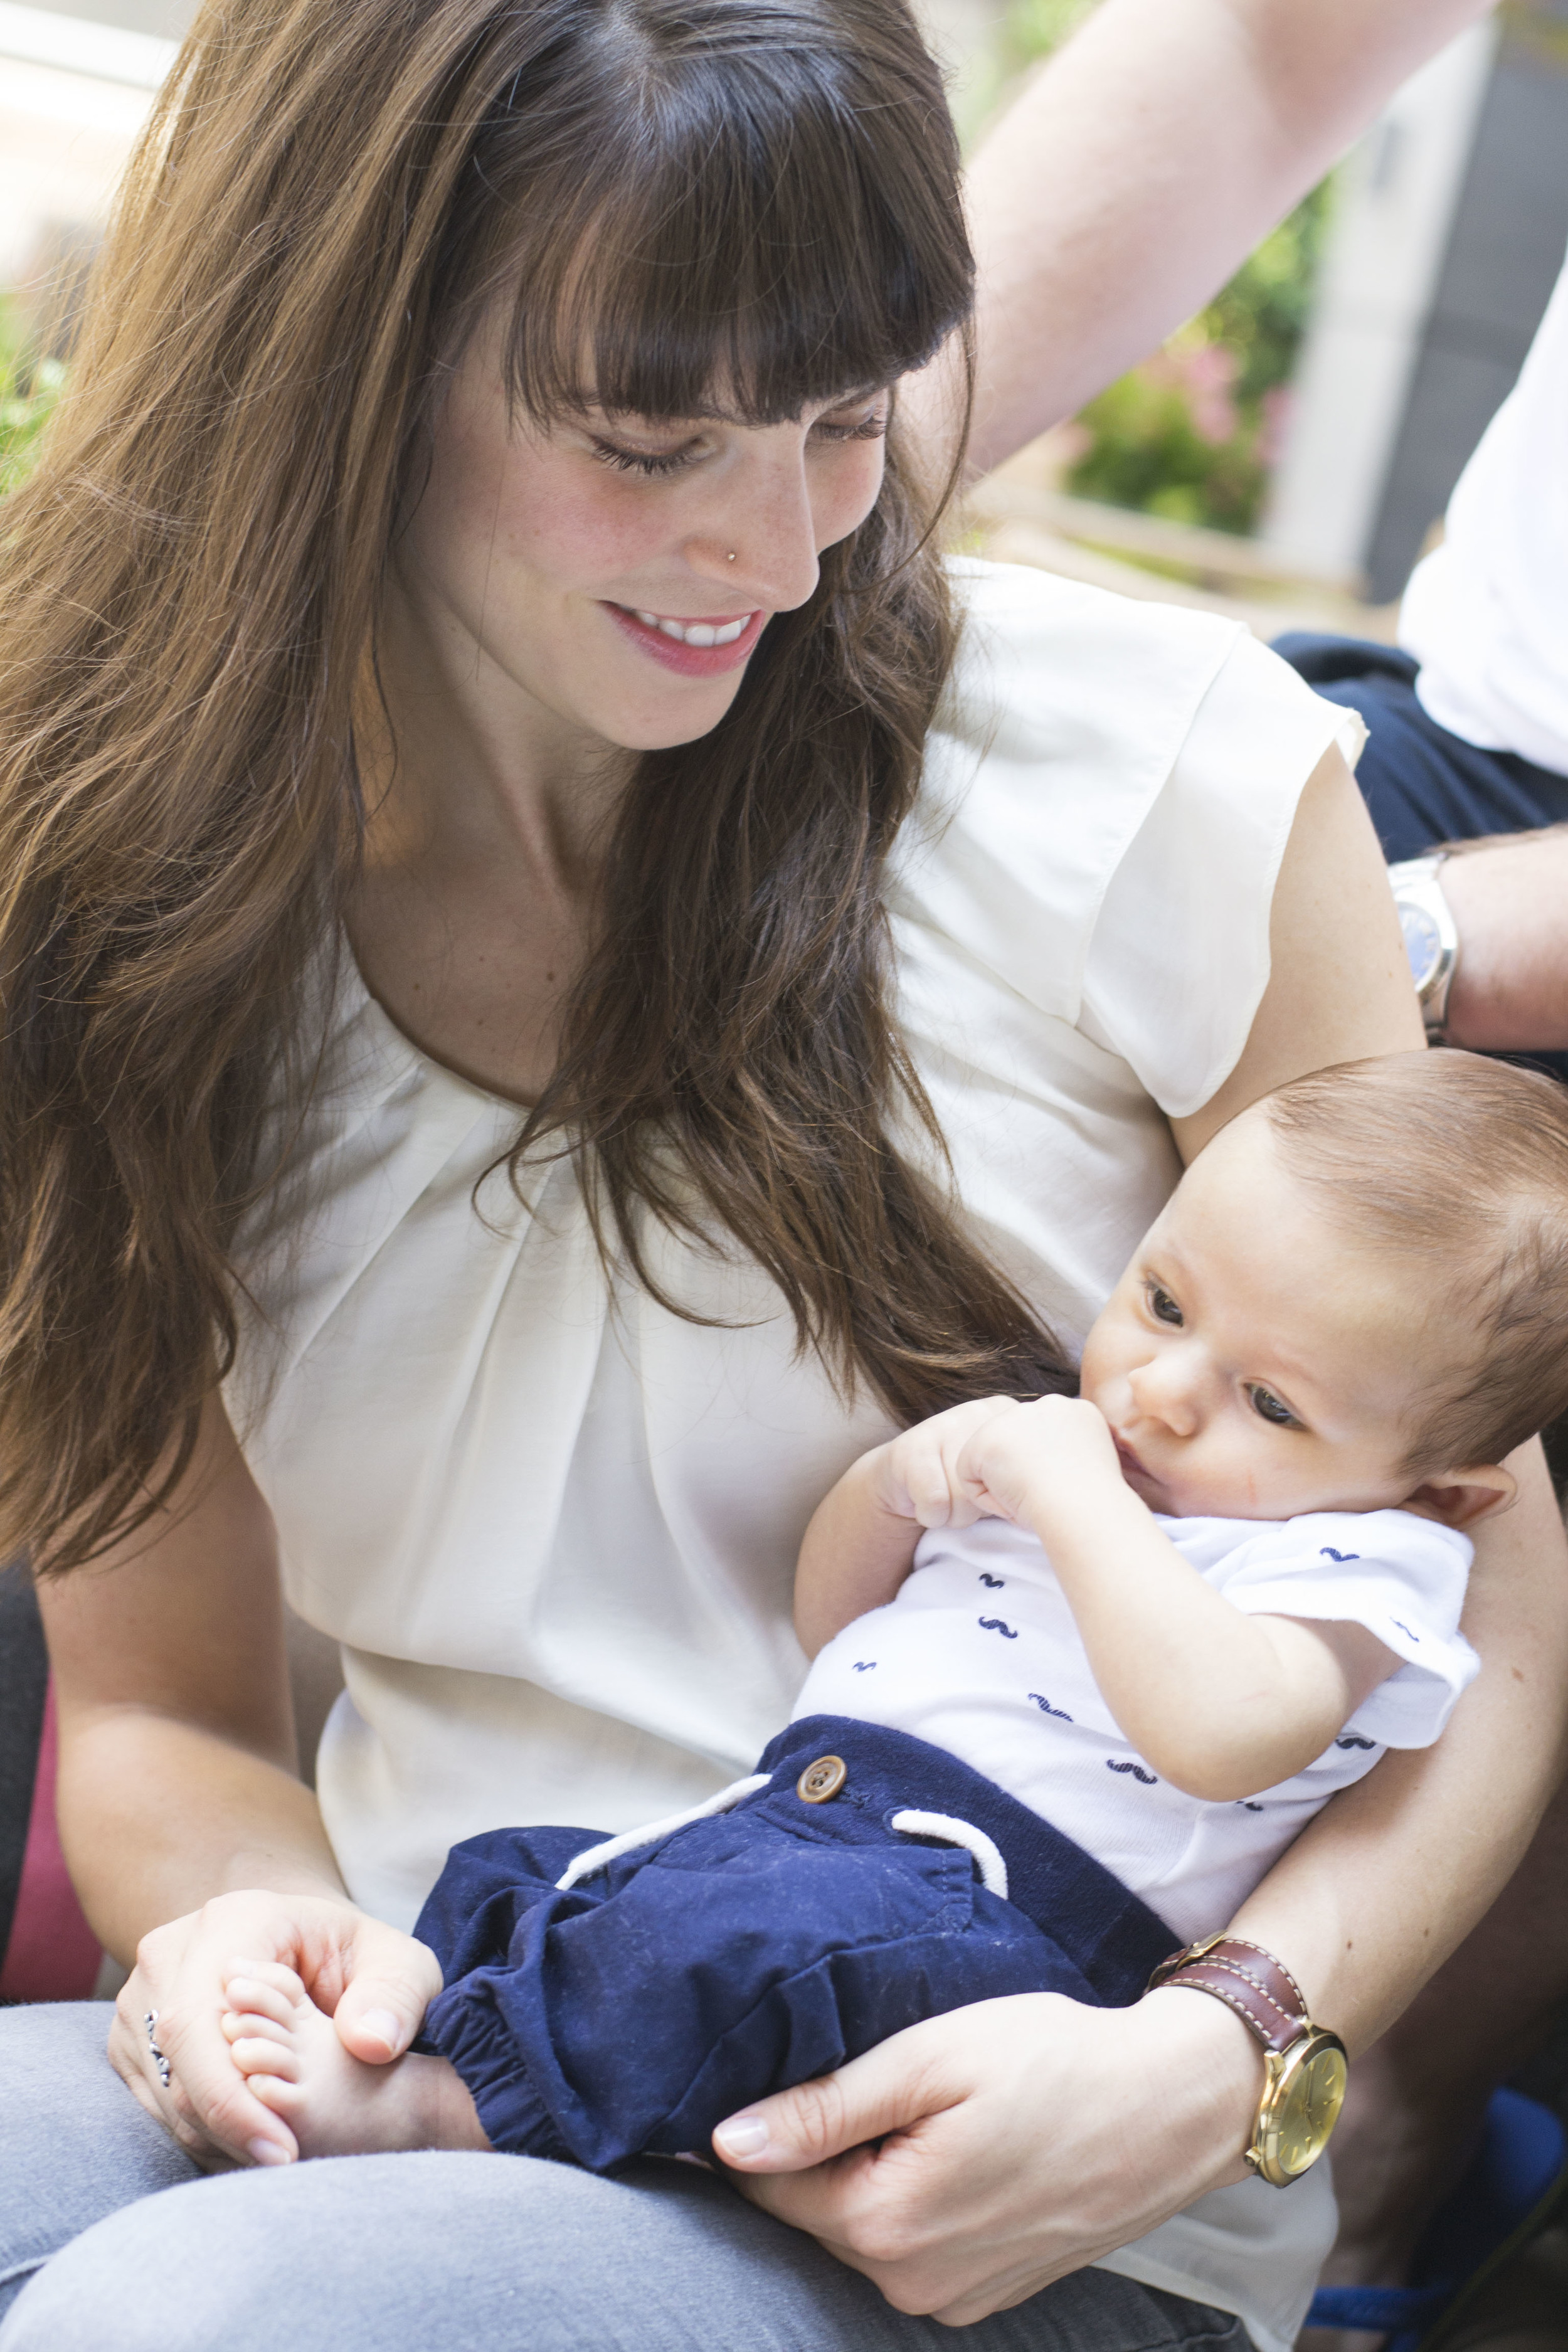
To add to the excitement even more, this trip is the first time I get to share my love for travel with my wonderful boyfriend, Caleb. We joked at the beginning of our relationship that there were different "versions" of ourselves - Party Caleb, Outdoorsy Caleb, California Amanda, Get Down to Business Amanda, and more. A beautiful part of our relationship has been discovering new sides of each other, and finally, finally...Travel Amanda gets to step into her element. And with that, I get to share an extremely important aspect of my life.

Travel on.

ABCD Trip Part 2: Antelope Canyon by Amanda Liew

It's embarrassing, but 2016 has flown by so fast, that I am only now getting to editing my ABCD Trip from...September 2015. Corey, Benedetto, and Dana have been bugging me for nearly a year to see my photos, but between my extra travels through Europe, starting a new job, entering a new relationship, and more, it's been hard to find the time to sit down and edit the thousands (literally) of photos that I have on backlog.

 Nevertheless, I am absolutely determined to blog all aspects of my travelventures before my memory fades, if only for myself & my own pleasure.

After leaving the Grand Canyon, the four of us drove from the Grand Canyon to Antelope Canyon. While the drive straight through was supposed to be 2 hours and 40 minutes, one of our big regrets was not leaving ourselves enough time to see the Grand Canyon from a different view along the drive. There were so many points that we wanted to stop & just couldn’t because we were trying to make our first tour at 10am in Upper Antelope Canyon. We also naively thought we could just “pop in” to Horseshoe Bend to take a quick look & did not factor in a mini hike to a proper viewpoint.  

Nevertheless, this was one of the most incredible parts of our trip! Based off of our research, you have to do a guided tour for both the Upper & Lower portions of the canyon (details below). We did Upper at 9am in the morning, went to Page for lunch, did Lower at 1:30pm and then caught the sunset at Horseshoe Bend around 5pm.  

Without a doubt, Antelope Canyon is every photographer’s dream. The way the canyon changes throughout the day, the way the rocks can appear blue, purple, red, or pink just with light and shadows, the way that the entire canyon was carved out of wind and water…it’s all just incredible. This was by far my most photographic-centric part of the trip, especially since the “hikes” themselves were not strenuous at all for our group. I loved how abstract the photos came out & how you can't always tell if you're looking up or through the canyon. The way the light beams would hit the ground below or bounce through certain crevices only made the canyon all the more magical.

If you’re planning your own trip:

Tours:

  • There are a lot of tours that go through Upper & Lower Antelope Canyon. I picked the following based off of some other reviews, but to be honest there is only one “route” through the canyons and therefore I would assume the tours can’t differ too much.
  • Upper Antelope Canyon: Antelope Canyon Navajo Tours, $40/person*
  • Lower Antelope Canyon: Ken’s Tours, $20/person*
  • Navajo Grounds Entrance Fee: $8/person*
  • *As of September 2015 

Hotels:

  • Best Western View of Lake Powell Hotel - a pretty decent hotel! There was a great pool and jacuzzi with a view. Nothing out of this world, but it gets the job done, was decently sized, and clean.

Food:

  • Big John’s Texas BBQ (https://www.yelp.com/biz/big-johns-texas-bbq-page) - surprising to find a Texas BBQ spot in the middle of Page, but this was legit. We ordered a huge fill of ribs, brisket, sides, and ate to our heart’s content. Incredibly friendly waitstaff too! Definitely the perfect meal in between our tours.

DSLR Photography: 

  • If you are looking to get some really spectacular shots, keep in mind that the regular tours move pretty quickly through the canyons & you won’t have an opportunity to set up a tripod. Admittedly, I skirted the rules a bit by lingering behind as much as possible on our tours to get certain shots with long exposures (sans tripod), but it was very rushed.
  • I noticed that some of the other companies have Photography Tours which cost much more, but unfortunately that would have meant going without my 3 friends which wasn’t really an option.
  • Given limits on shutter speed & wanting to use a pretty large depth of field, you’ll certainly need a high ISO. I could get away with shooting at ISO 3200, f/4.0, 1/25 for some of my handheld shots, but other times would have to rely on steadying my camera against a rock of some sort.


Tiny Person Photoshoot: Baby Weston by Amanda Liew

A few months ago, I brought my camera along for fun to the joint baby shower for Amy & Renee. Fast forward to late August & imagine just how ecstatic I was when Amy asked me to take photos of the newest addition to her family: Baby Weston! One of my goals for this year is to branch out in terms of subjects, and I just couldn’t pass up the opportunity to photograph such a cute little nugget! A tiny person photoshoot - what an adventure, right? Because Amy didn’t have a specific plan or style in mind already, I originally planned to capture photographs that were gentle, intimate, and peaceful. Hilariously, Baby Weston had a different plan in mind. I certainly learned a lot of pointers during the shoot, that’s for sure. A few nuggets of wisdom on photographing the nuggets themselves:

  • Because of babies’ extreme short-sightedness (only a few feet at this point!), it required quite a bit of extra maneuvering and positioning to try and capture his gaze. This meant lots of squatting, jingling things, and shooting nonstop.
  • Many babies find running faucets extremely soothing which isn’t too far fetched, but it was pretty amusing to watch Weston go from crying to “in the zone” the minute we leaned him over the sink. It made me wish I had a waterfall easy access all the time for when I'm stressed (how nice would that be..)
  • Cuddly and textured blankets are your best friend. It was so easy to spread one out on the floor & still have it large enough to capture straight down shots & angled depth of fields without catching the edge! You don't get this luxury with "big person" photoshoots, so take advantage of it in this instance.
  • Keep the camera on the entire time. I was able to capture so many tender moments between the family just while they were arranging themselves, comforting Weston, or changing his outfit. Some of the photos of Weston clinging to Amy’s shoulder are so much more precious than anything we could have pre-posed.

One thing that I definitely want to improve on is shooting in low light settings. Even with a f/3.2, I had to bump up the ISO quite a bit & the graininess definitely comes across. As I continue to develop as a photographer, I'm starting to consider different equipment options (reflective surface probably would have come in handy here).

Aside from the photos themselves, this photoshoot was the 2nd time that I tried out my new donation-in-liew-of-payment method (get the pun..get it..?). A few months ago I first tested this out by asking Sarah Jane to donate to Krista’s mission trip, and similarly I asked Amy to donate to our church’s new women’s ministry which I strongly believe in. It’s continued to be a win-win-win for all involved: beautiful photos for the “client” // an implied valuation attached to my time & effort that doesn’t commoditize my art // an extra donation to a worthy cause! Beyond that, it’s been wonderful to connect my clients with those in need of the donations, thus helping to form a stronger connection within our community. If anybody else has unique payment systems, I would love to hear them!

30 Snapshots: Kristin & Johnny's Wedding by Amanda Liew

Over the 4th of July weekend, I had the beautiful opportunity of being a "witness" in Johnny & Kristin's wedding. Throughout the festivities in New York, Kristin asked me if I could take some snapshots behind the scenes - candids to capture the fun spirit, spontaneous moments, and beautiful friendships that were there to celebrate this union. While the professional photography was done by the fantastic duo that is With Love & Embers (check out their engagement session of K&J here), I had so much fun riling up the other witnesses and family members to relax, have fun, and get weird. 

Question for all you photographers out there - what is your best method for digitizing film photography? I've tried taking photographs of the photographs with my DSLR before, but found that cumbersome. This time around, I tried using my HP F4400 scanner. The resolution of the Fujifilm itself is relatively low, but it almost seems that the scanner is making it worse. I welcome any tips or advice!