amanda s liew

[1Month2Wander] Stop 6: A Wintery Mix of Coast and Forest in Bergen by Amanda Liew

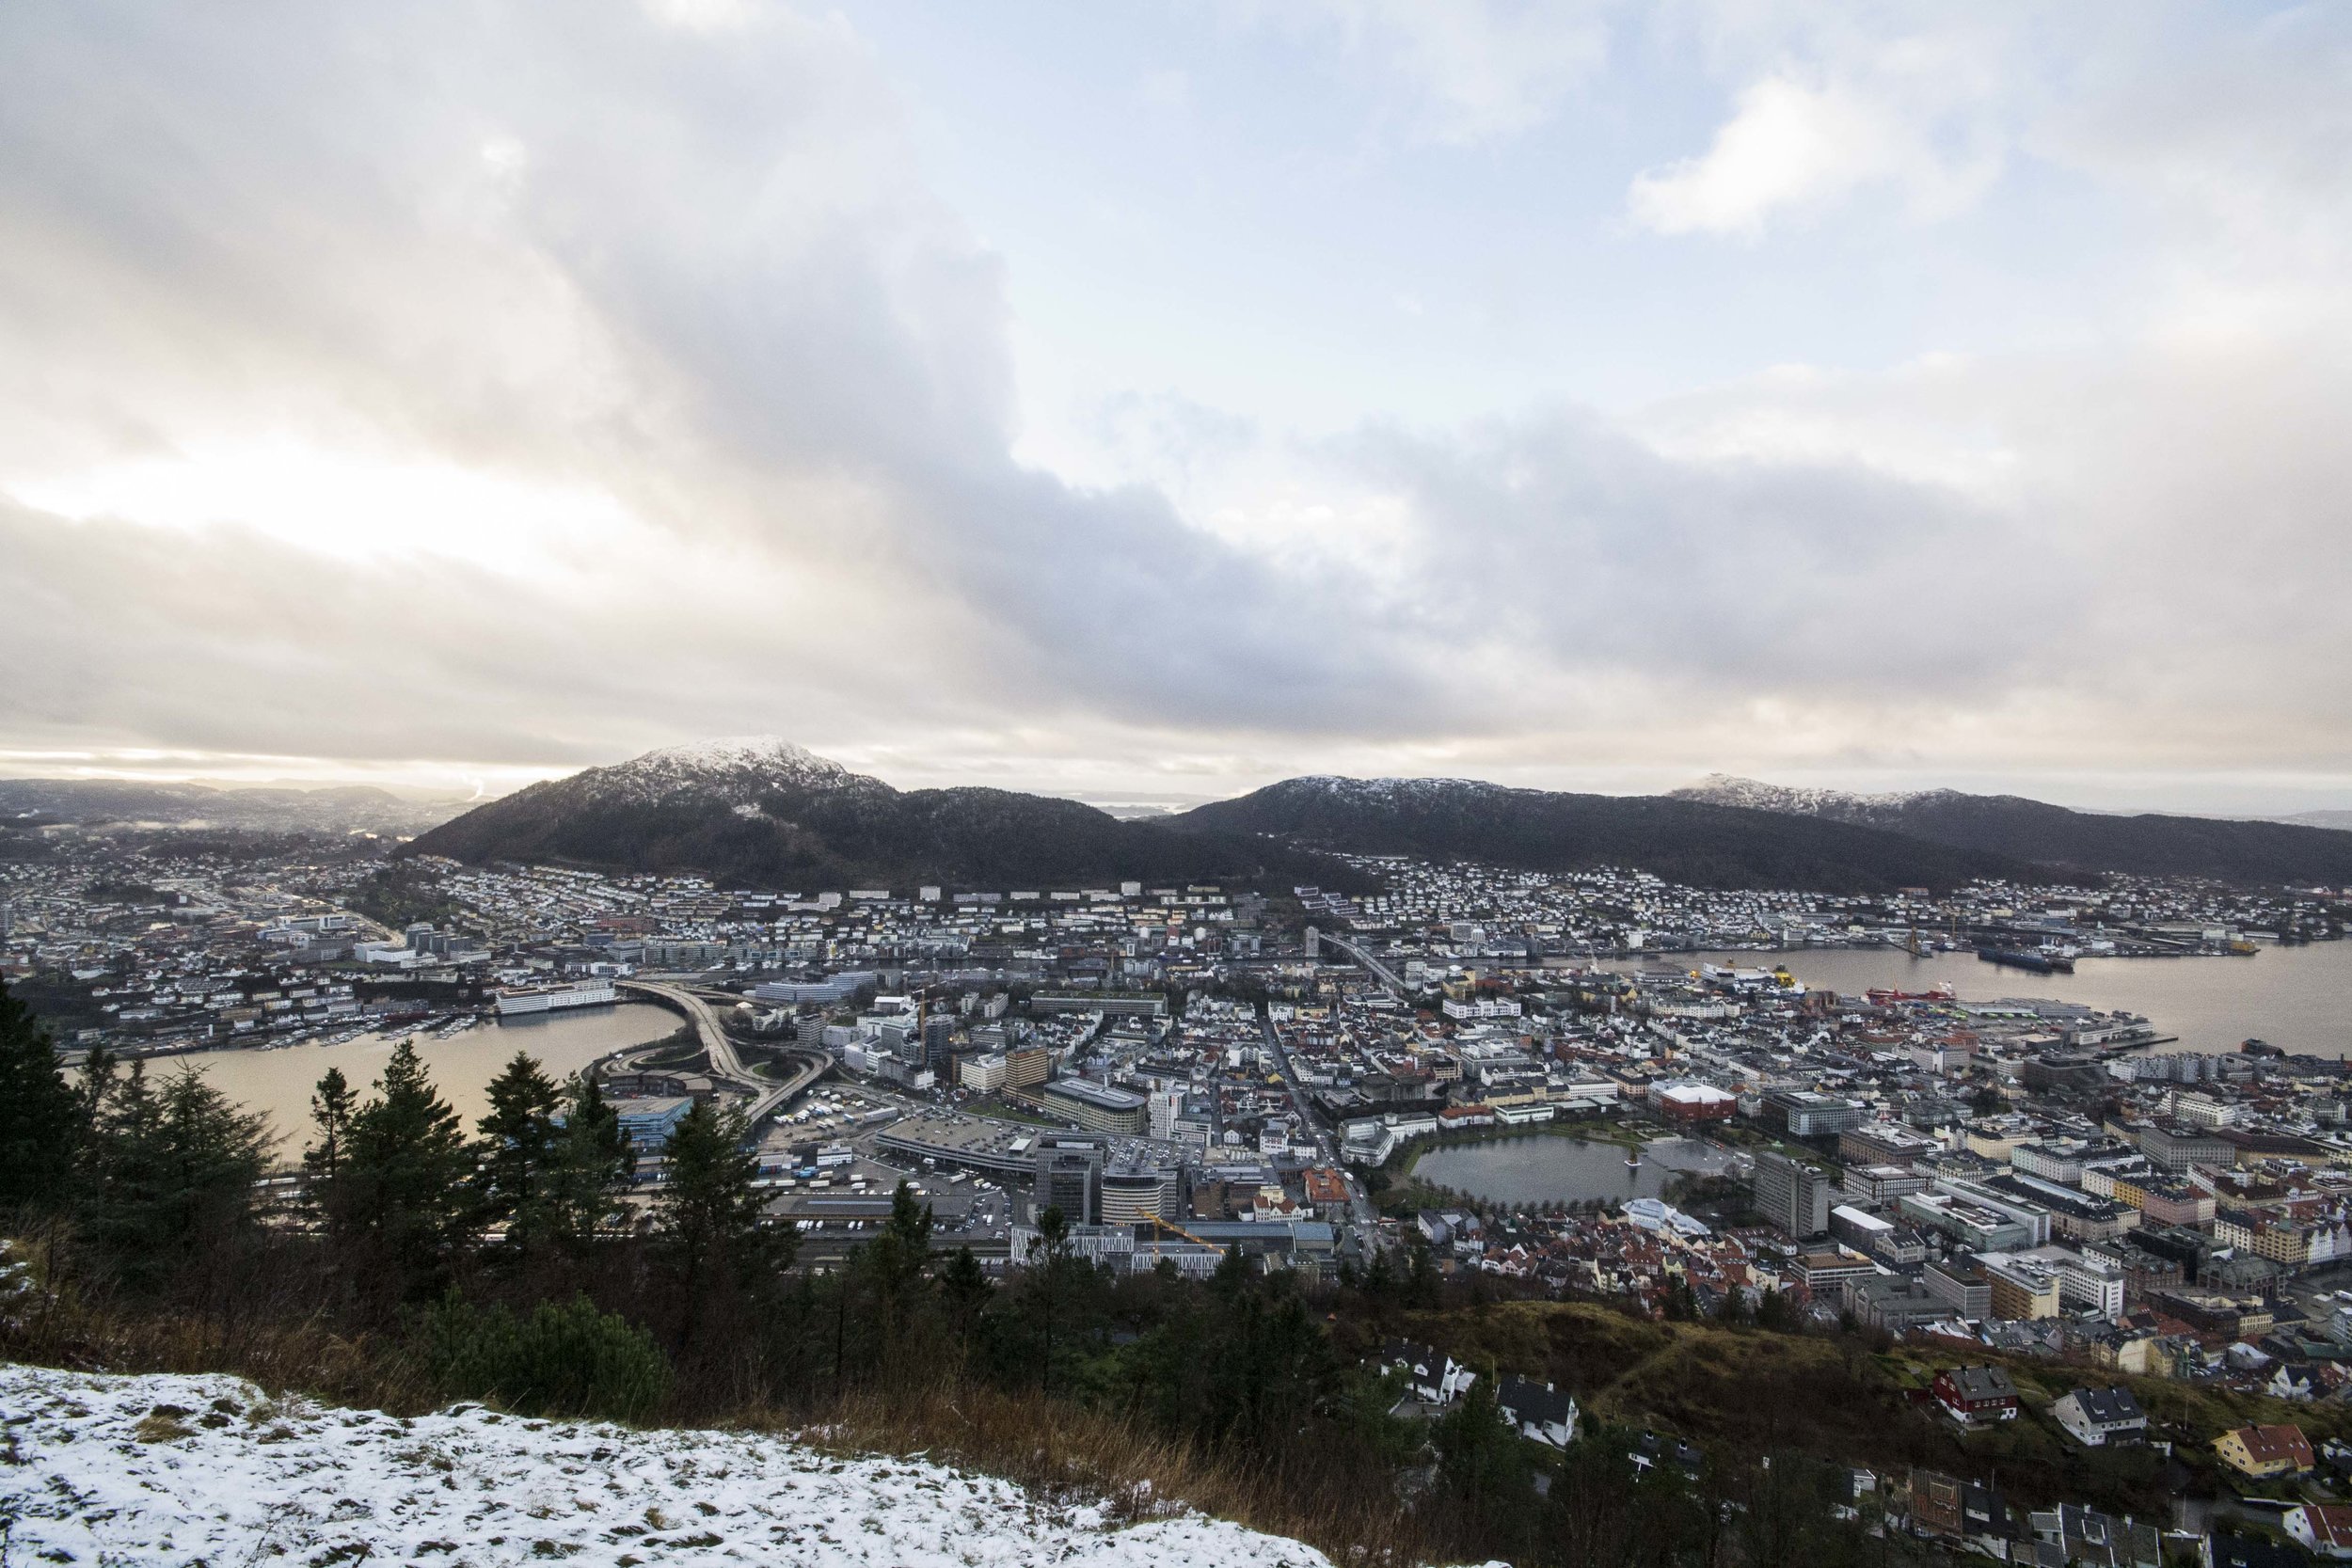
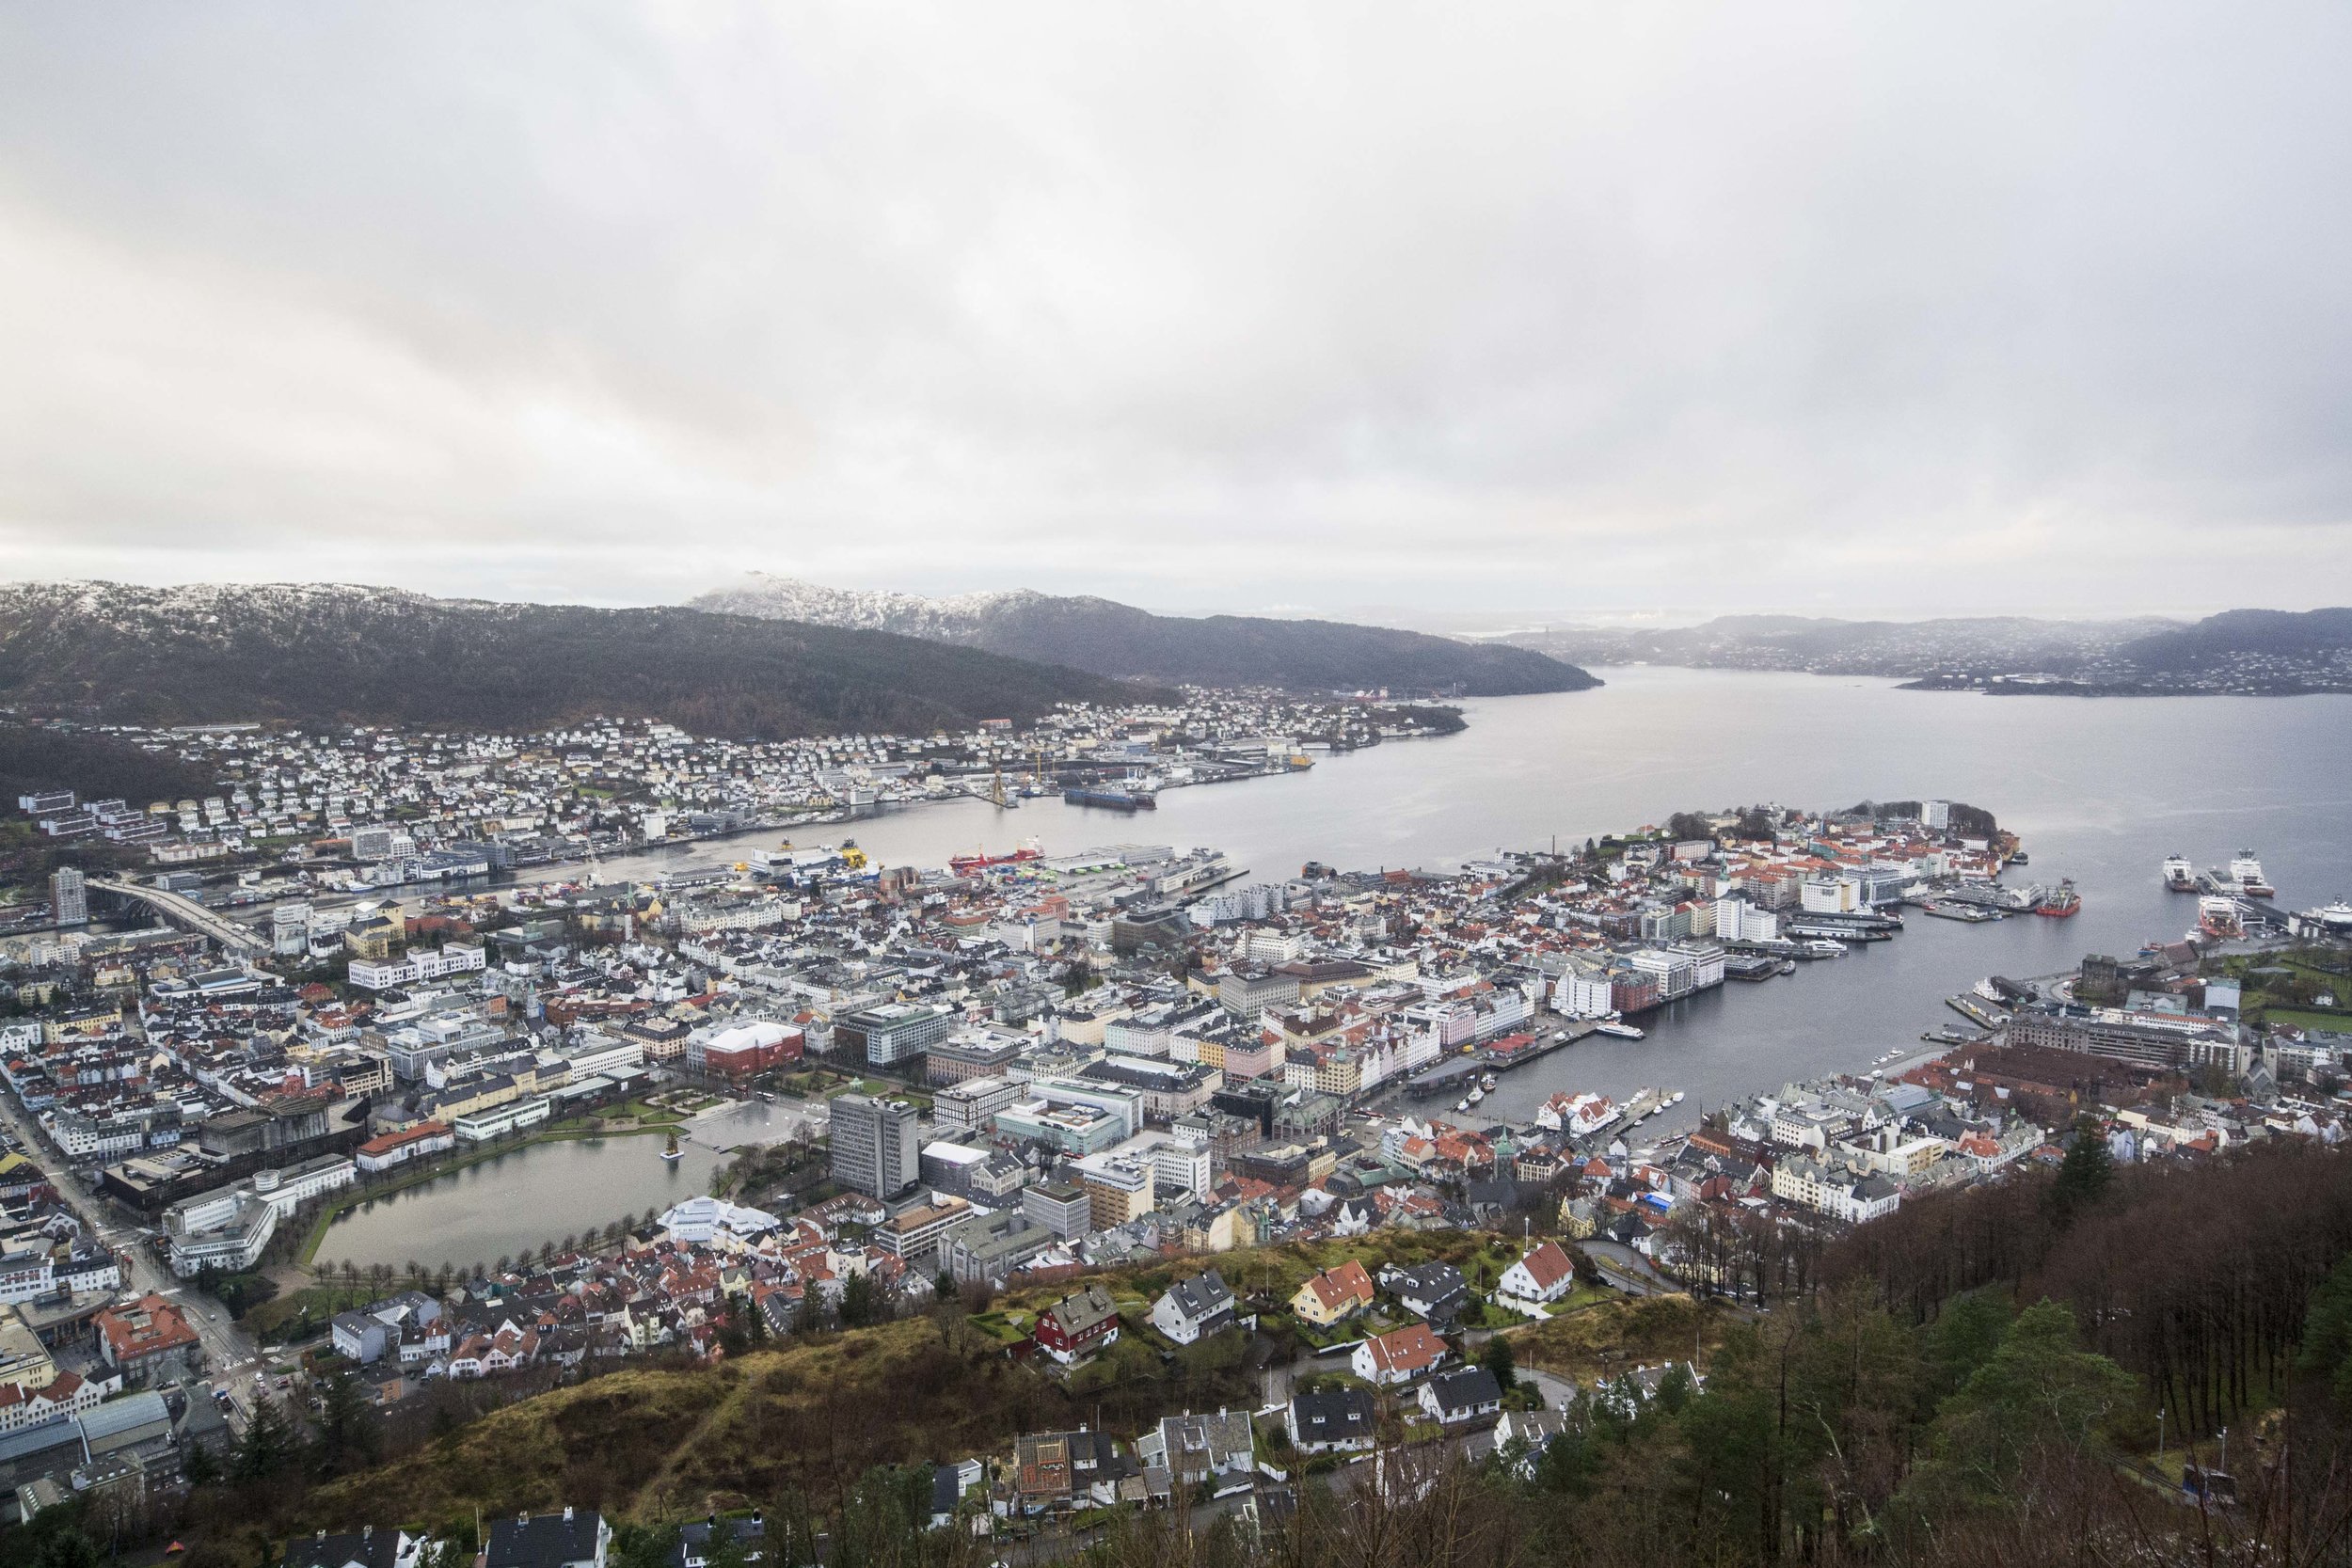
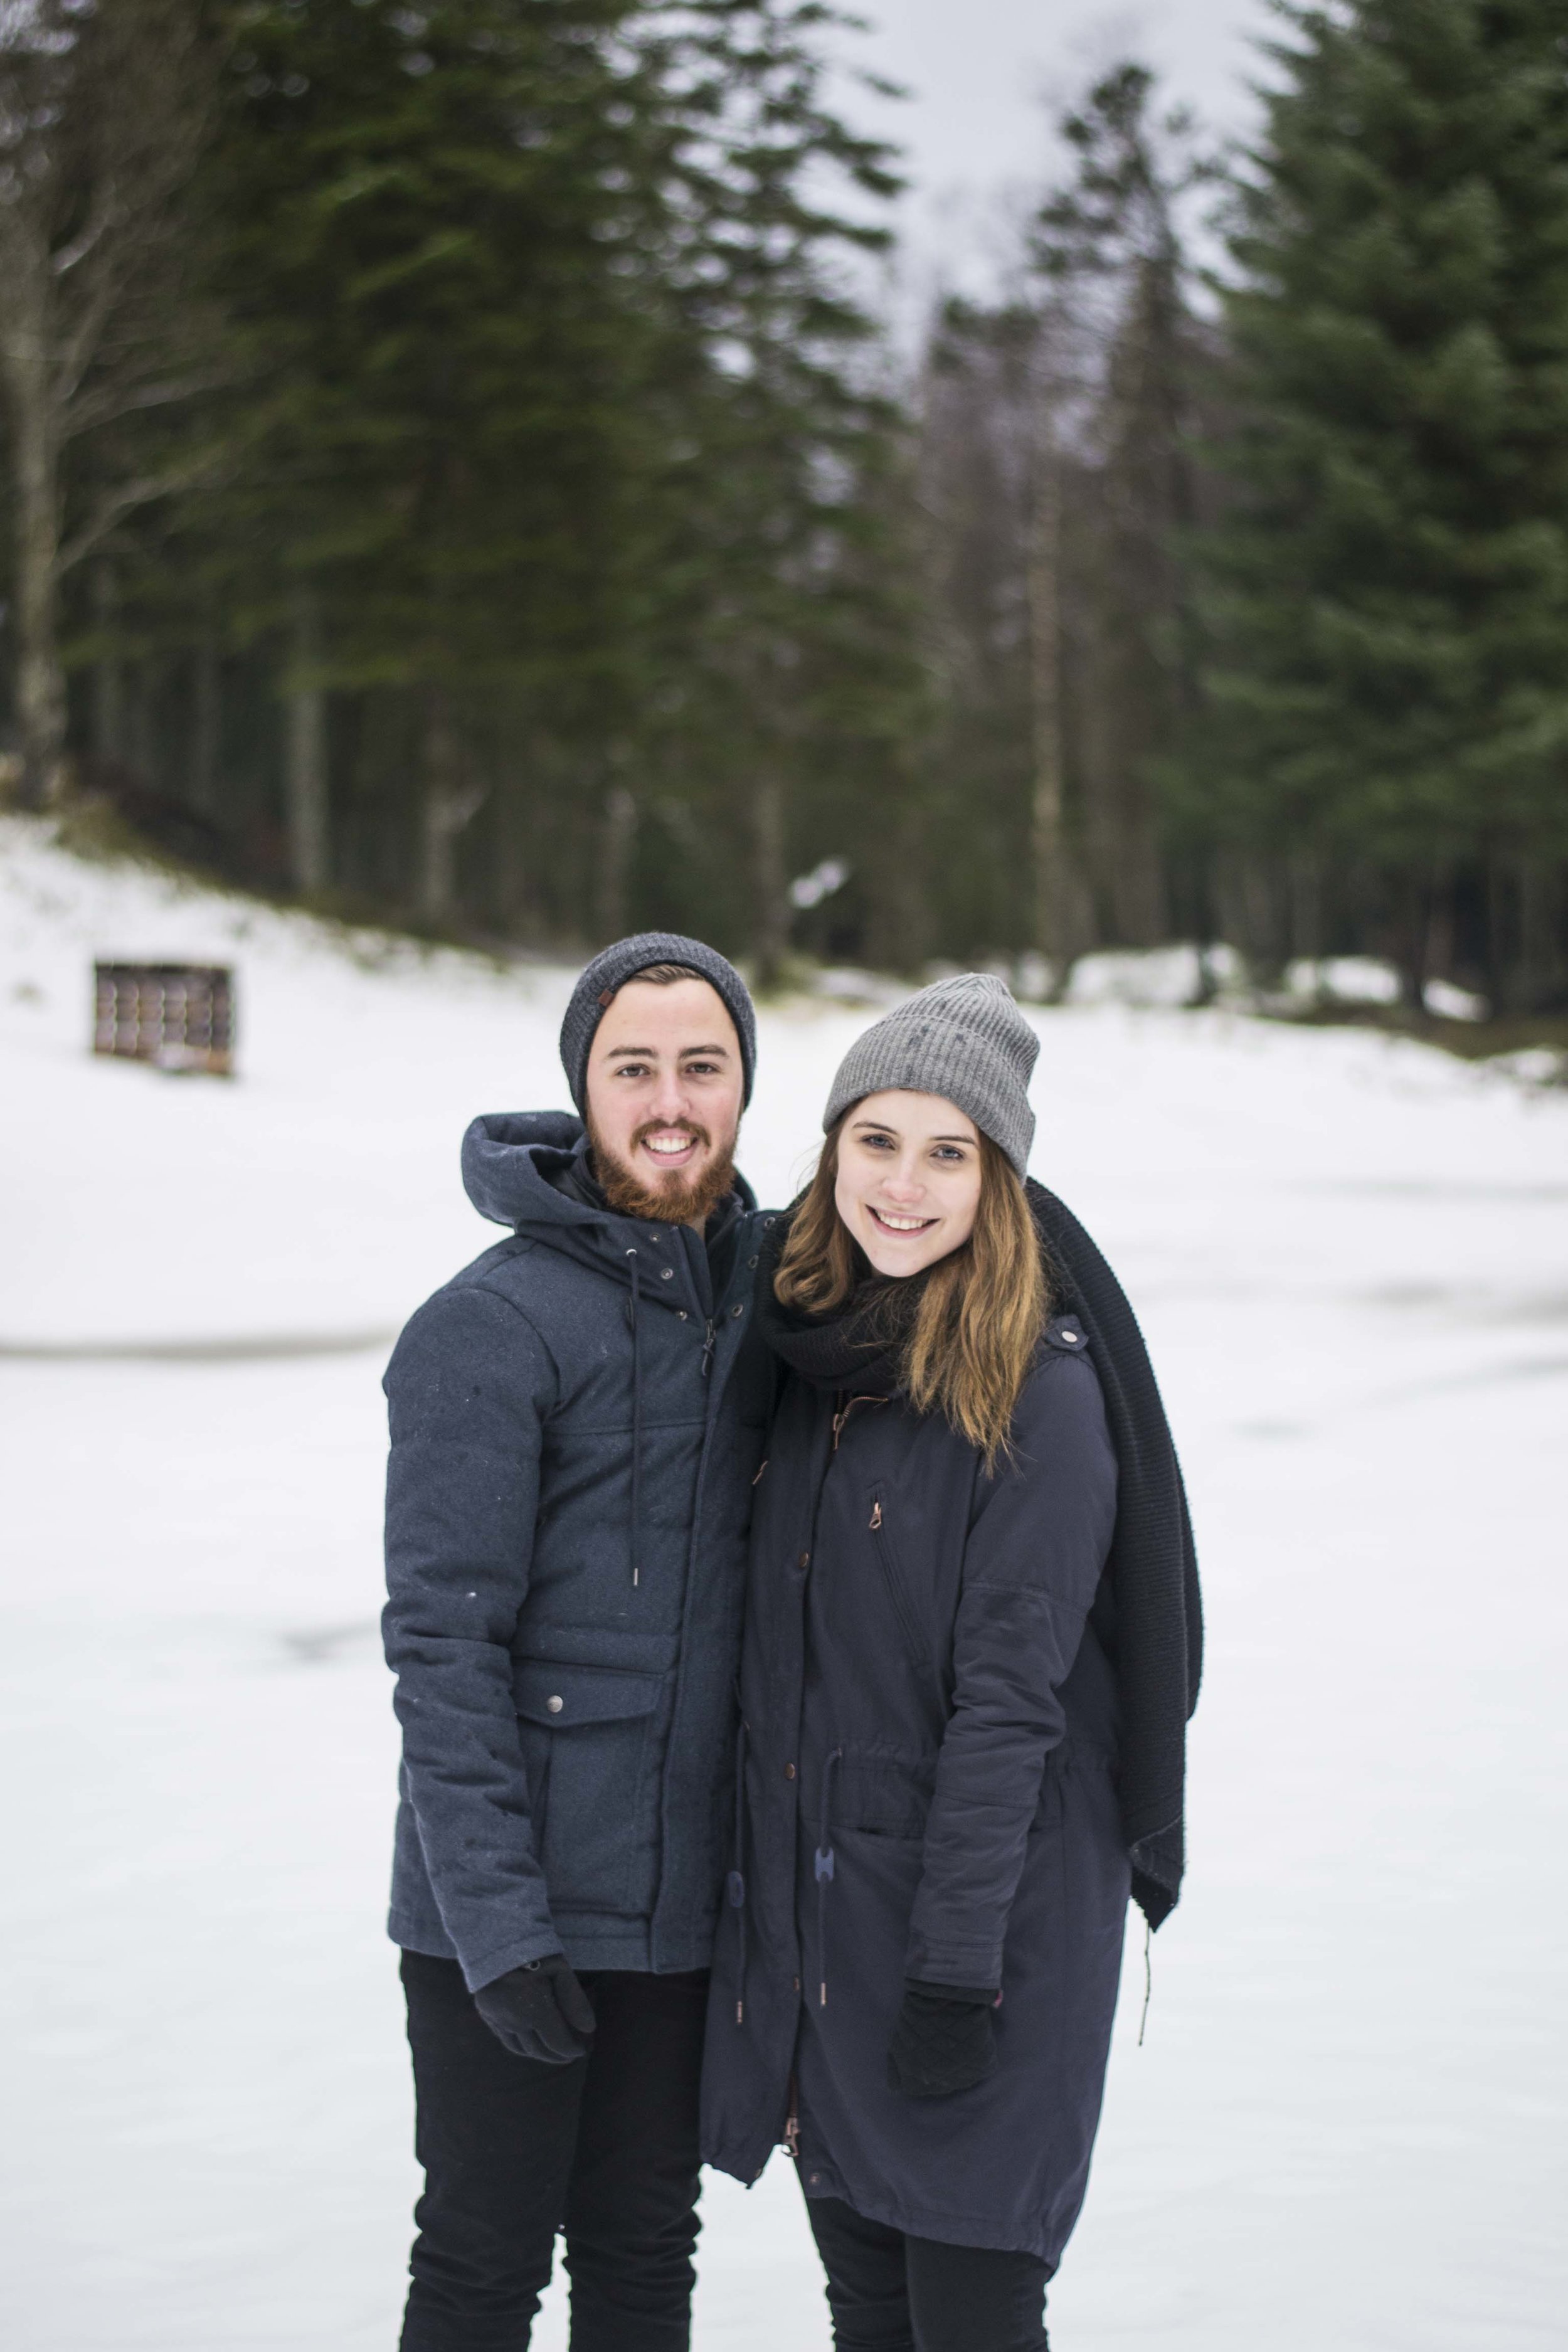
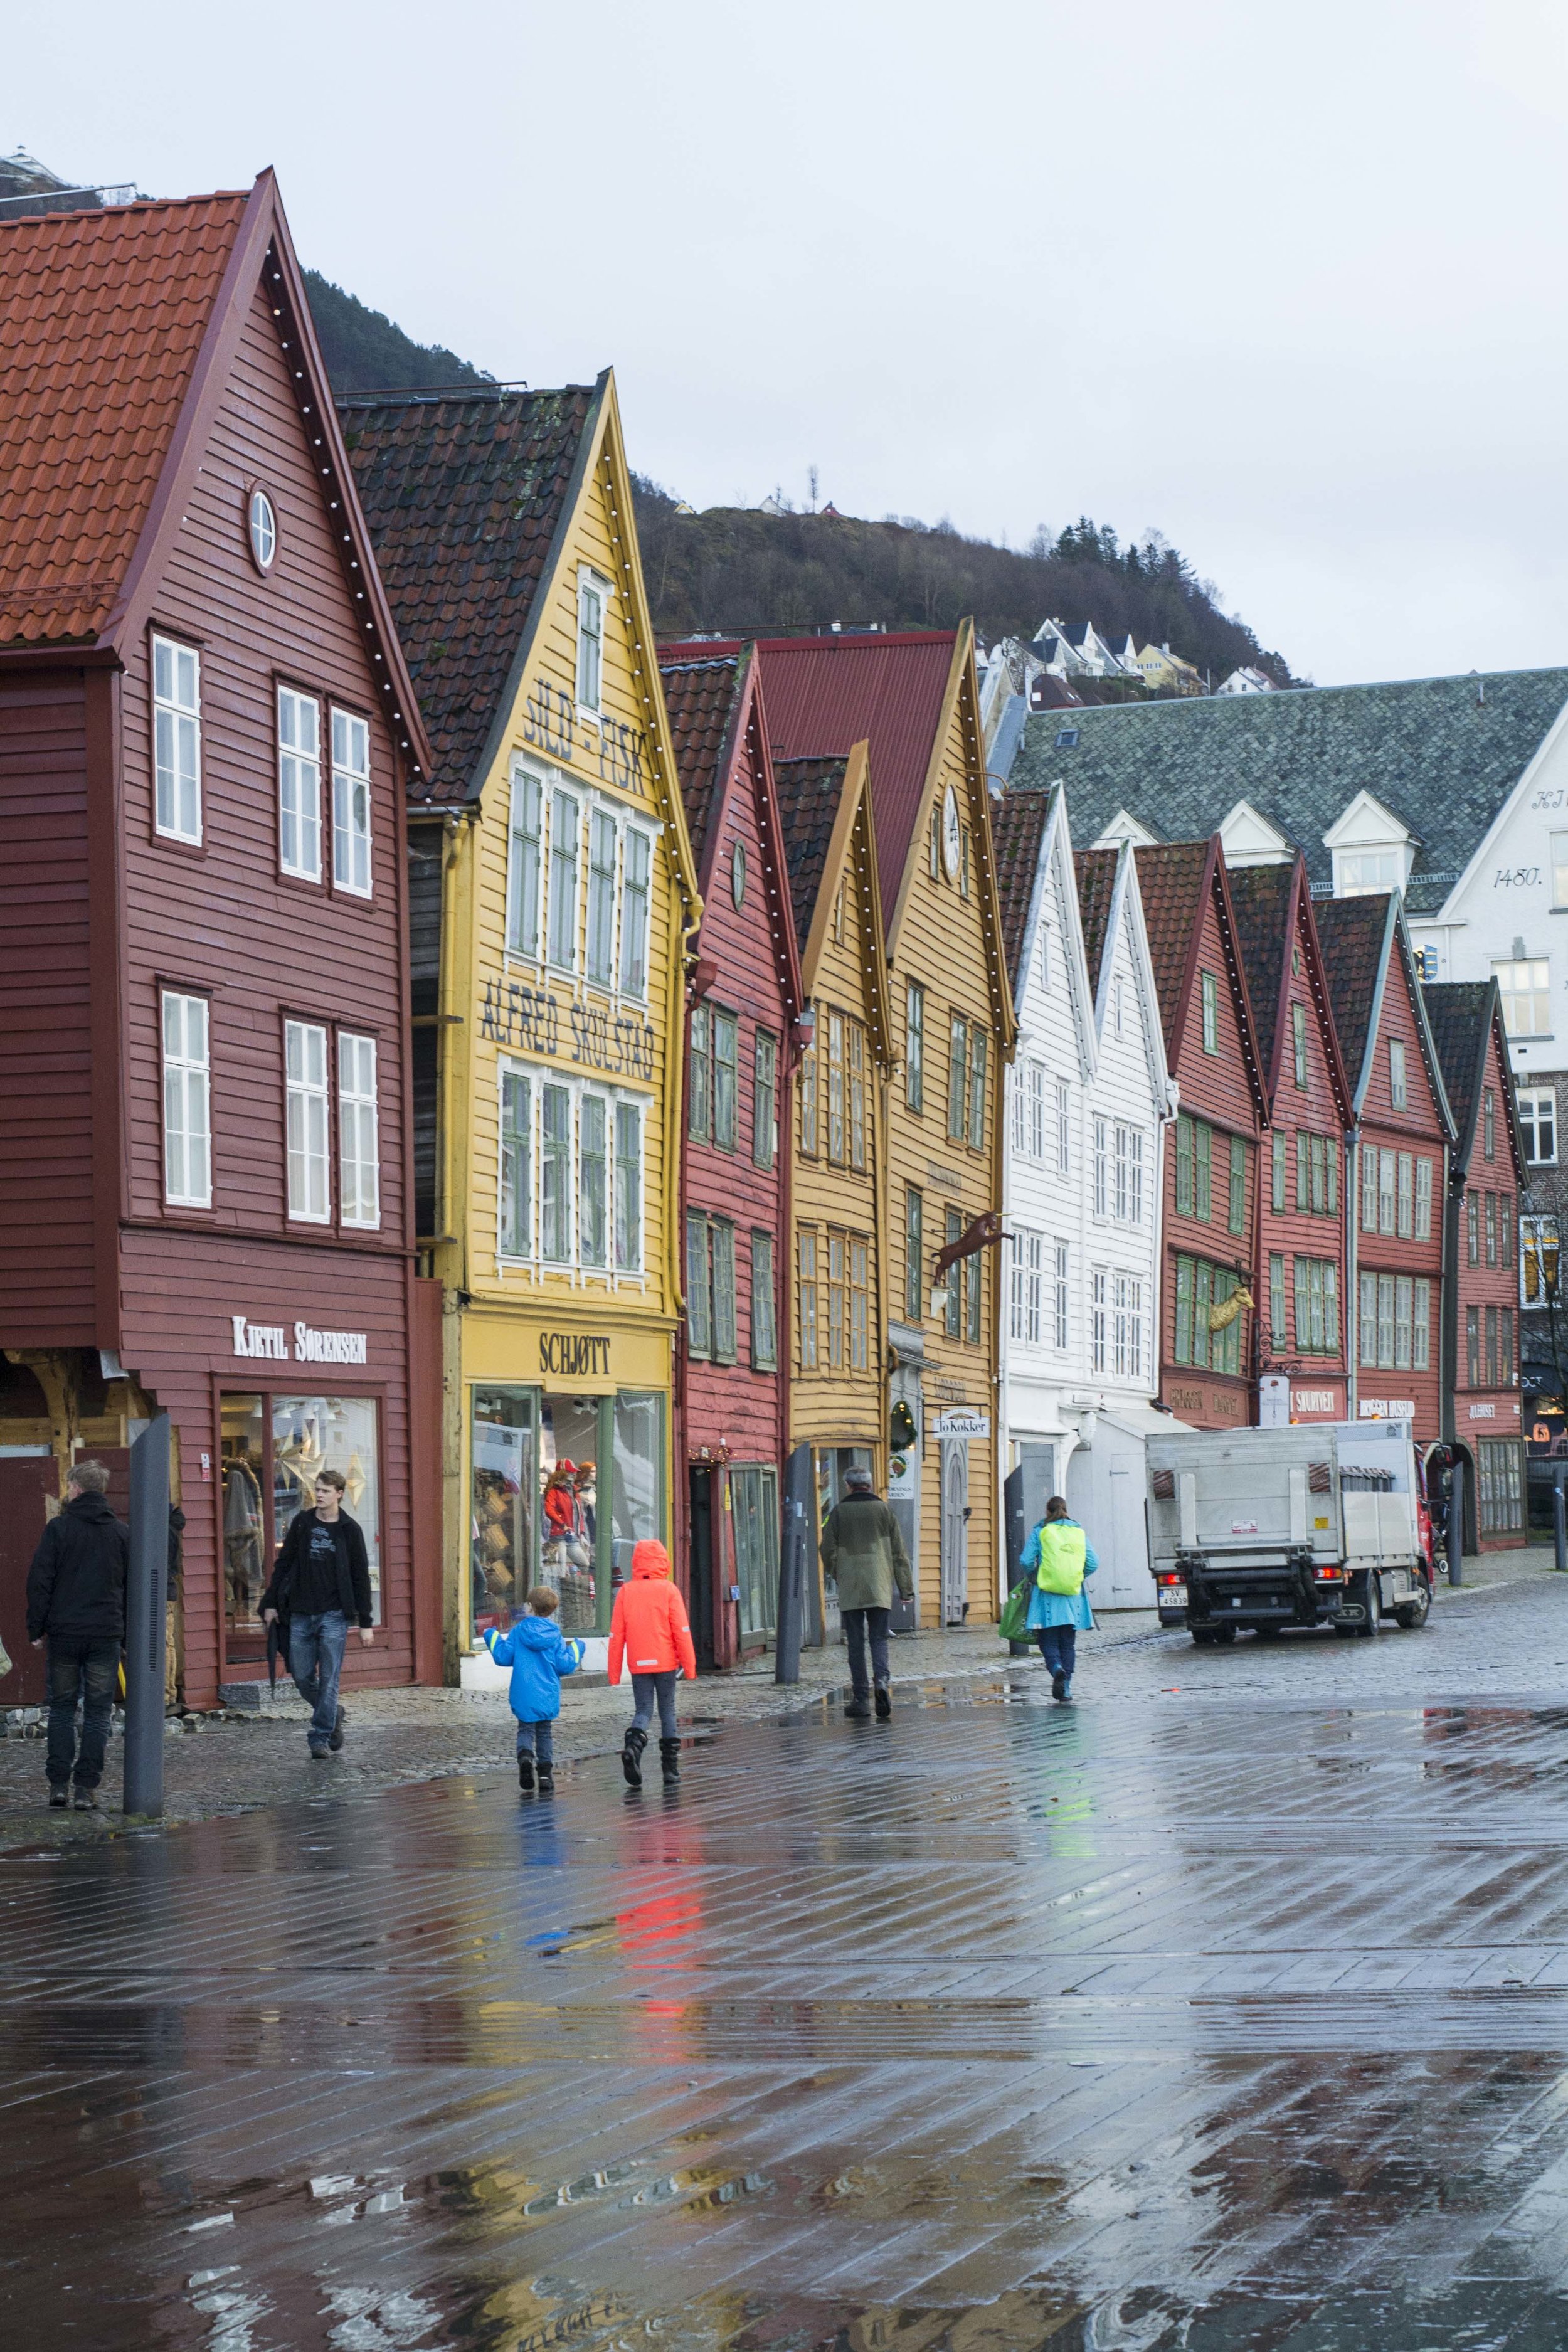
The Norway in a Nutshell fjords tour took me from Oslo to Bergen, so I stayed in Bergen for two nights. Let me tell you, this city is so insanely quaint. With the cute old-timey houses, wharfs, and cobblestone roads, there were certain parts of the city that reminded me so much of Northeast coastal towns like Nantucket and Martha’s Vineyard. Aside from the city itself, I was lucky to have met an awesome Australian couple on my tour the day before, Cameron and Felicity, and we decided to spend the day exploring together!

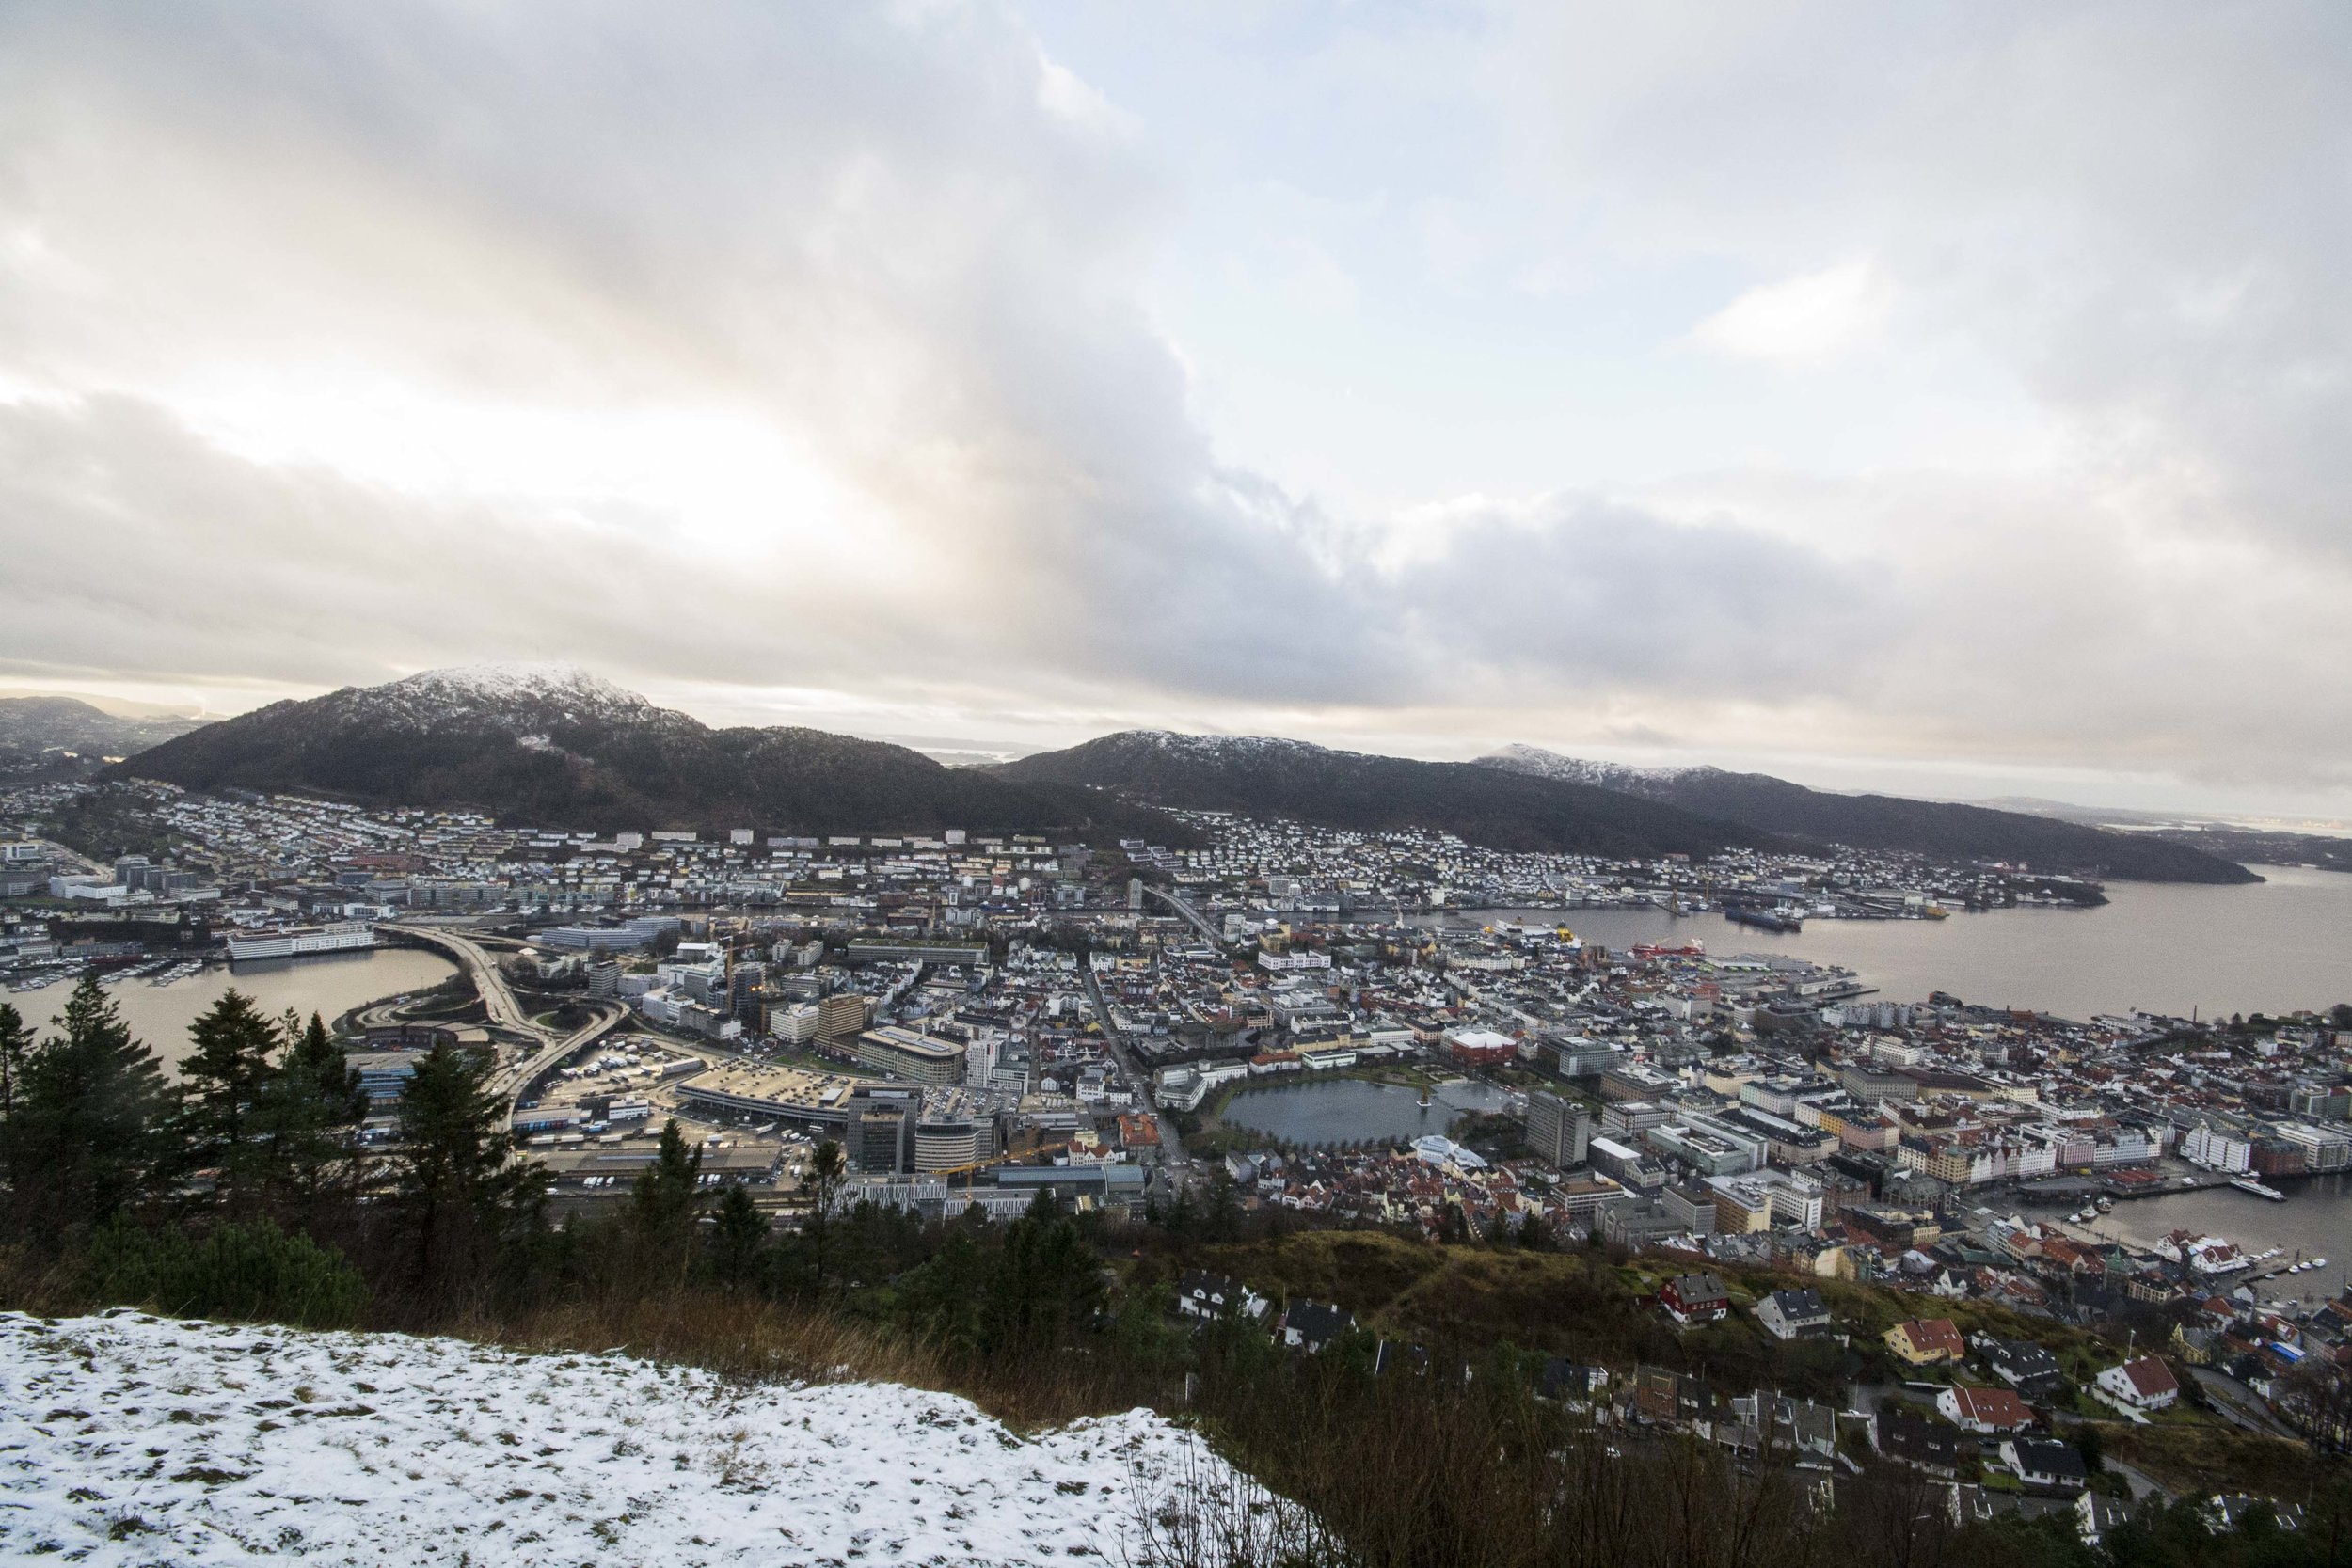
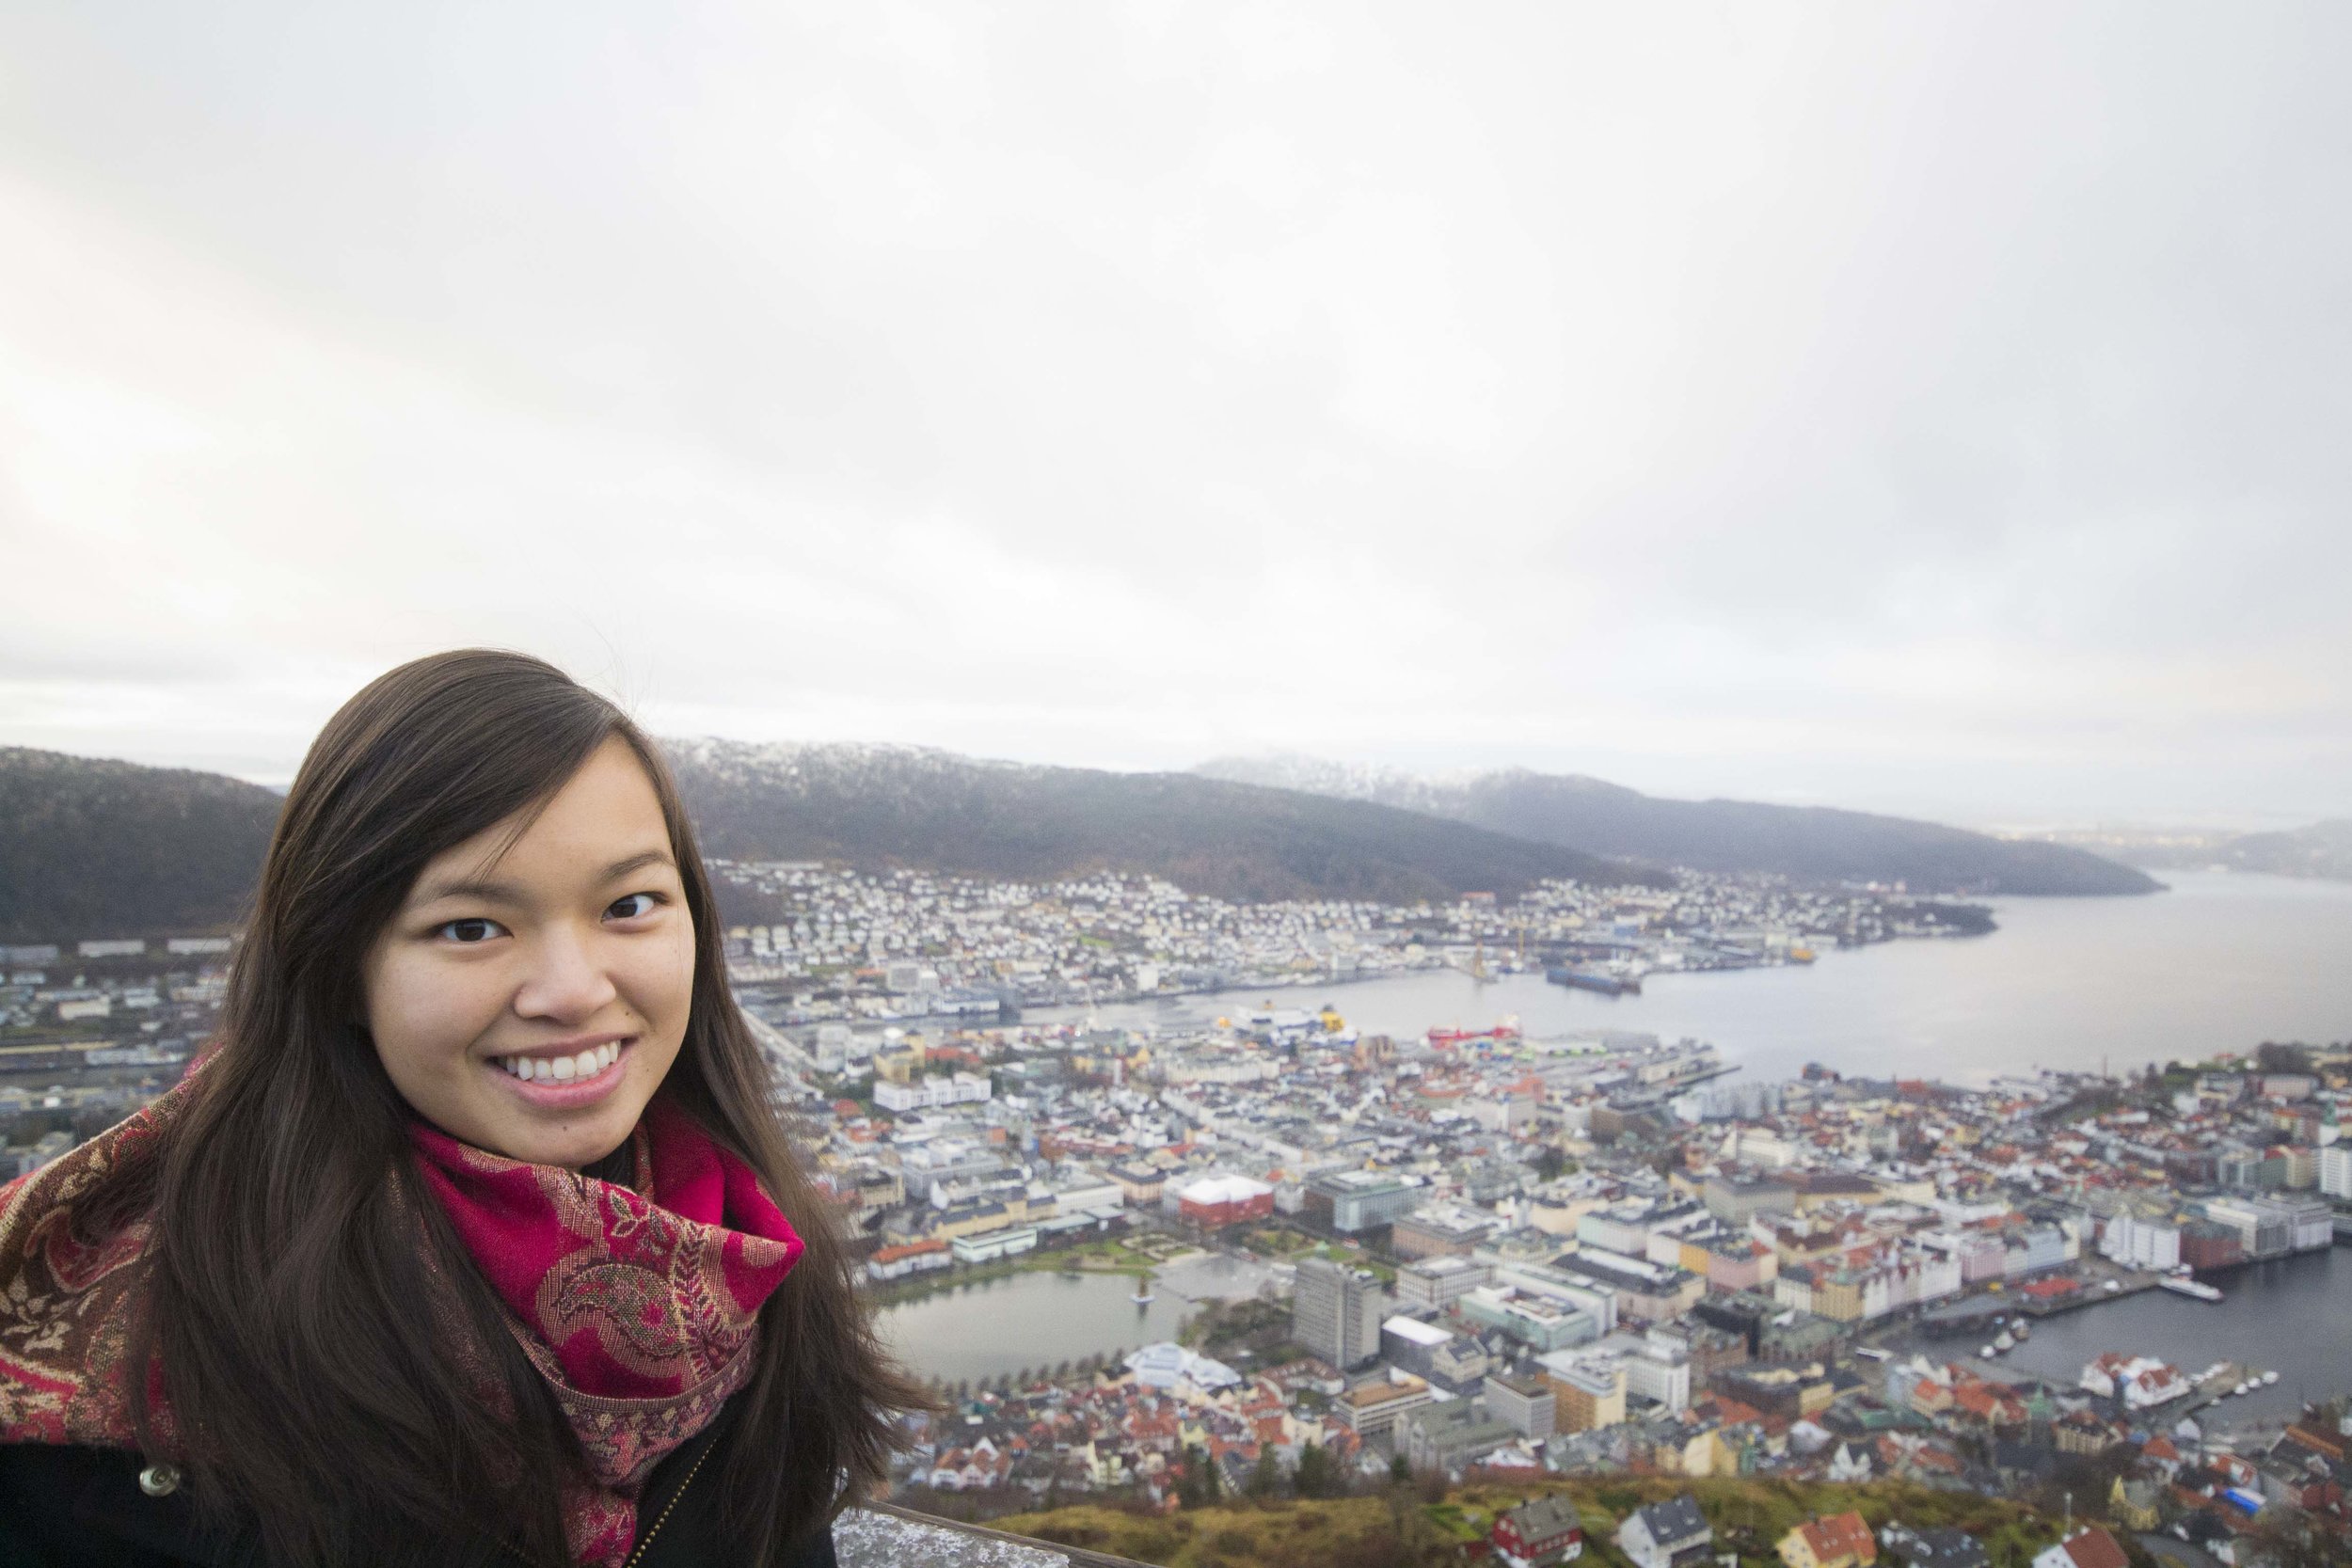
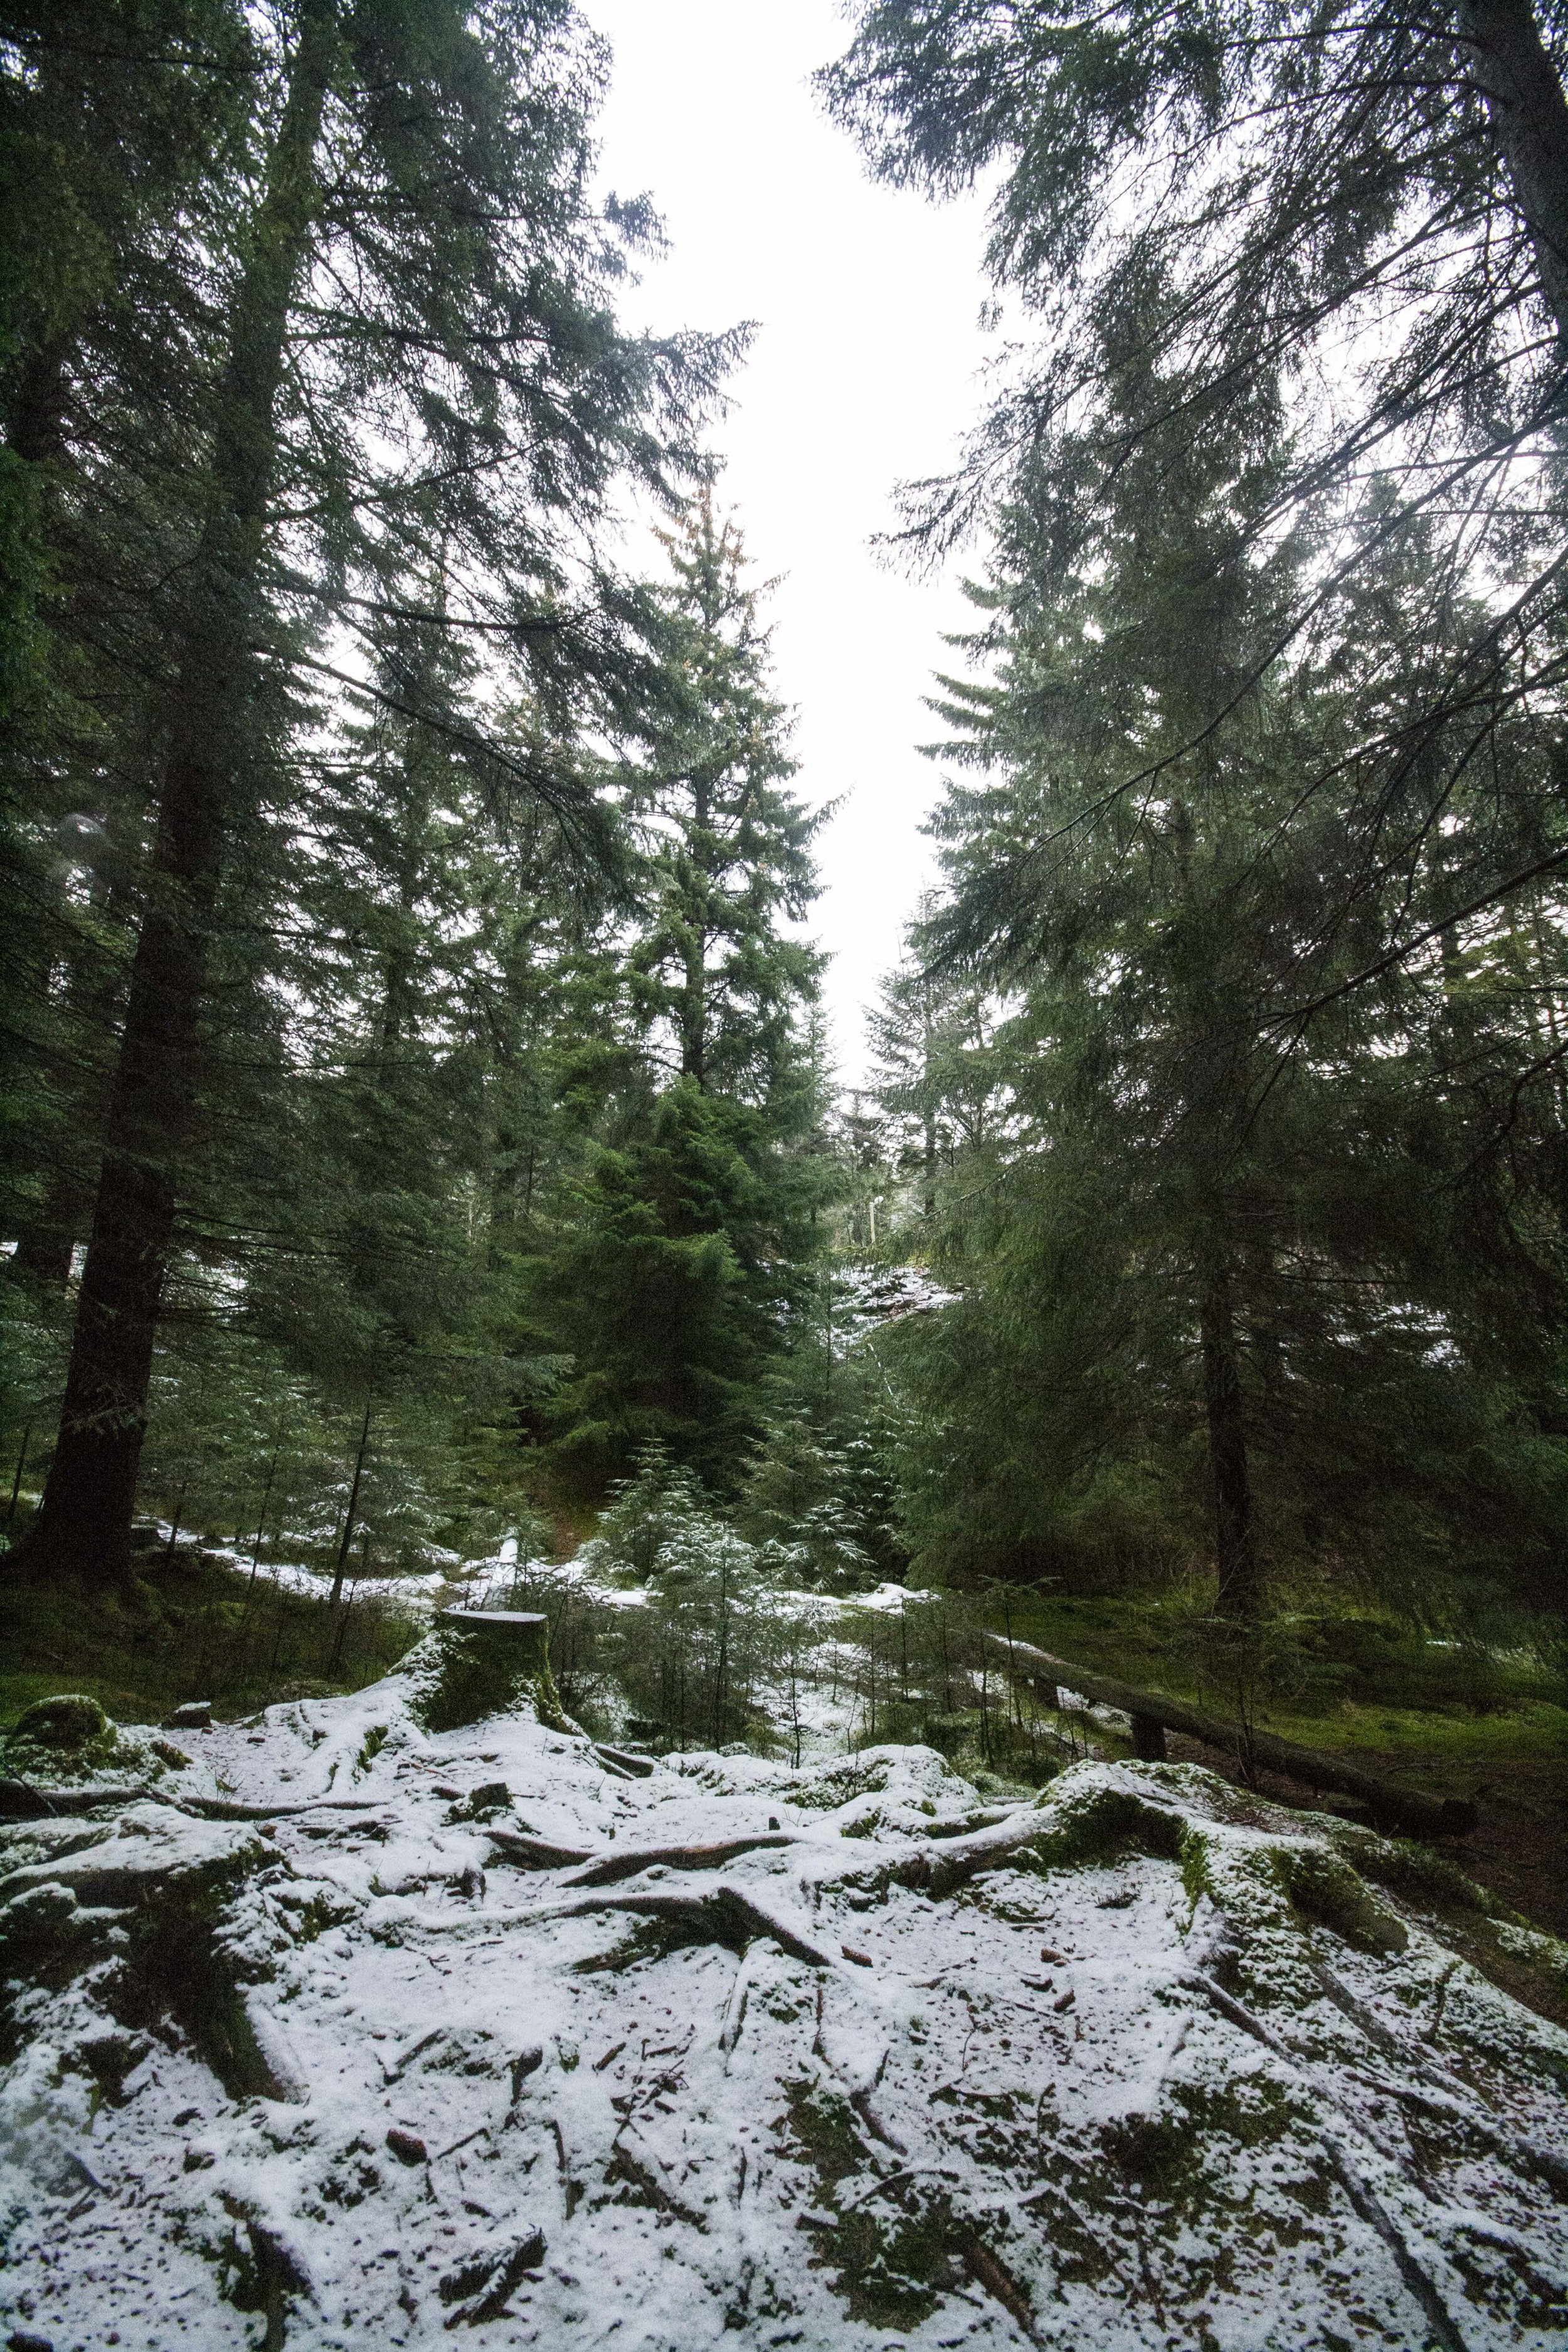
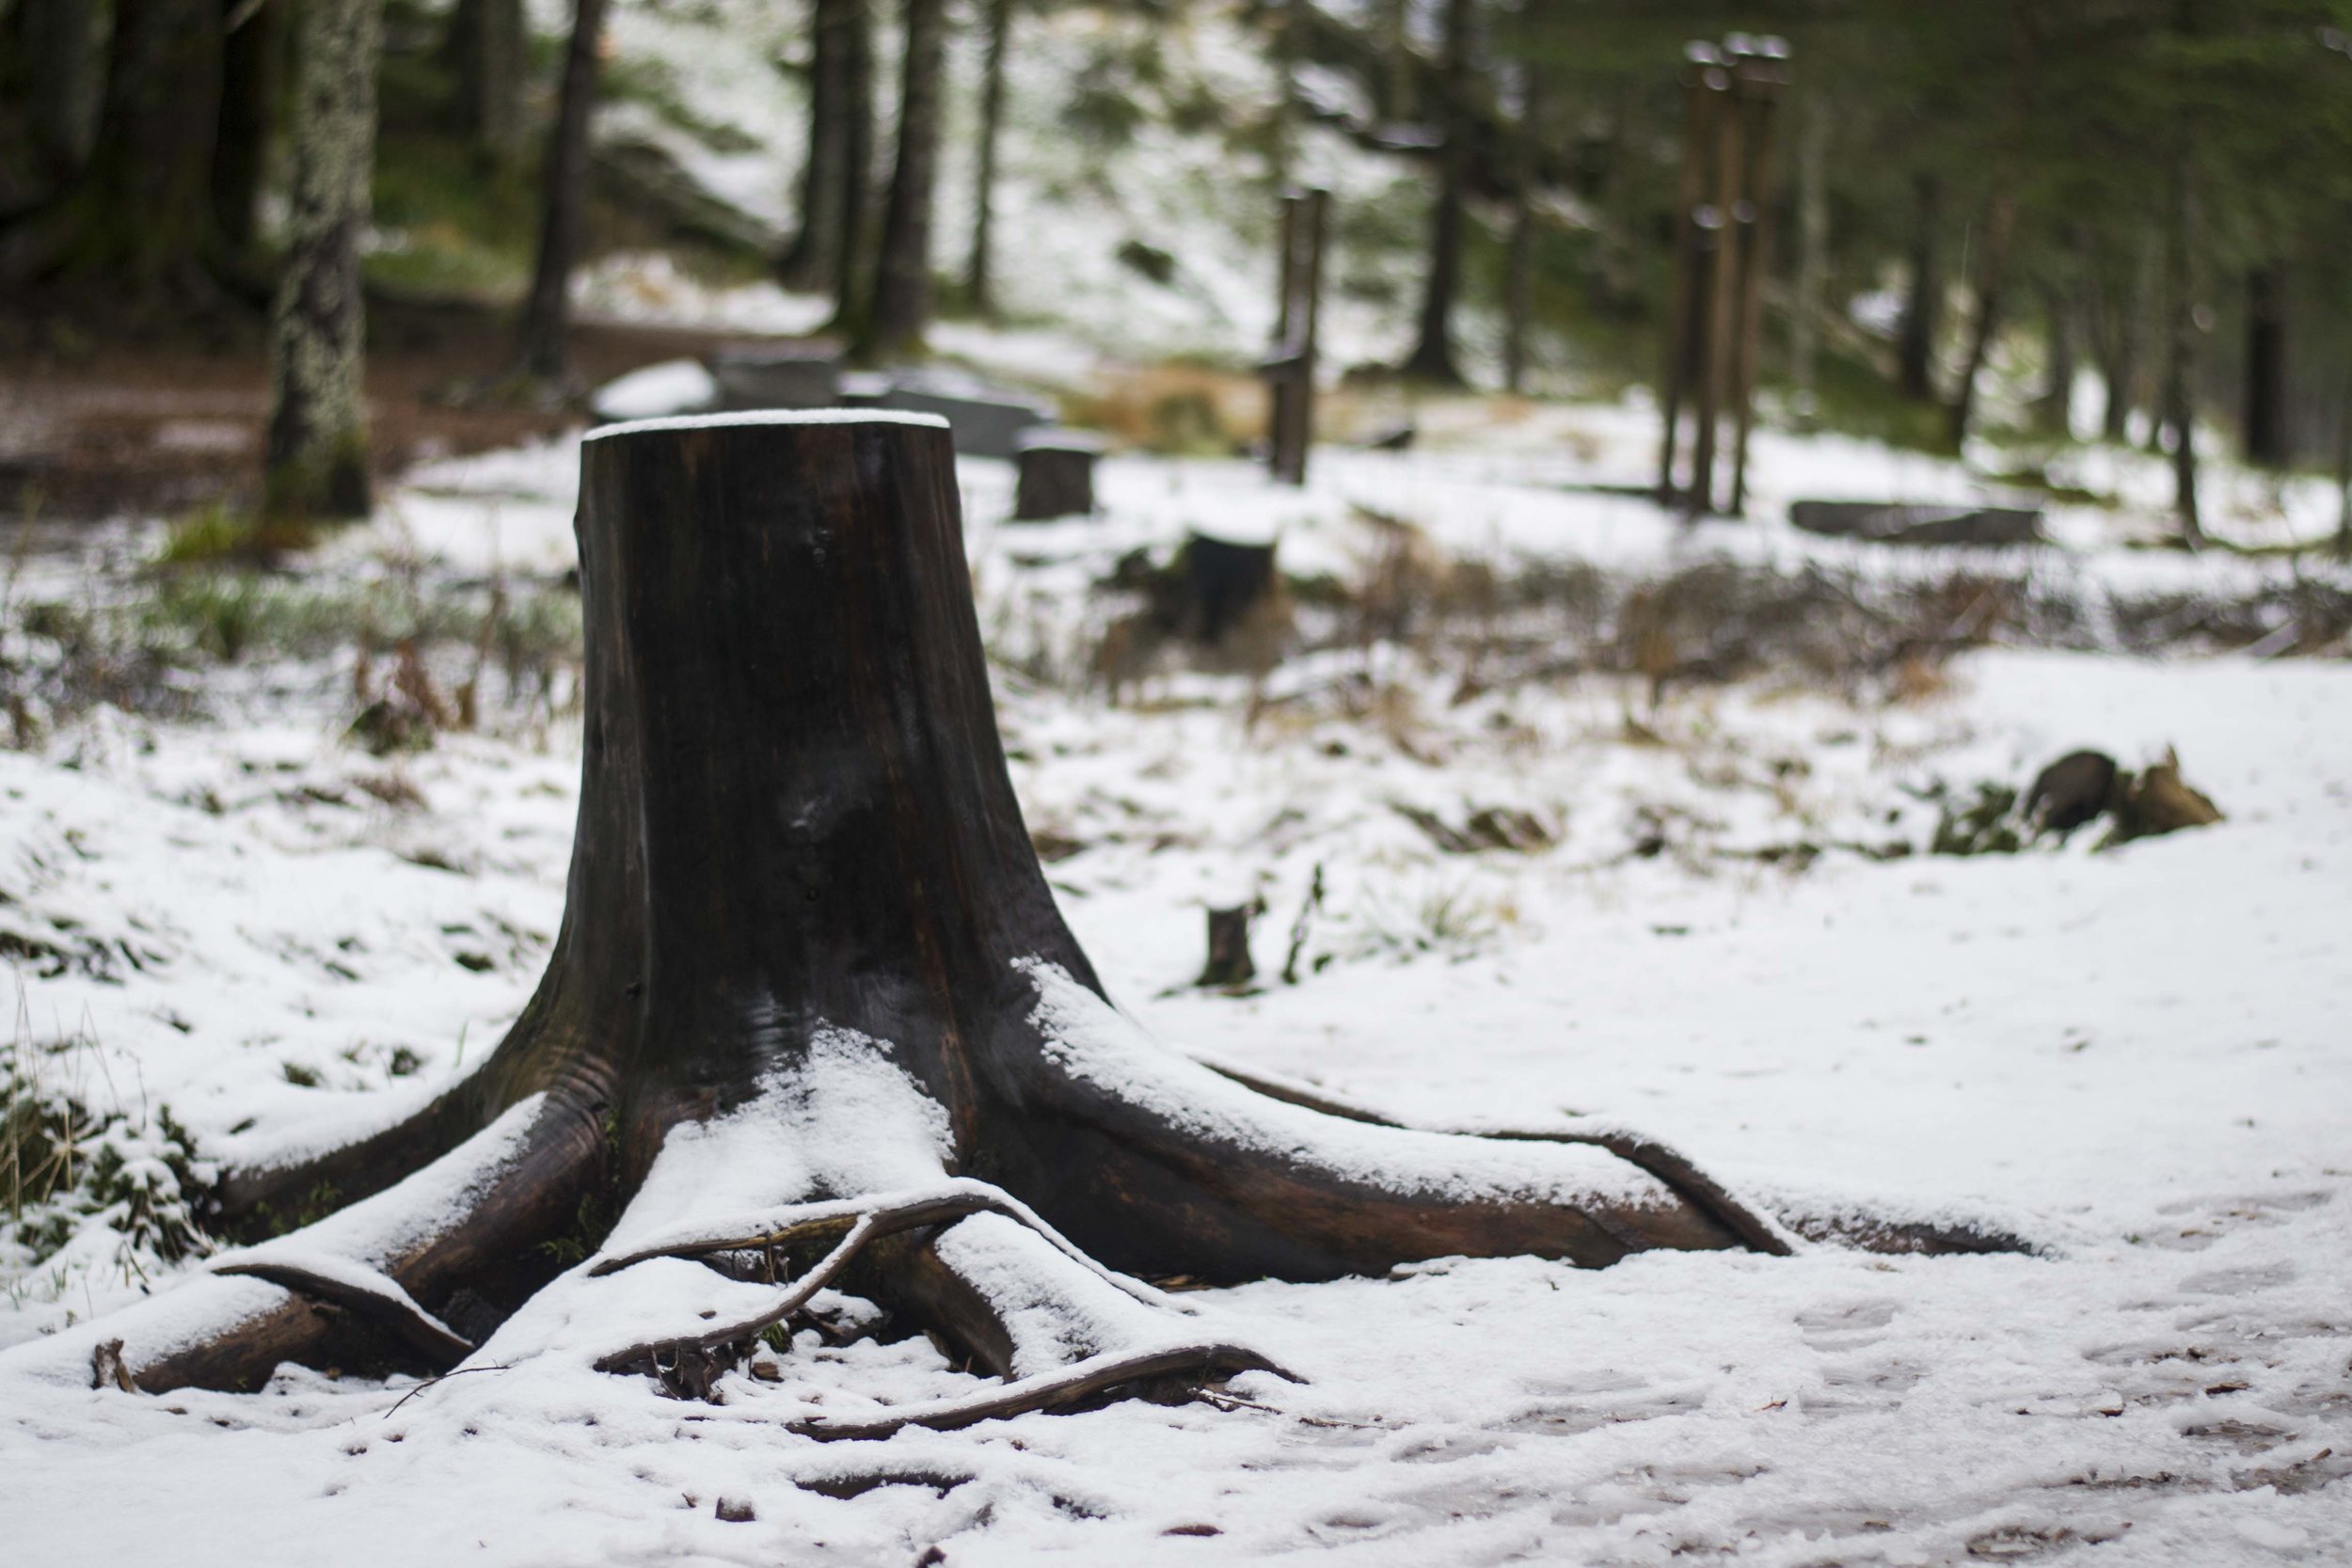
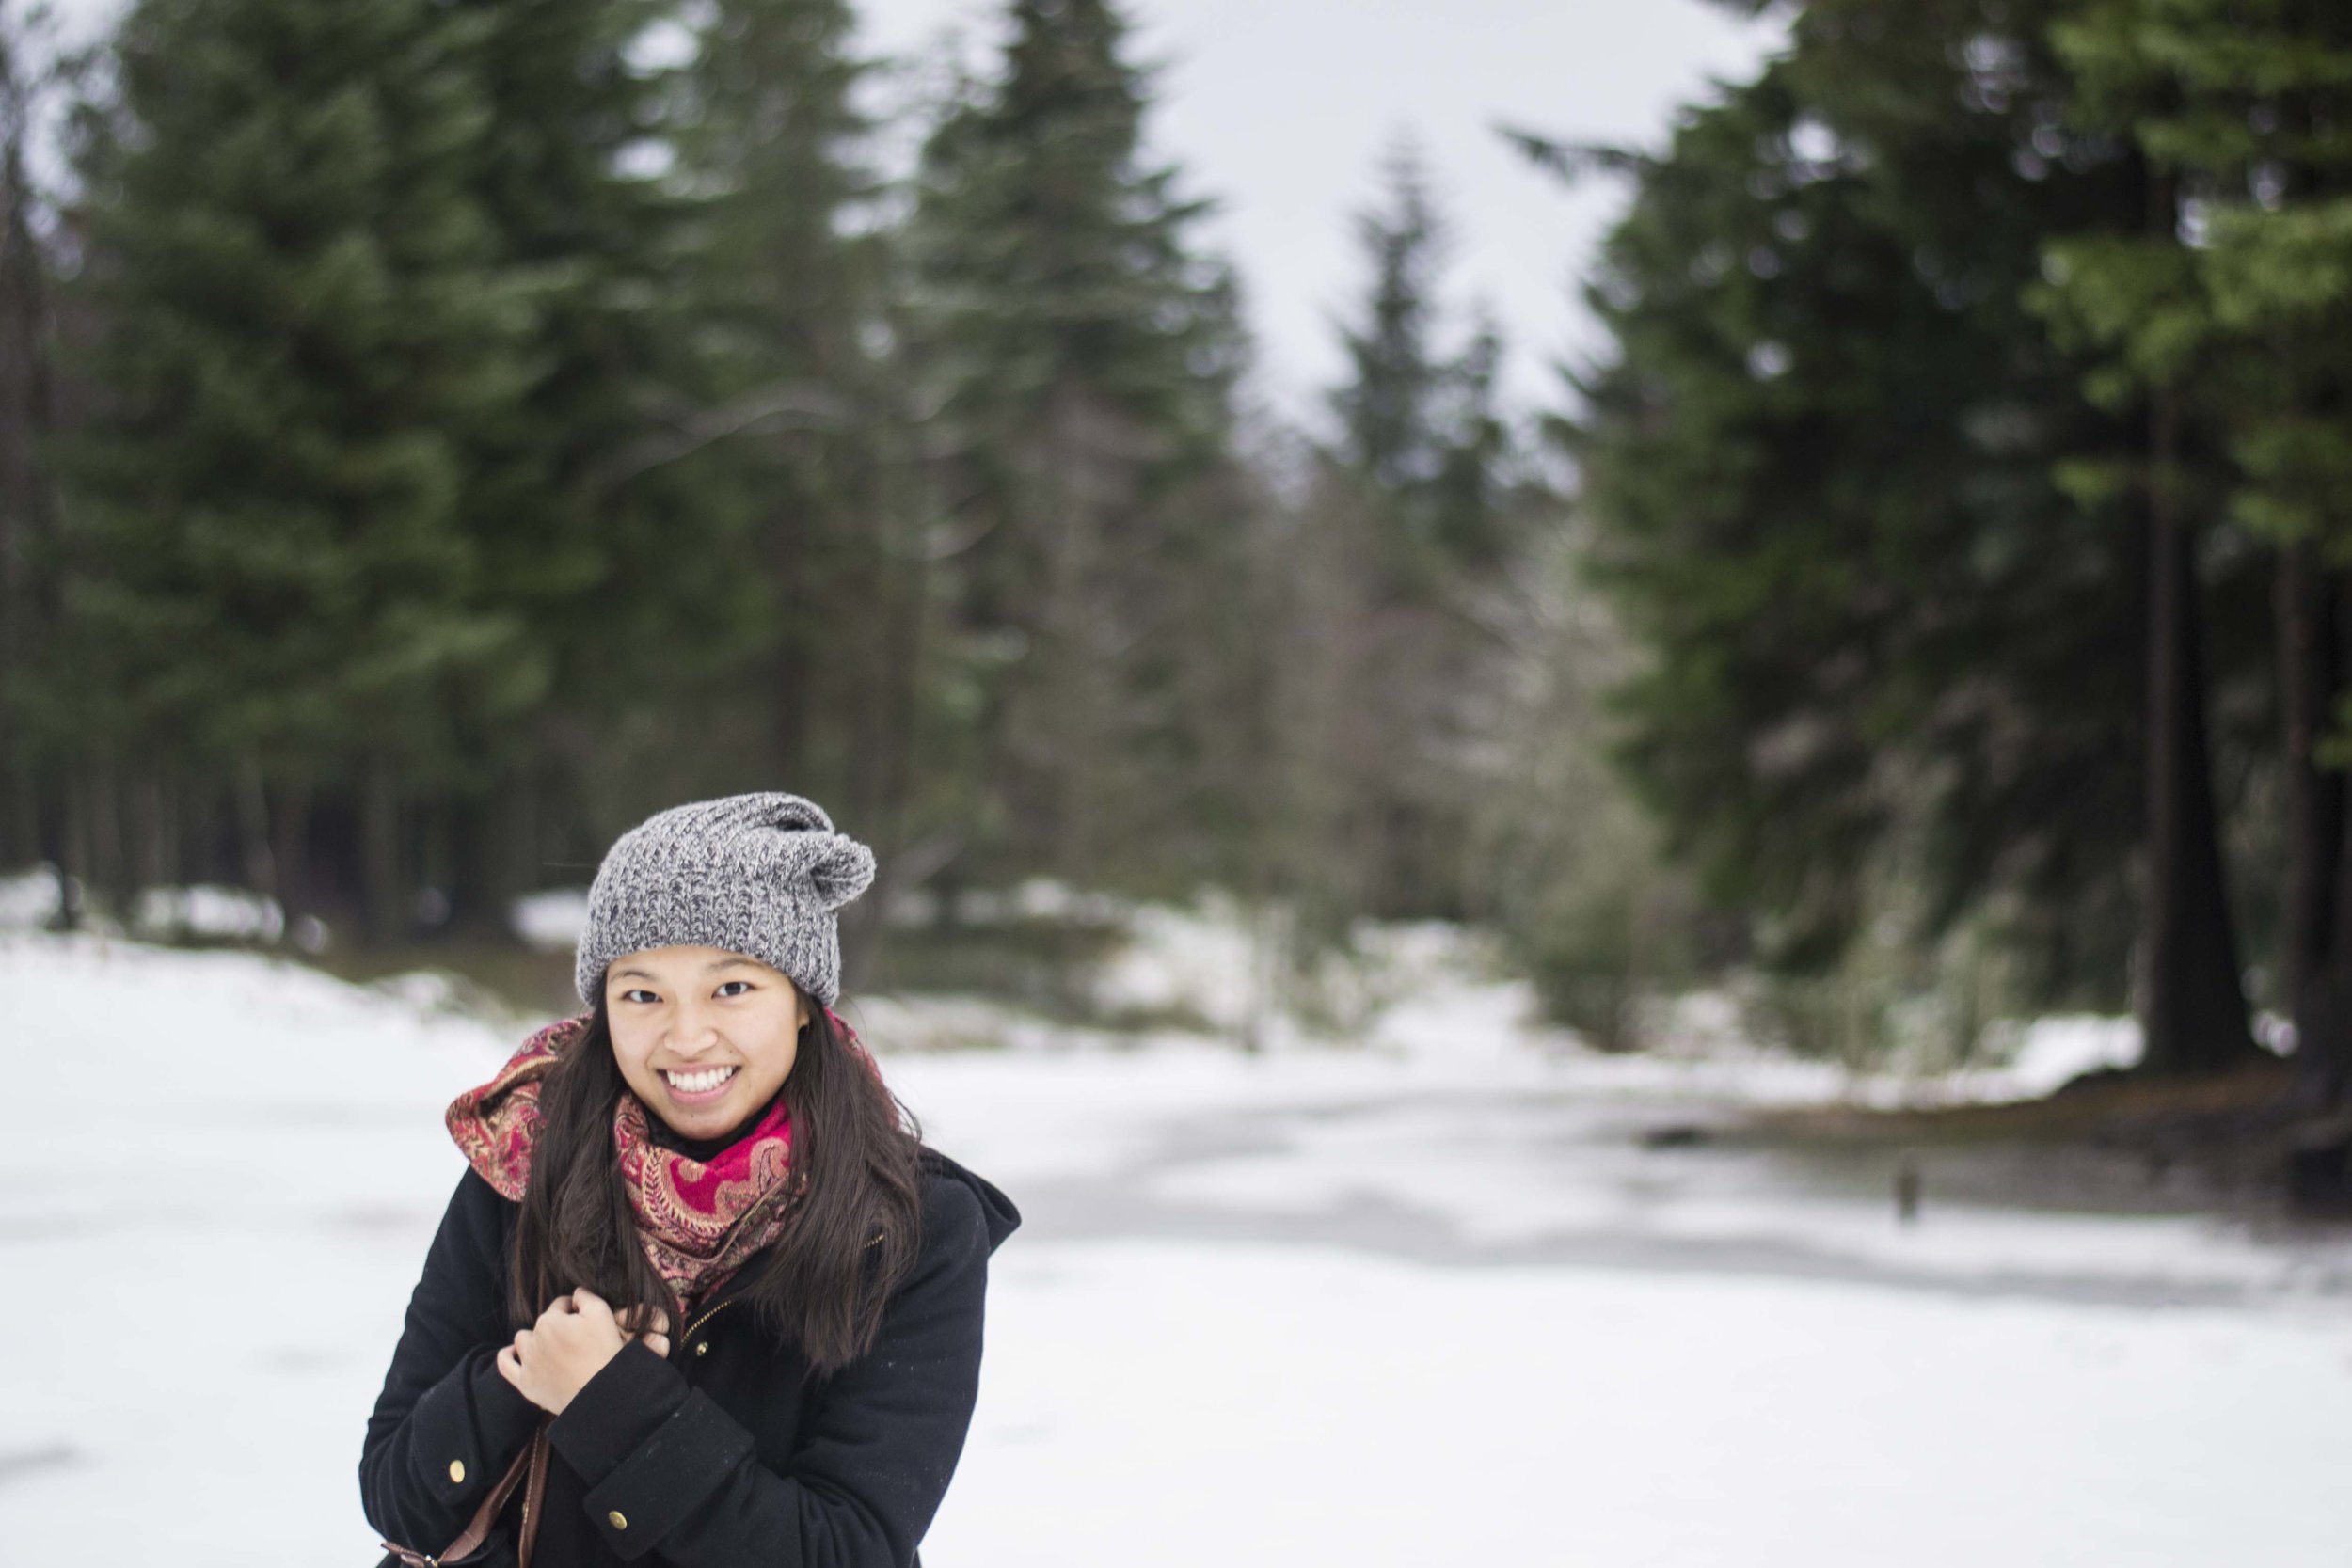
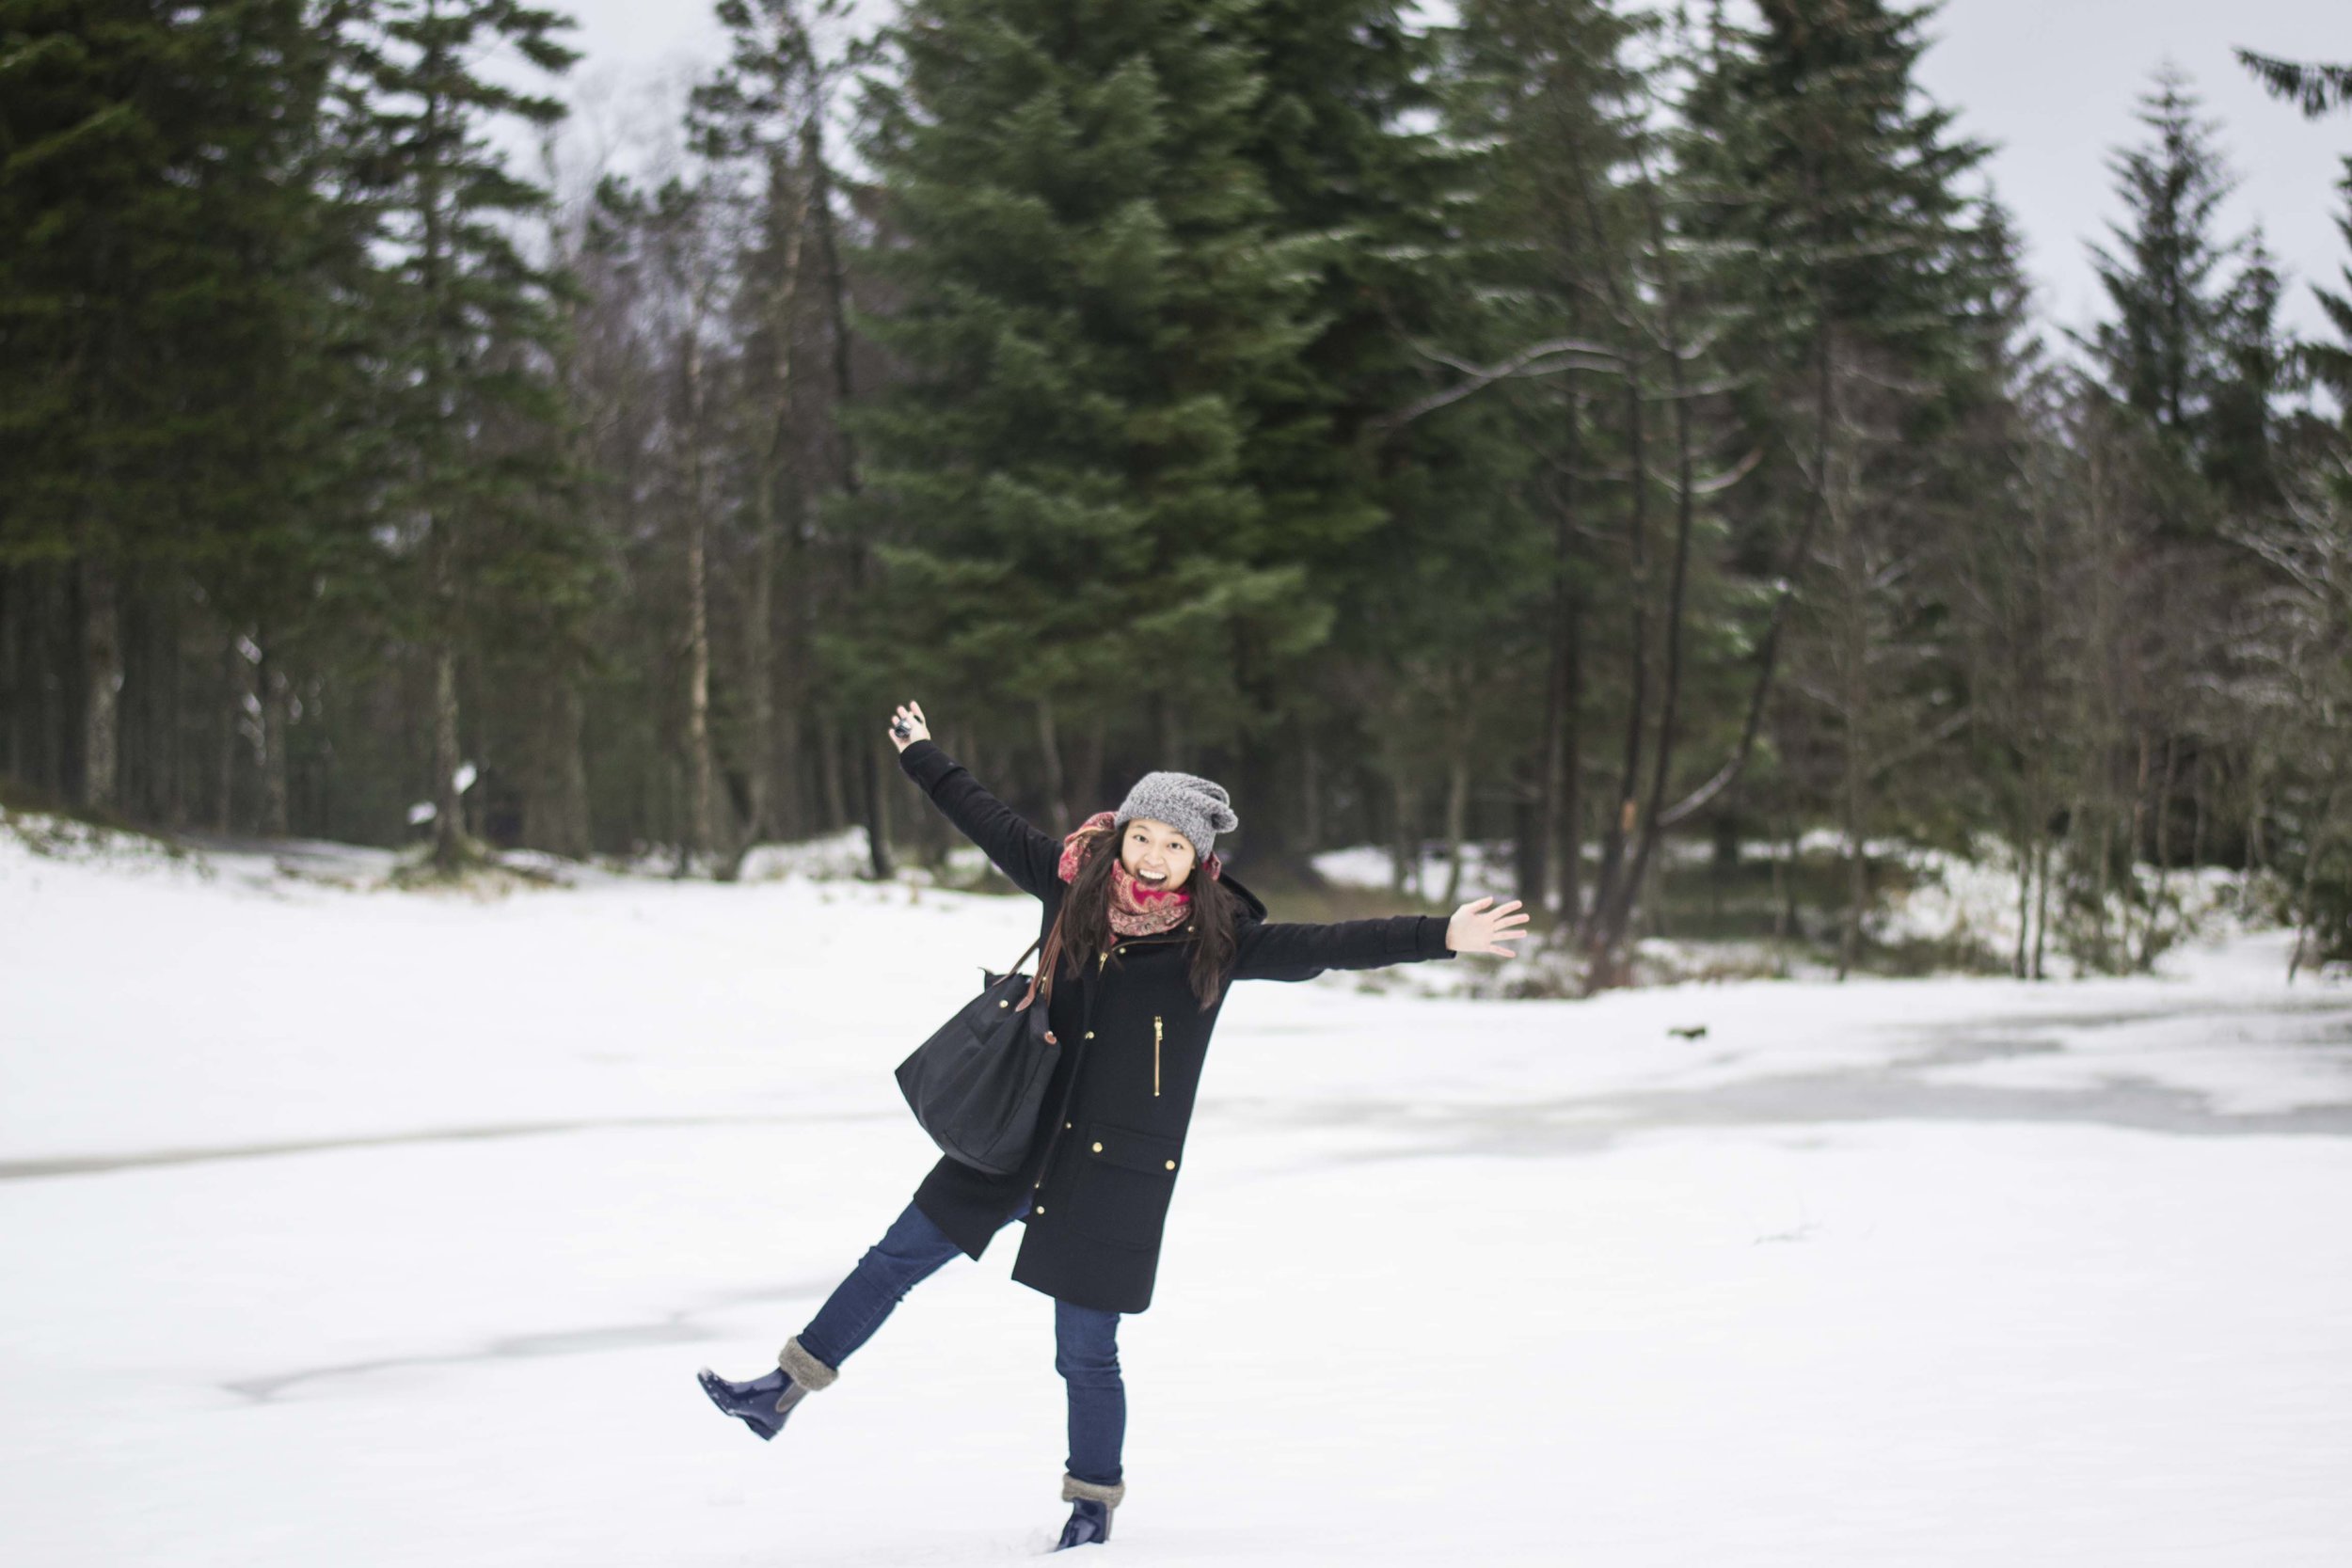
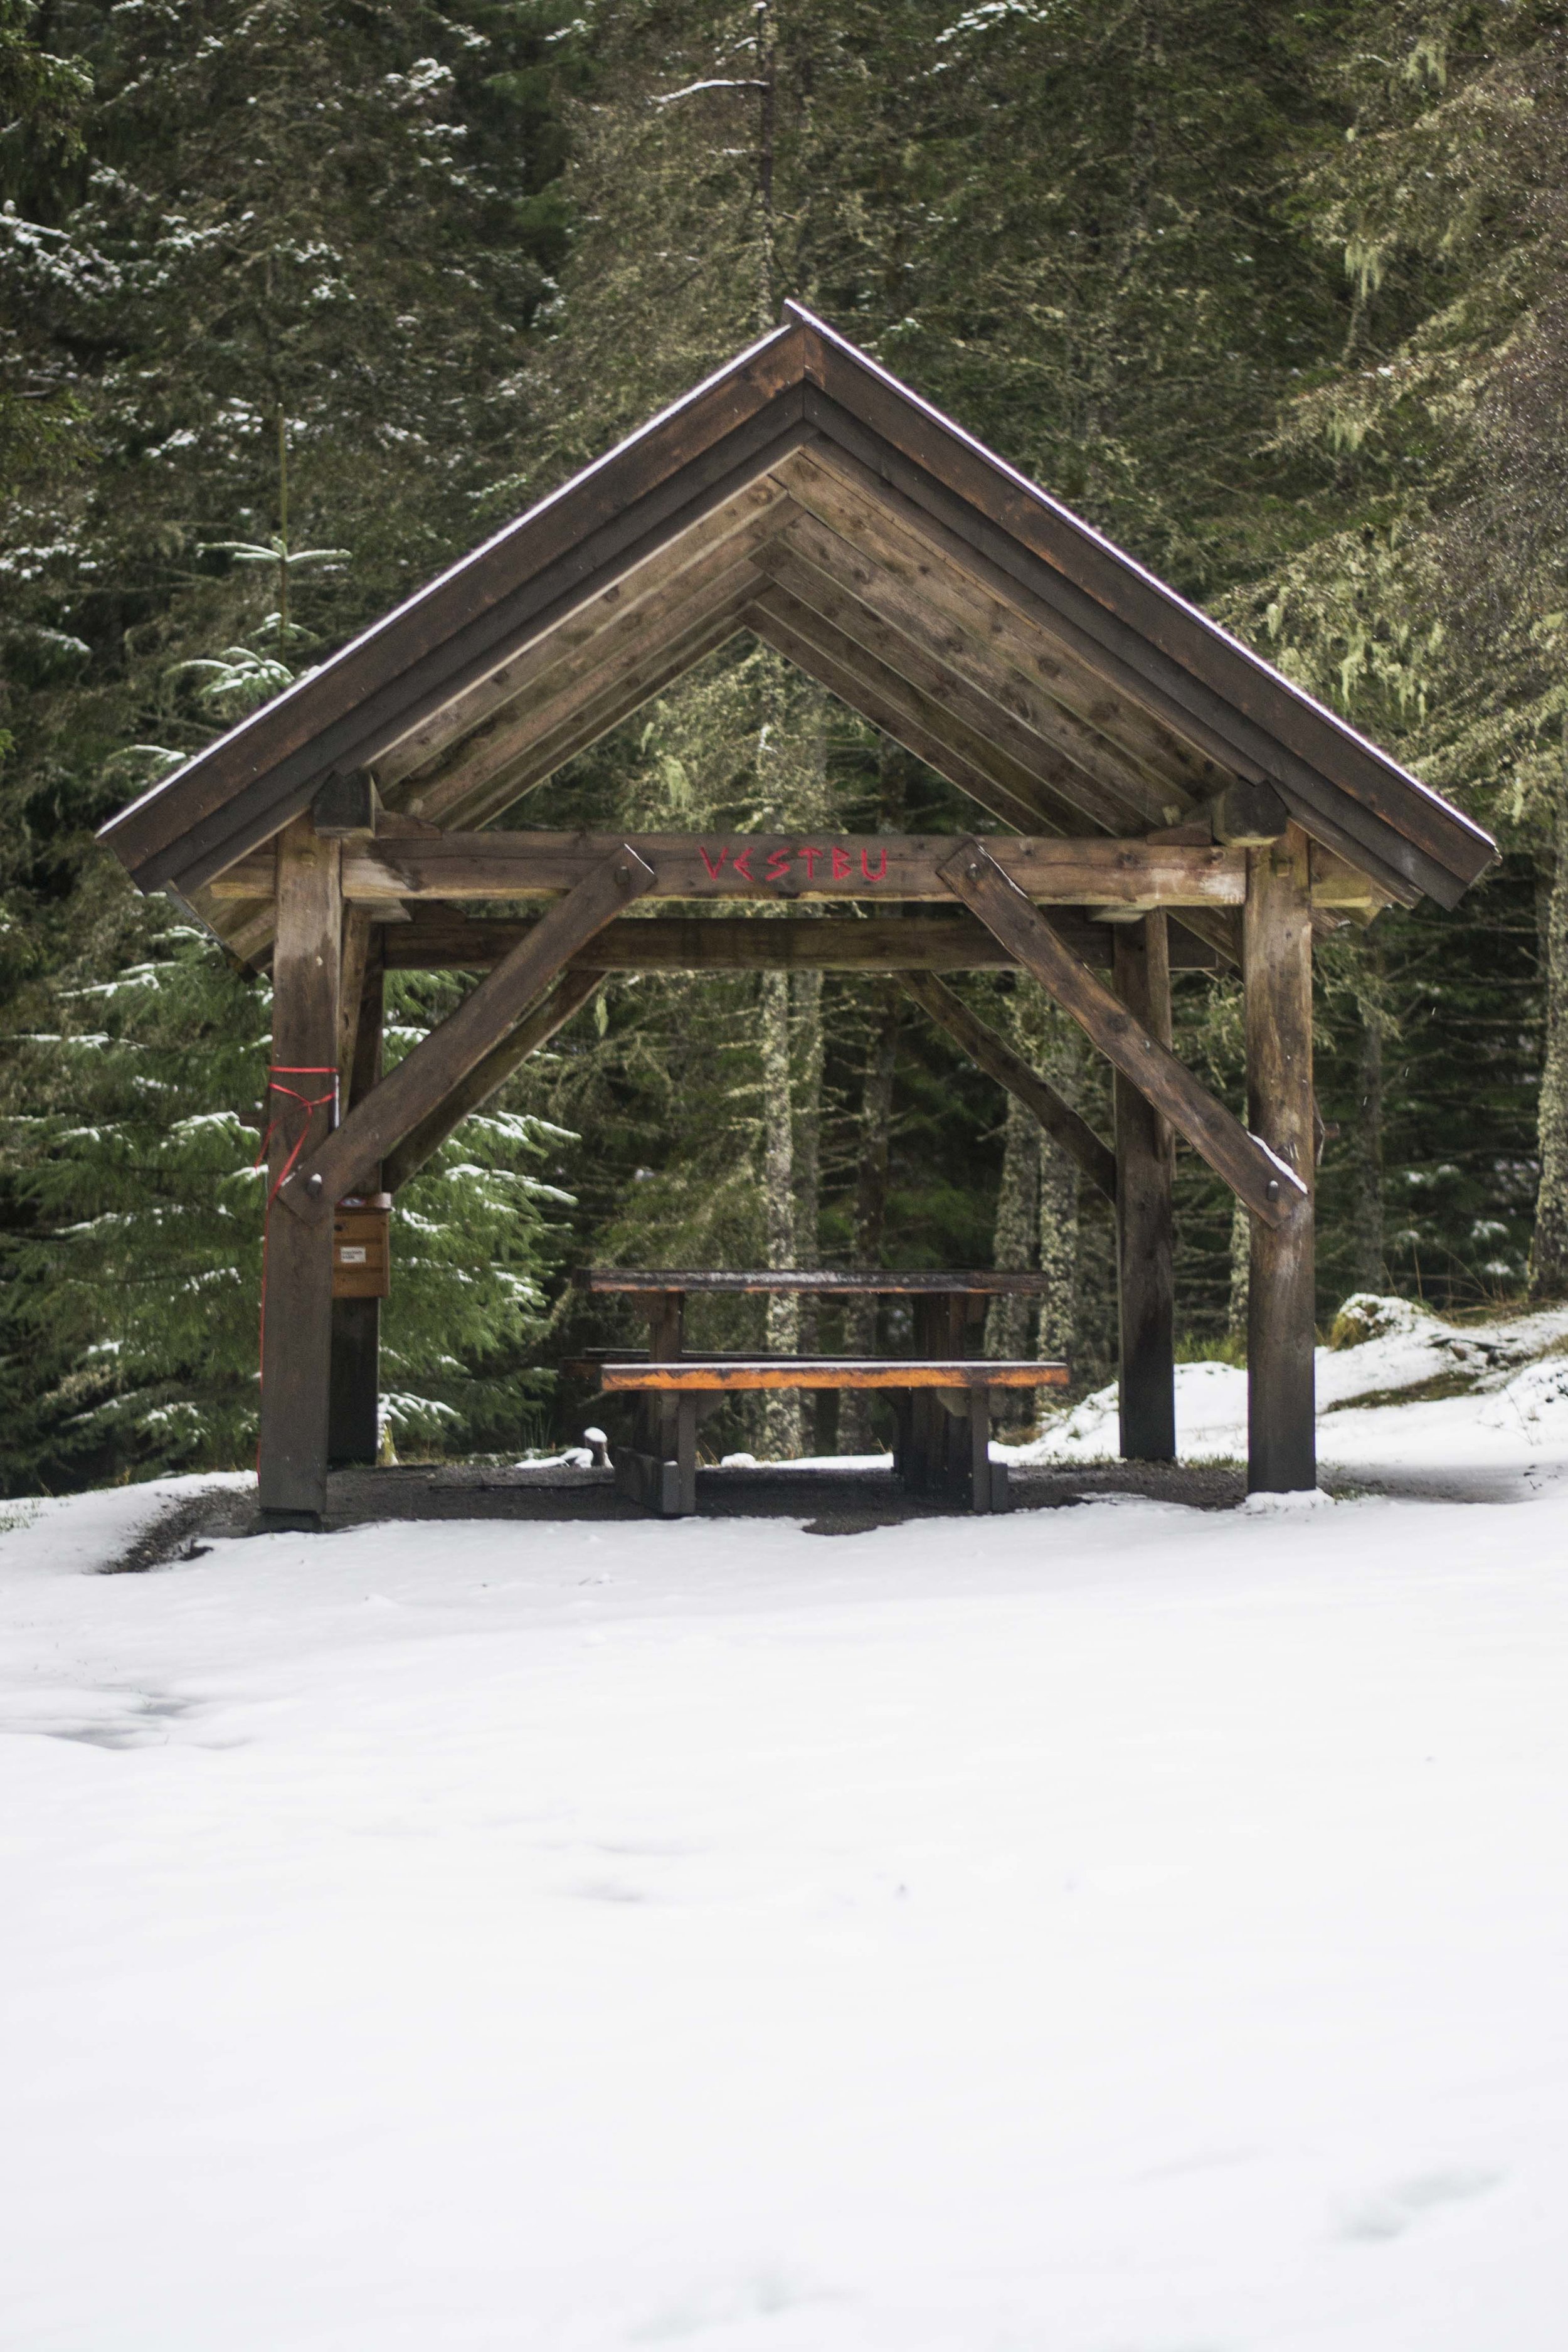
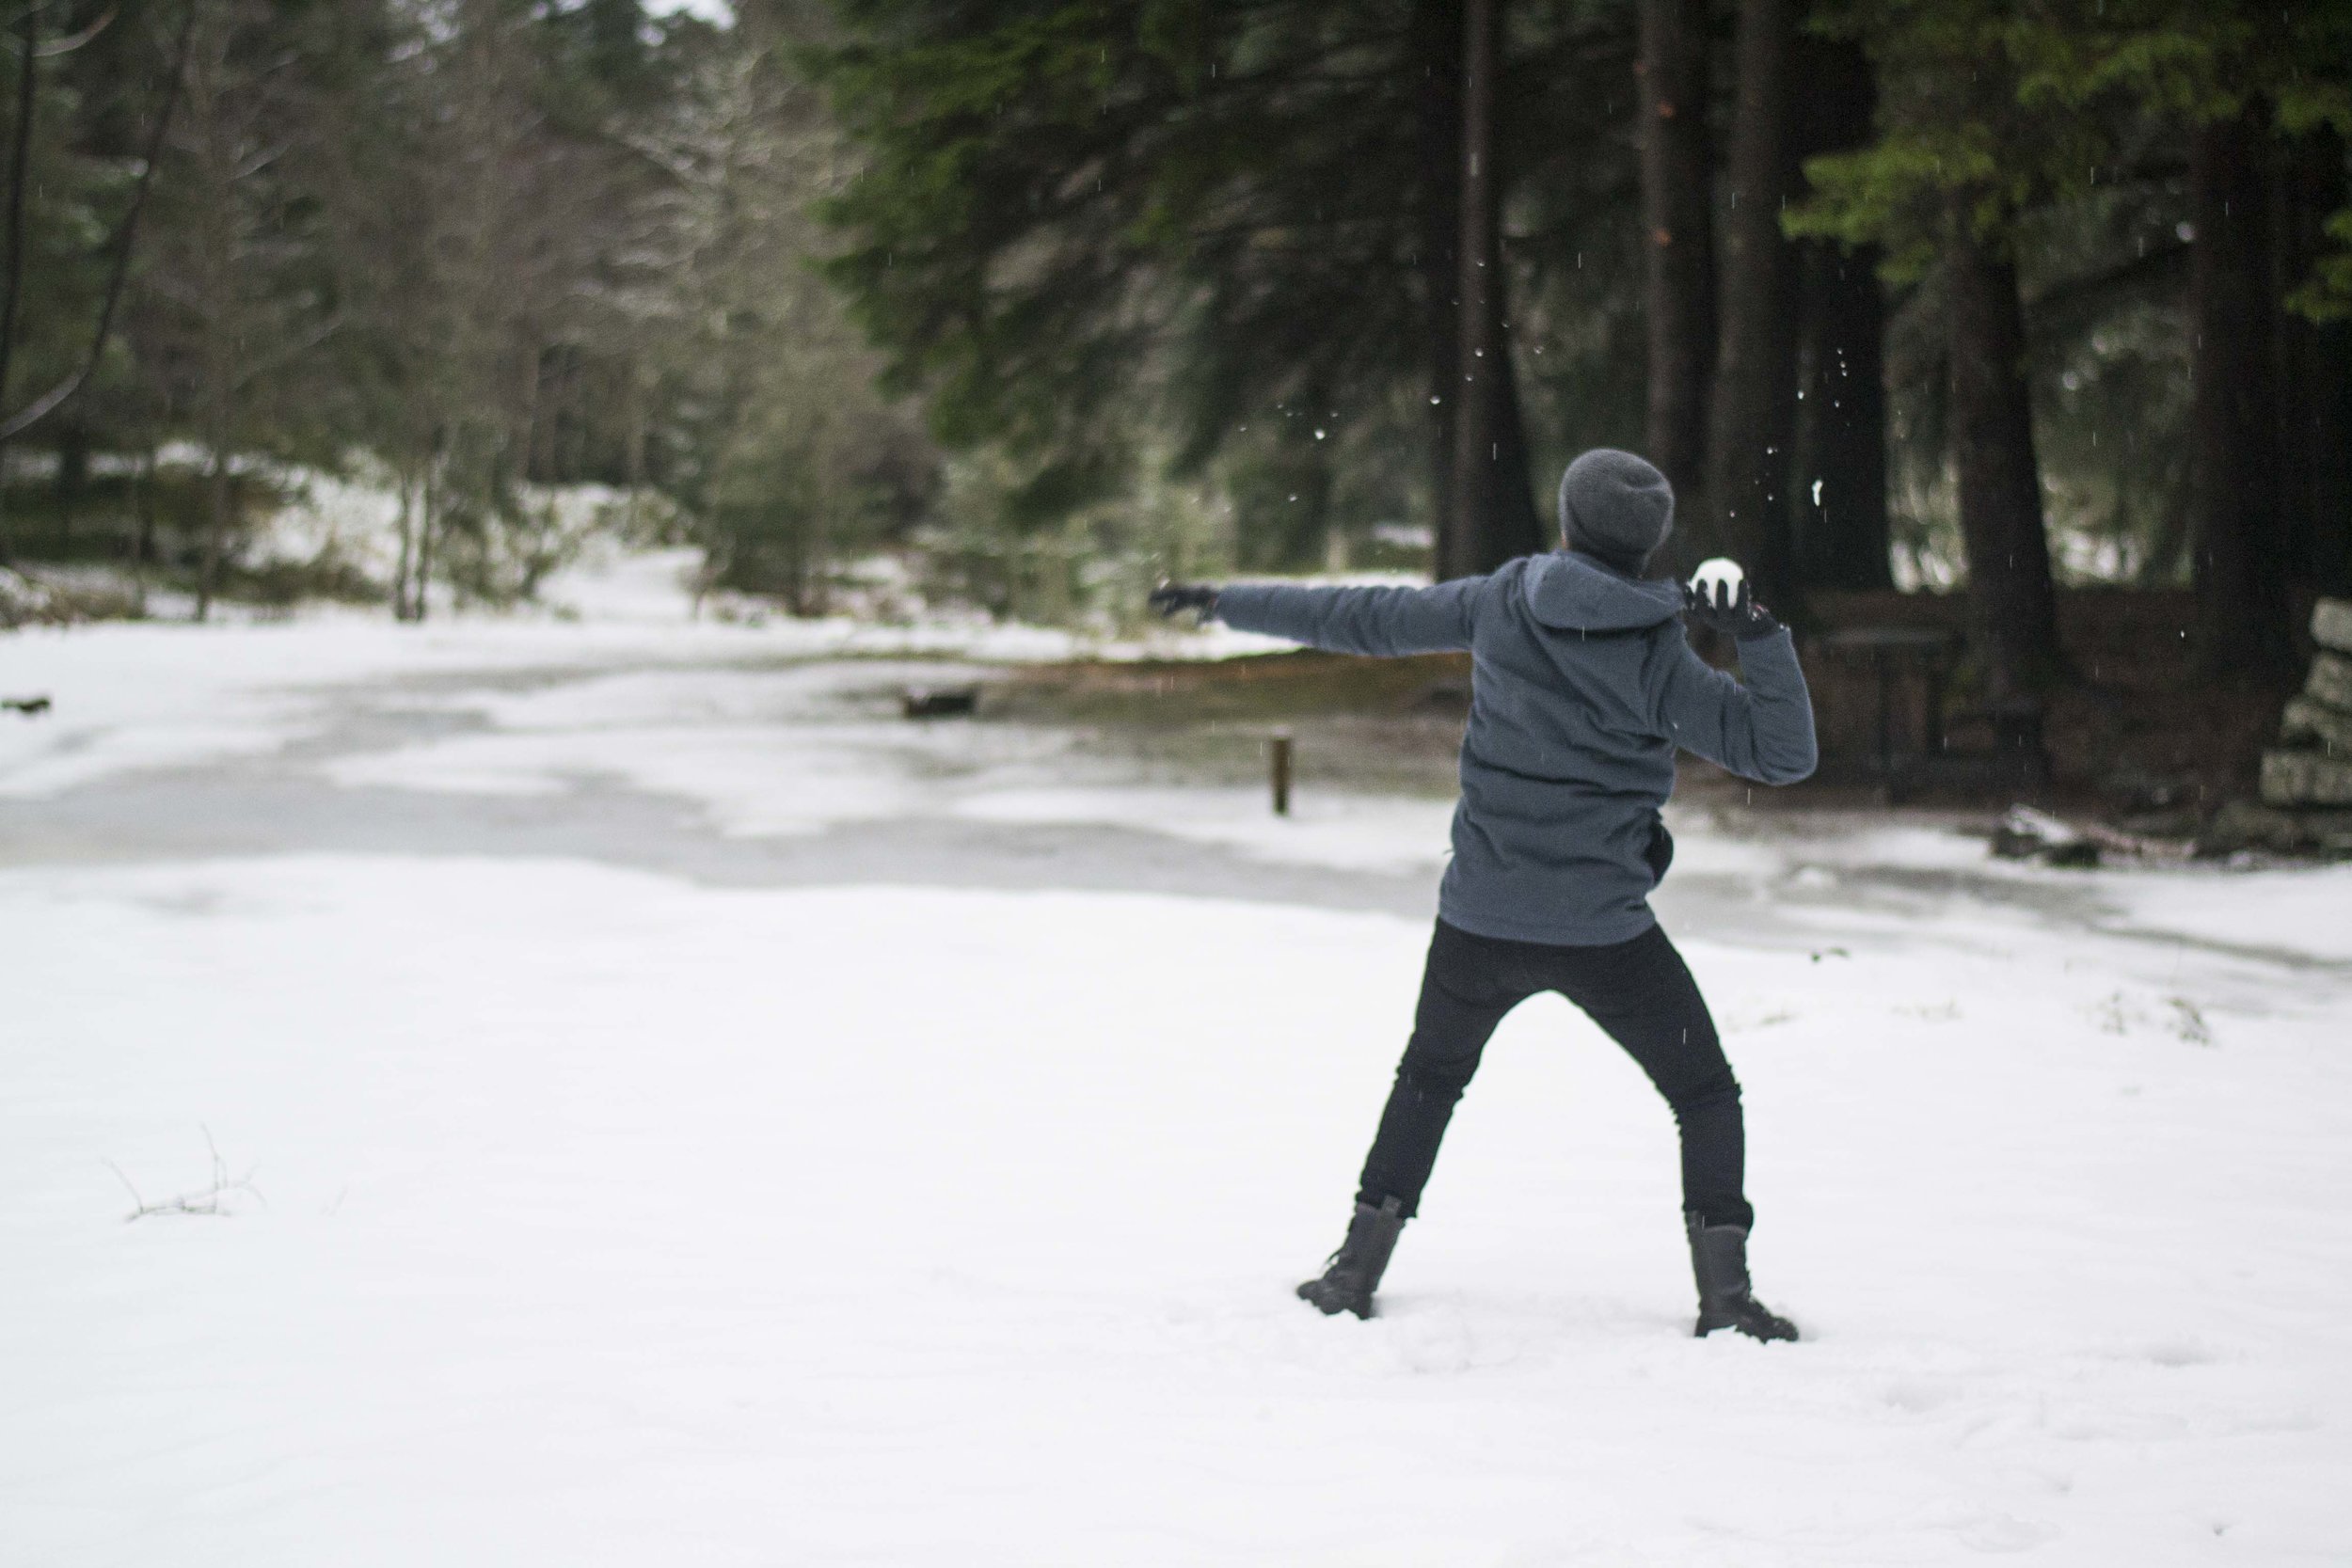
It was beyond chilly out, but we went up the funicular to Mount Floyen and surely had more fun than anybody else up there. Hilariously, at the information center we asked a guide what else there was to do at the top of Mount Floyen besides see the view of the city and he said “Oh there’s a lot! There’s a lot of hiking…and a lot of people hike…” Even though it had just snowed (or rather, because it had just snowed!), we decided to actually hike portions of it and ended up seeing such a magical wintery forest.

In fact, there were moments where the magic of the forest started making us see little Norwegian trolls…oh wait, that was real. Turns out the Norwegians are legit OBSESSED with trolls, and there are dozens of troll statues hidden throughout the land! We couldn’t stop laughing at how bizarre the little creatures were, and mightily impressed with how far the troll statues seemed to extend.

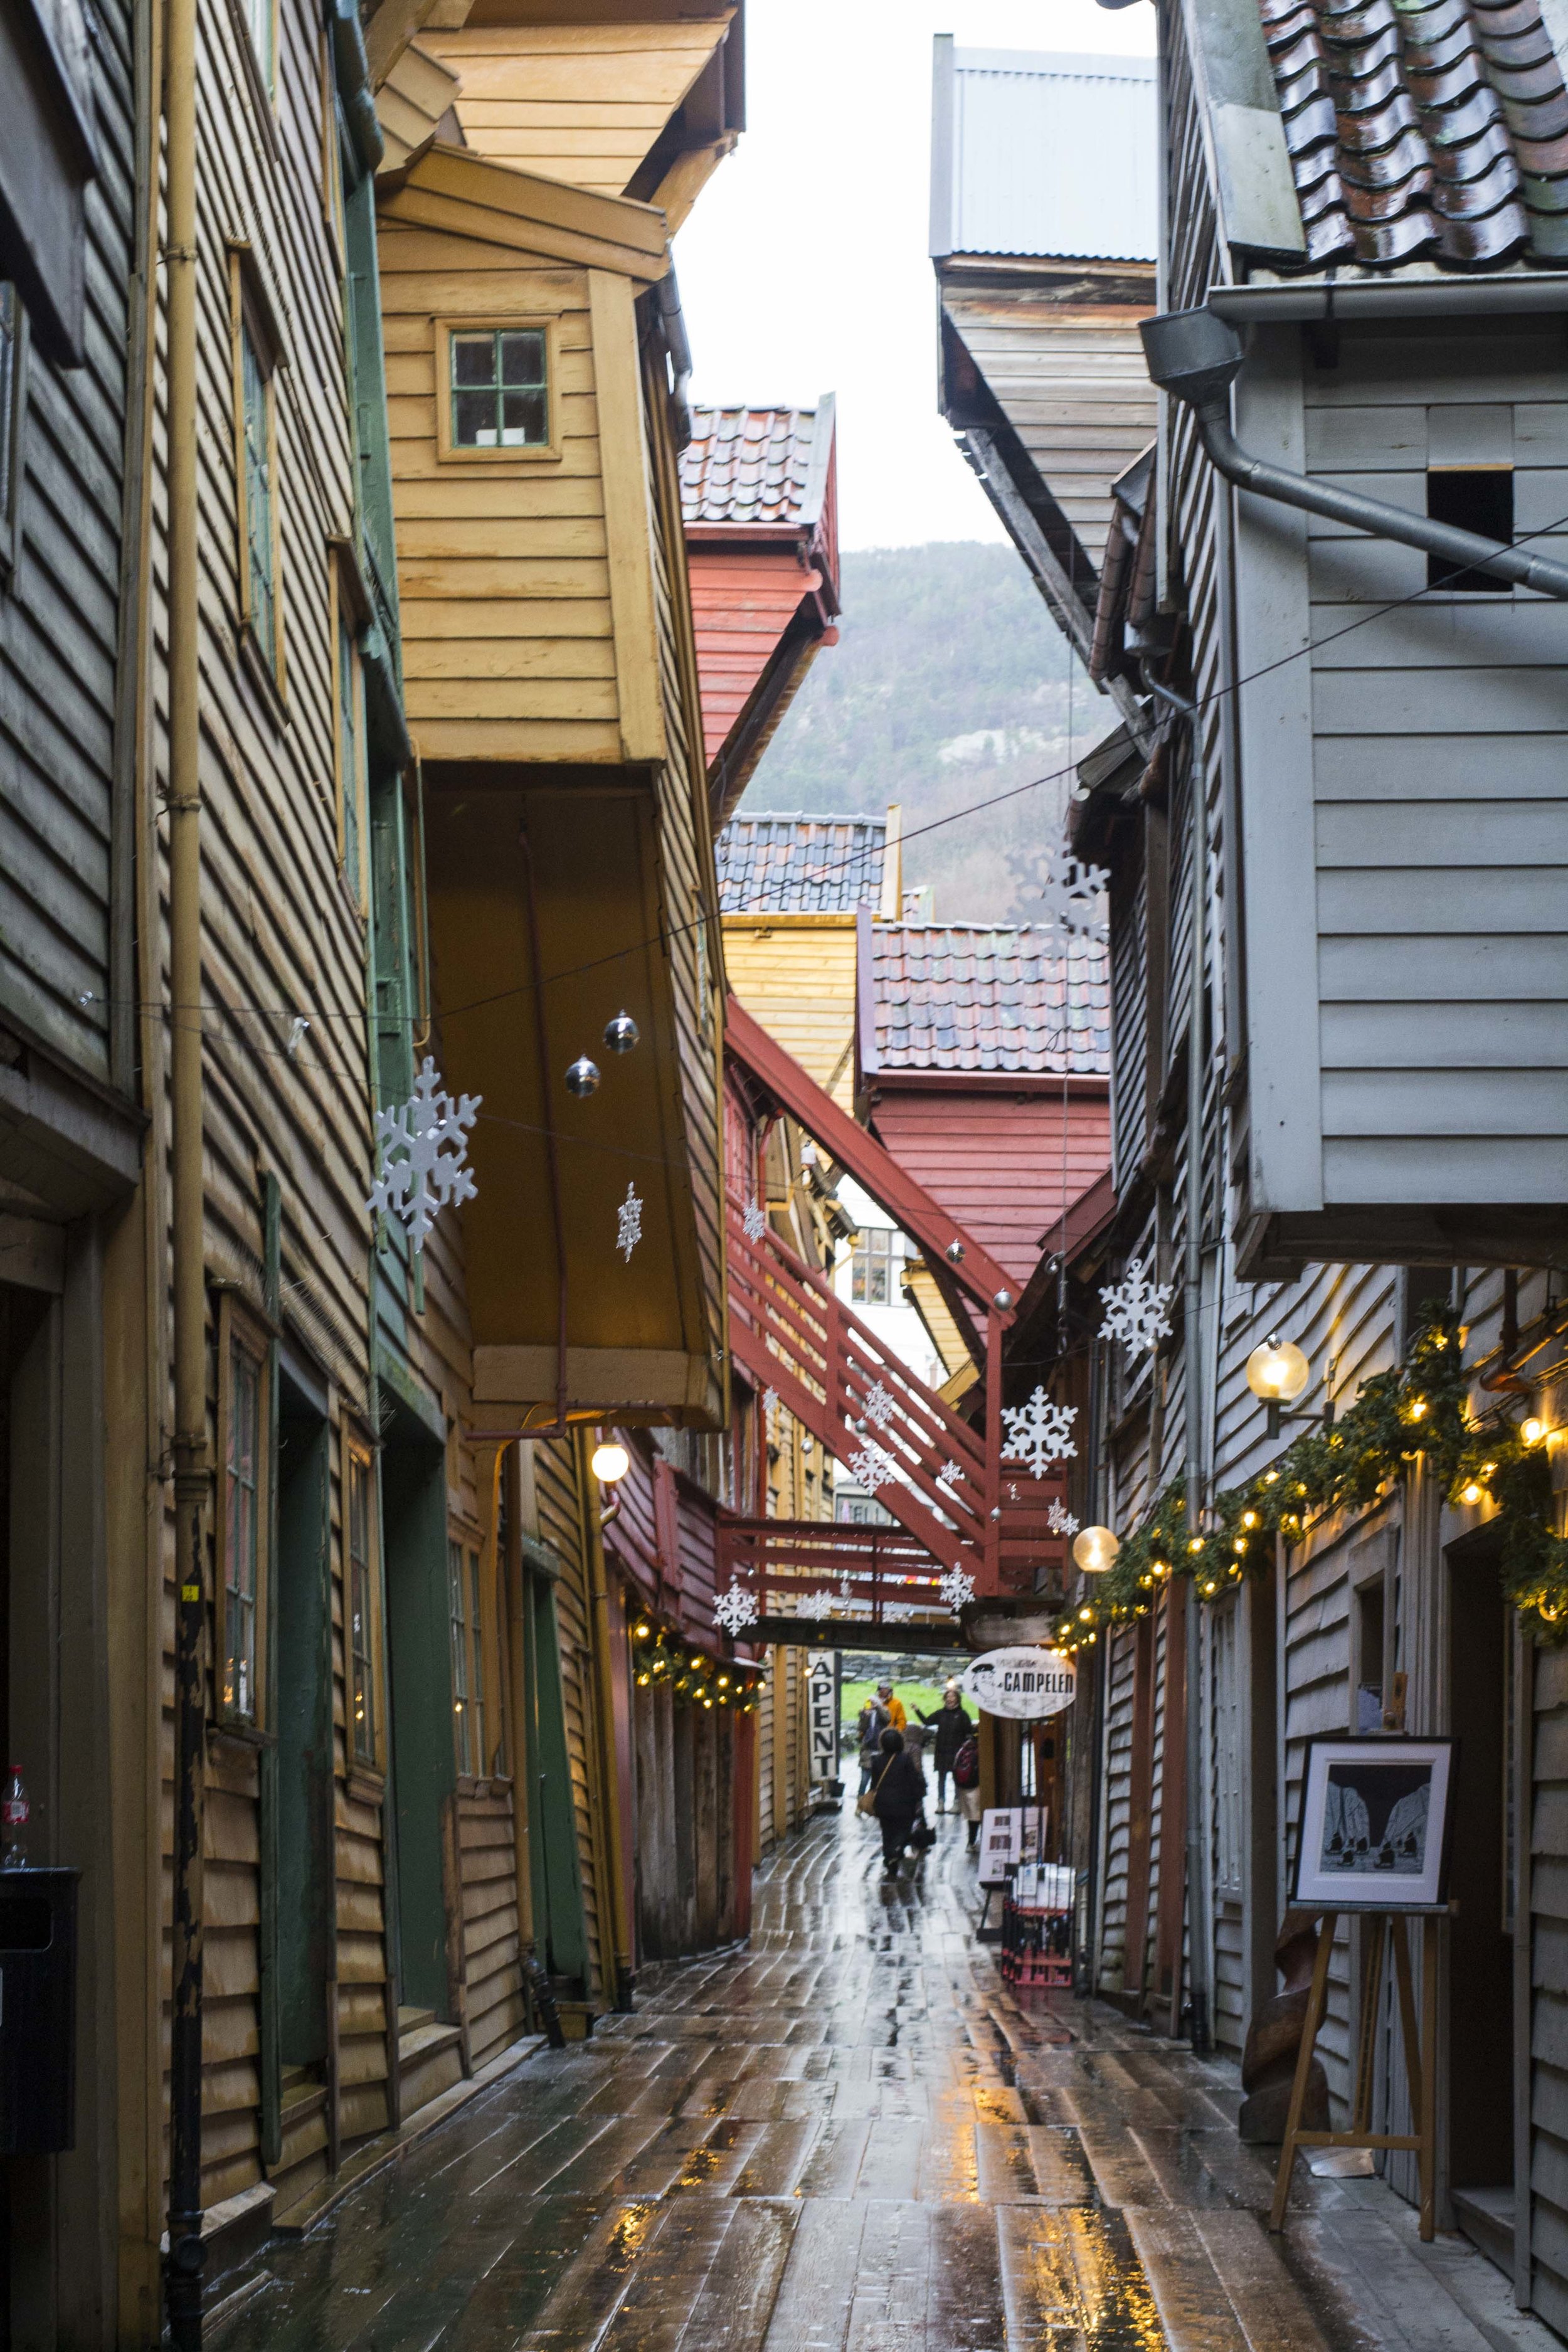
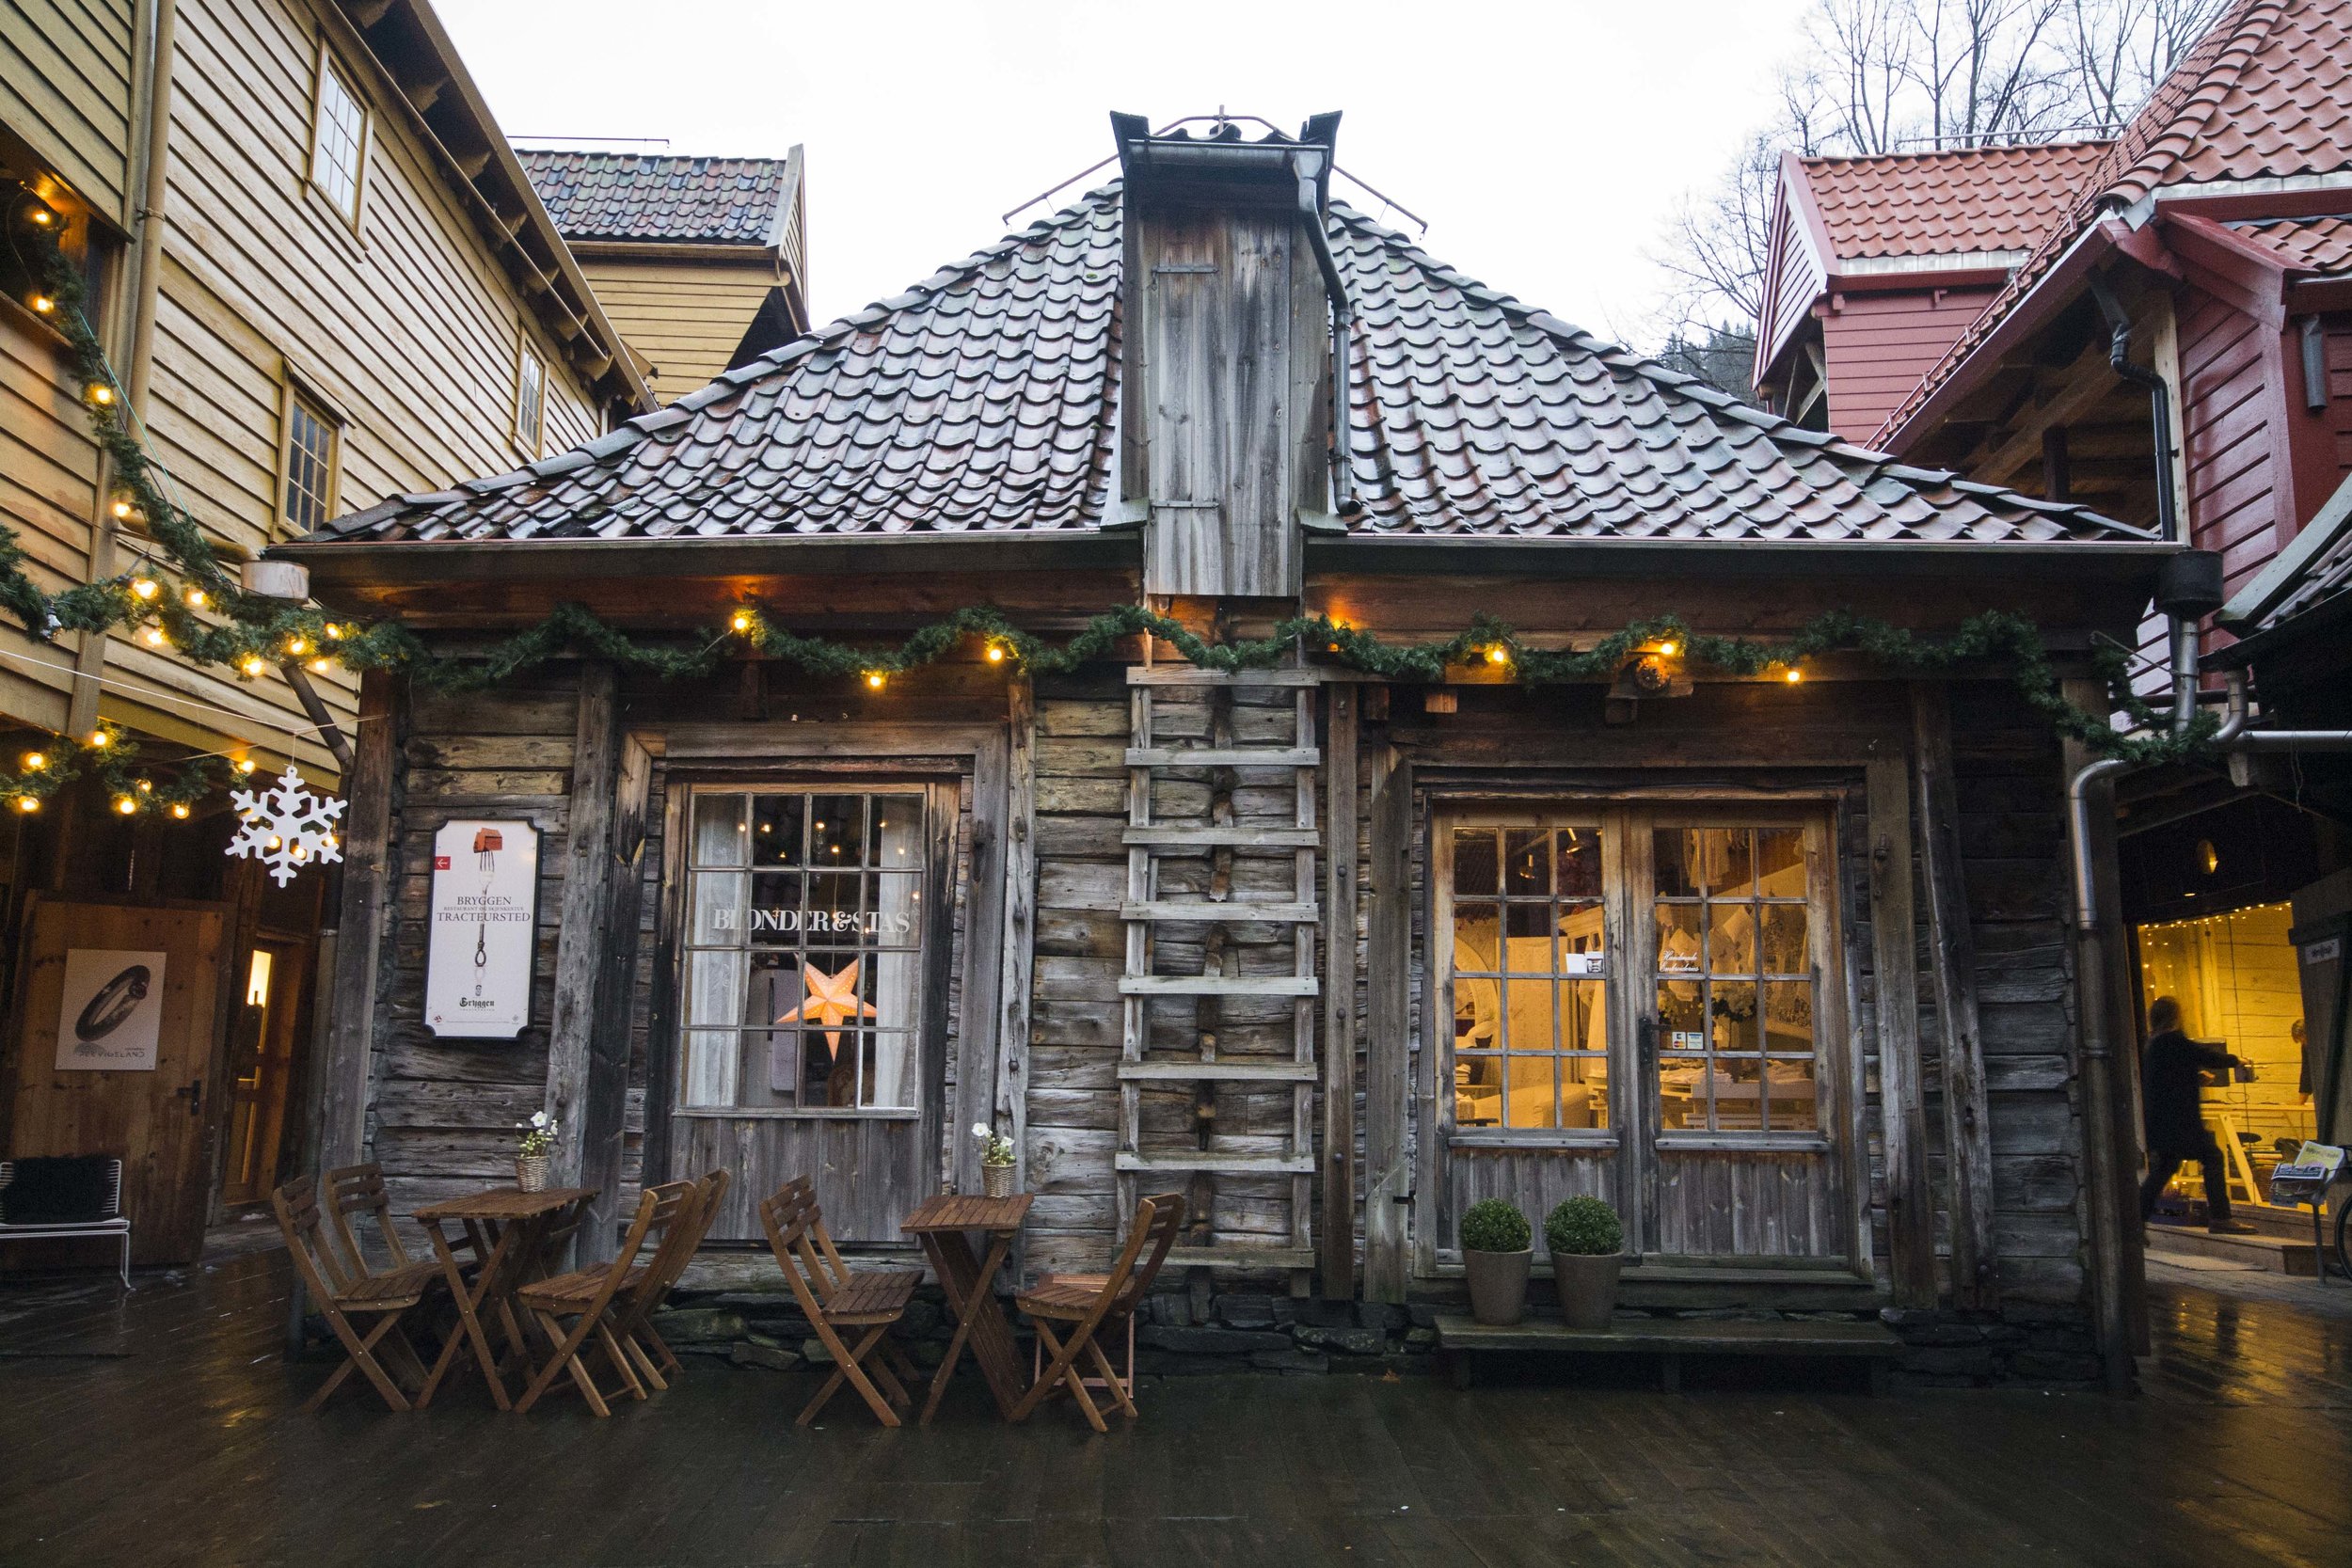
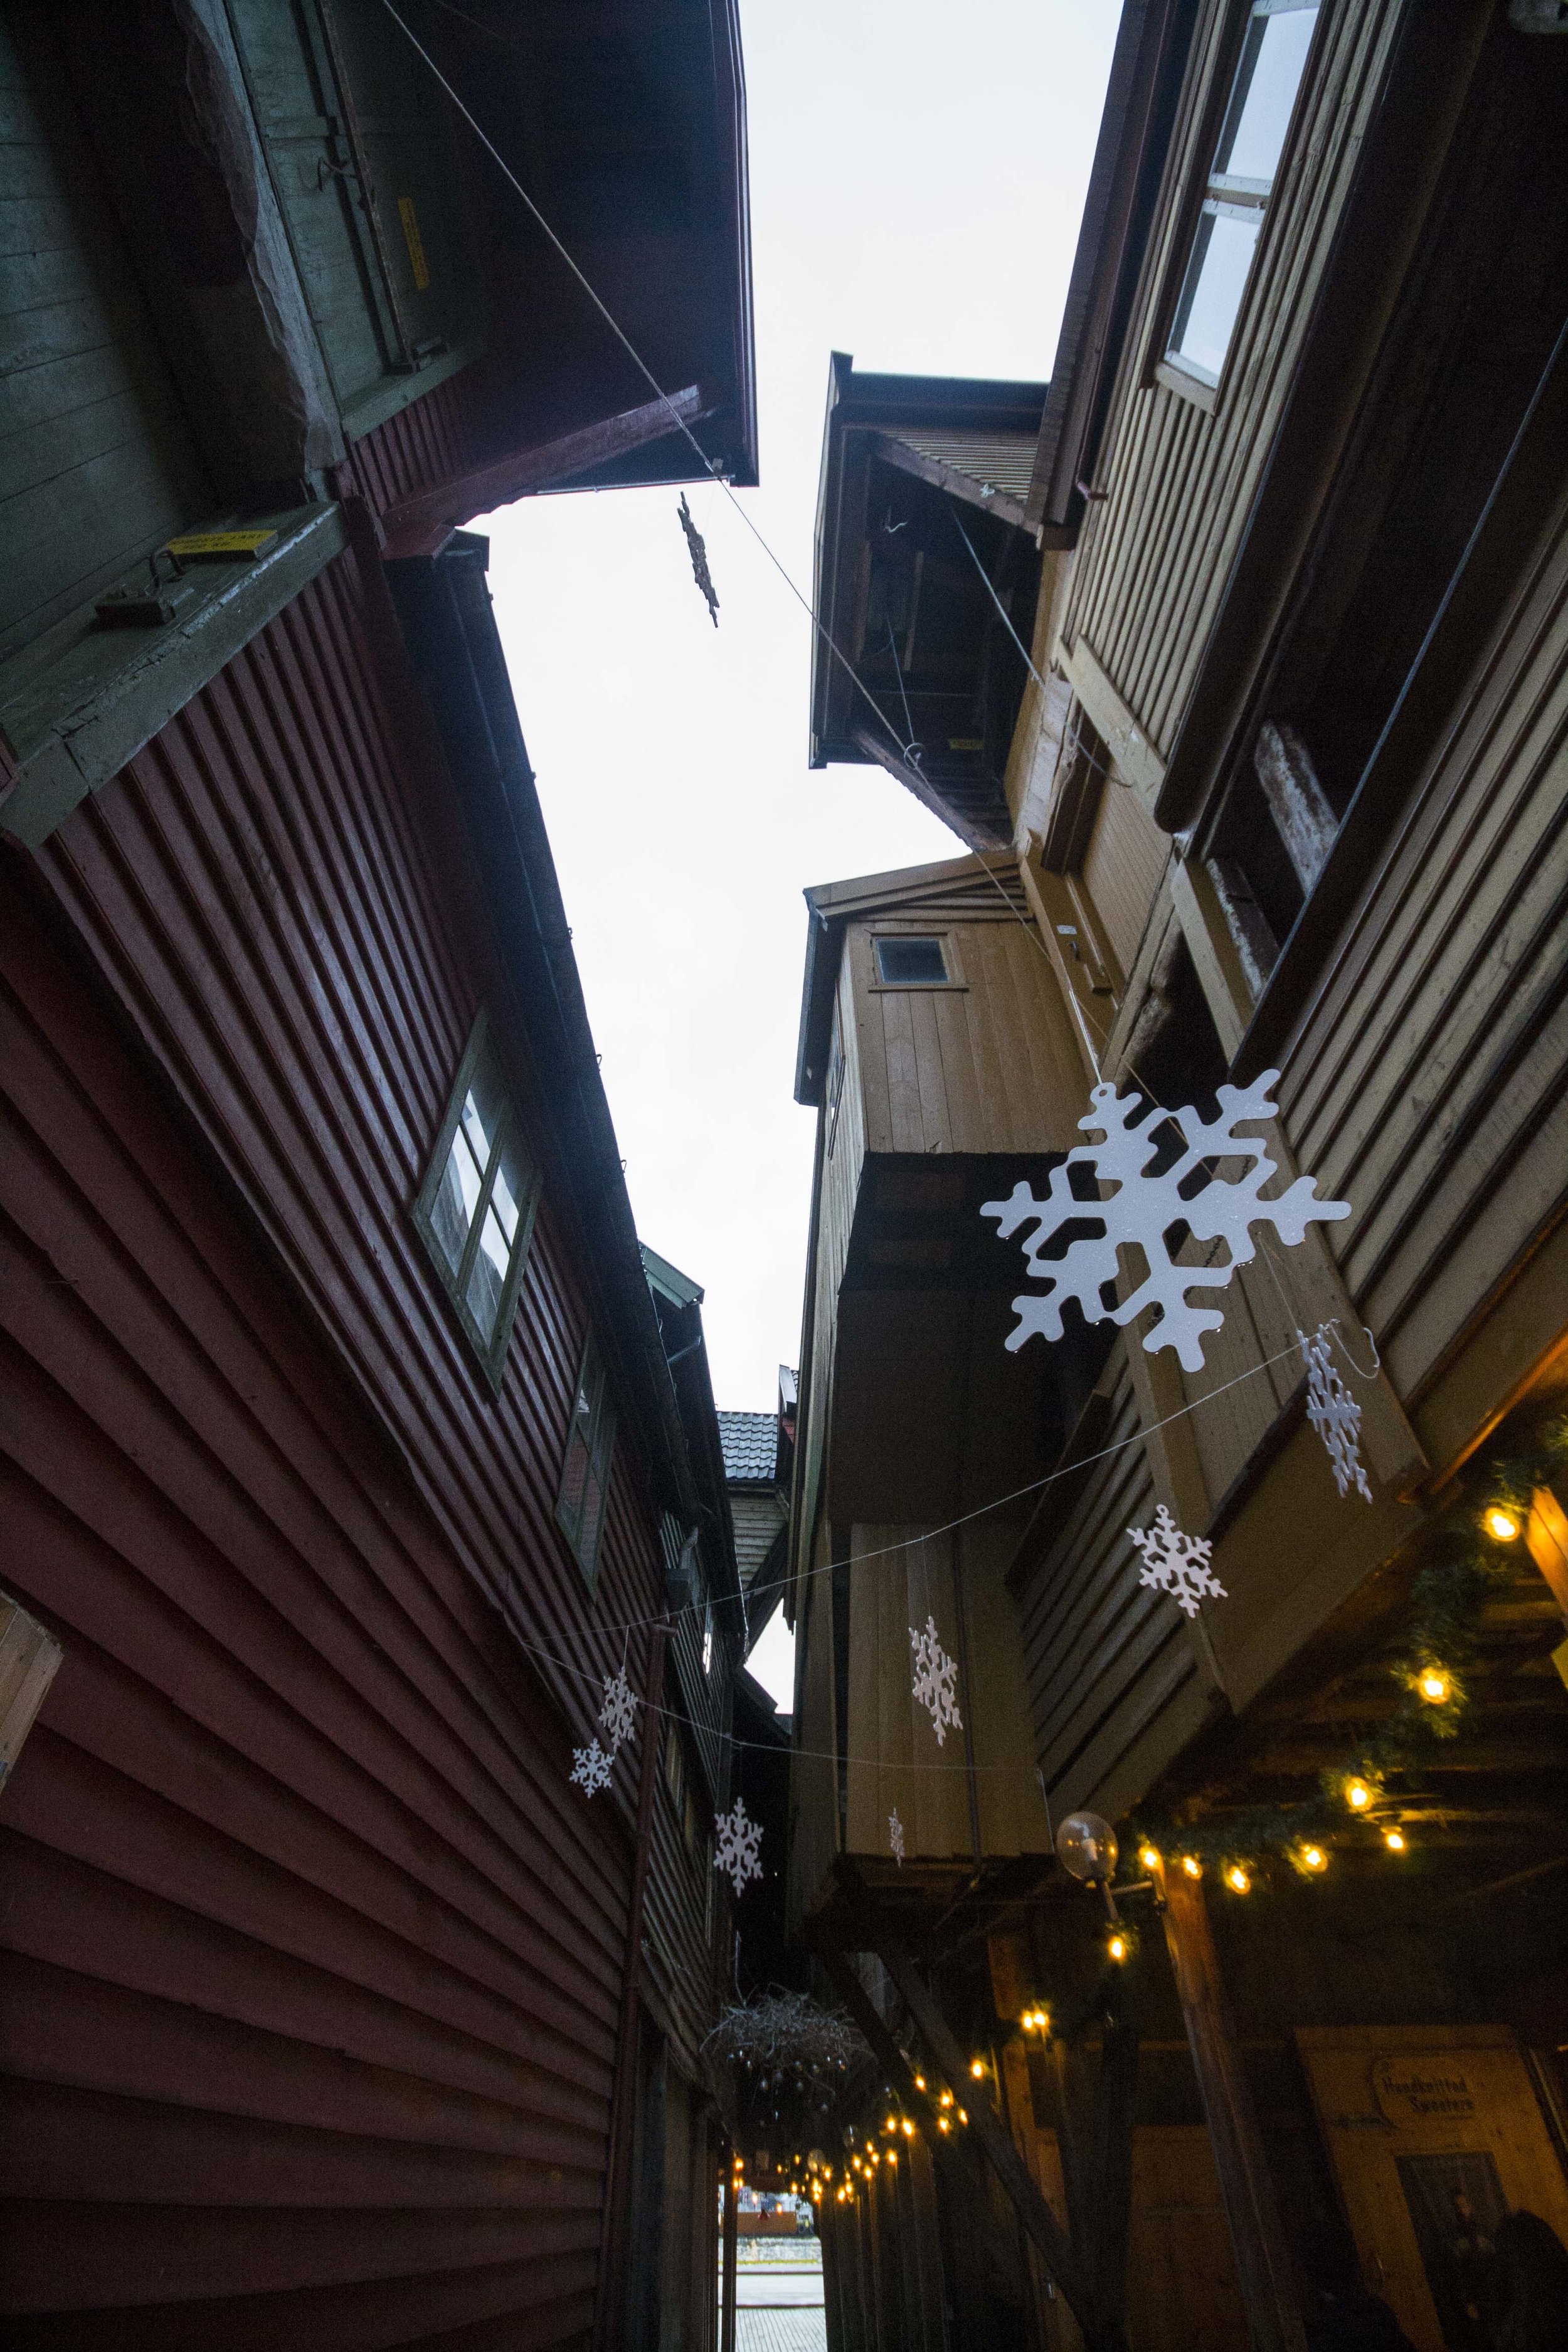
We also took the time to explore Bryggen which I feel obliged to mention is a UNESCO World Heritage site, but I’m also realizing that pretty much everything is a UNESCO World Heritage site, so that’s starting to lose some meaning to me. Be a little bit more exclusive, would you, UNESCO?! Keep the cool table for the cool kids! Of course, Bryggen would still totally make the cut for the cool kids table in my book, because it was secretly cool. If you walk past the front street, you initially think “Aw, what a cute little row of houses…I guess they’re just really well preserved!” and might be tempted to walk away after a few pictures. But wait! There are actually some unlabeled passages that lead to a labyrinth of overlapping shops, cafes, and museums. We weren’t planning on spending too much time in Bryggen, but kept getting sucked into one cool store after the other. There was even a three story Christmas store!

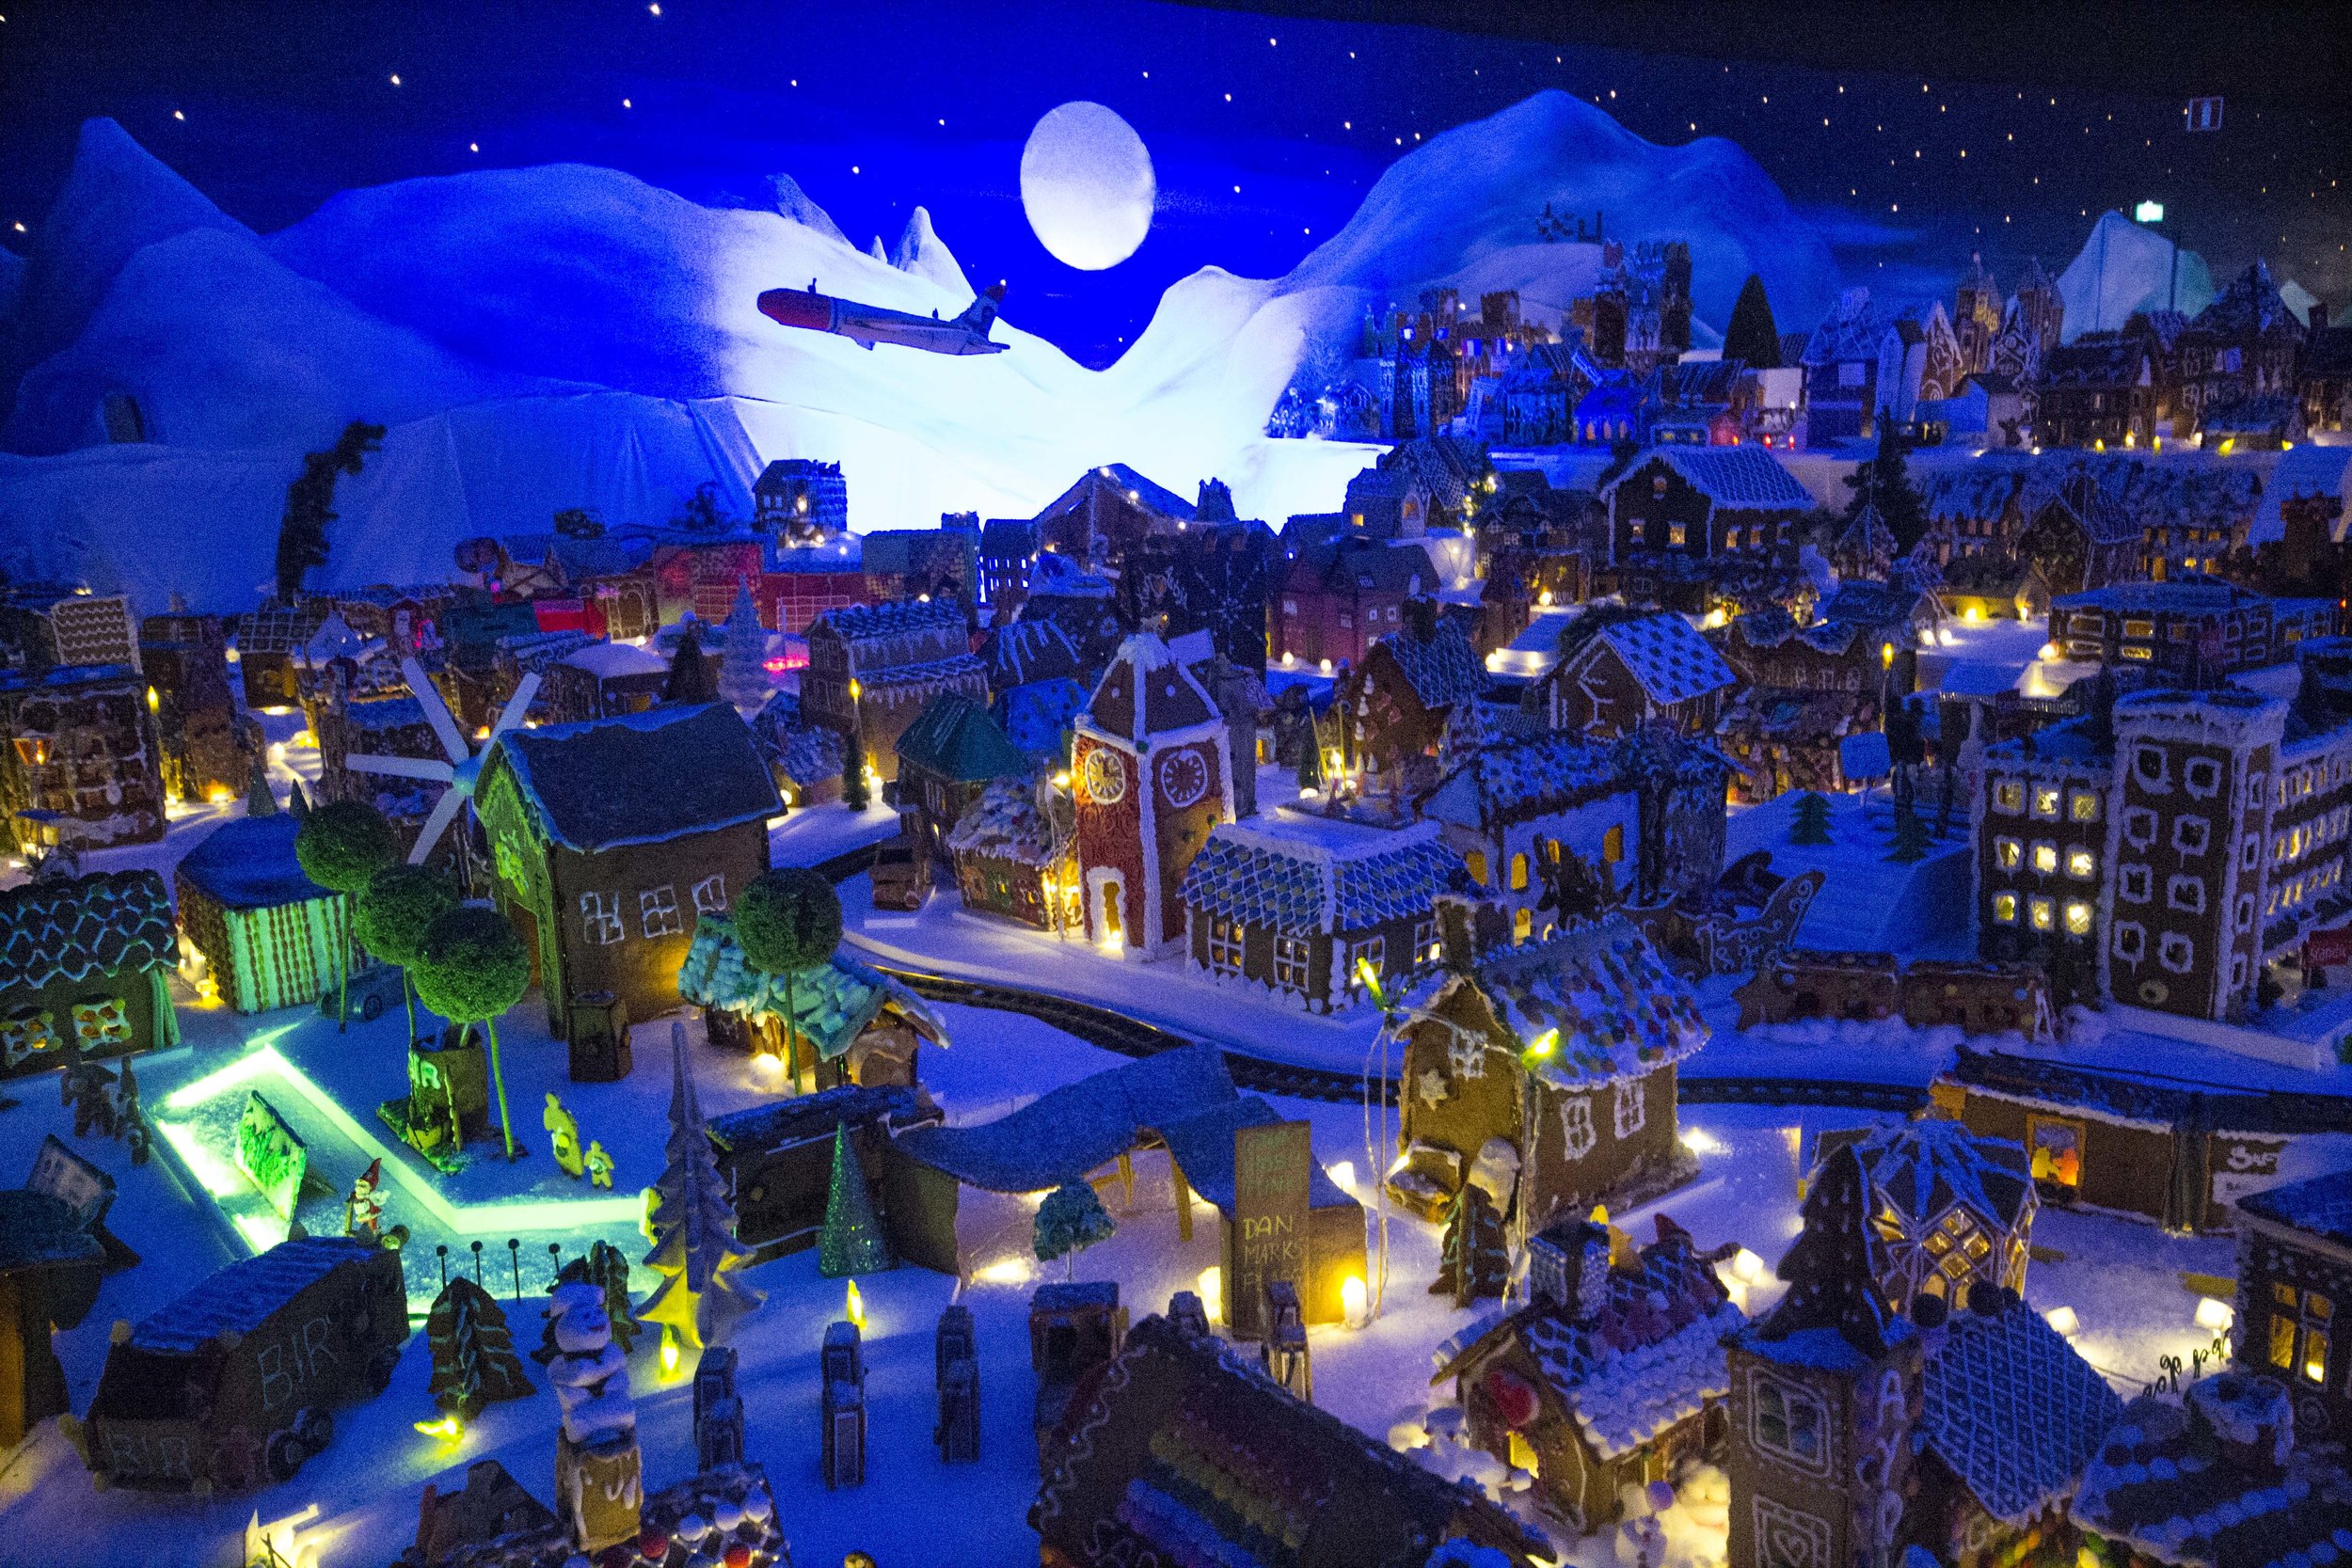
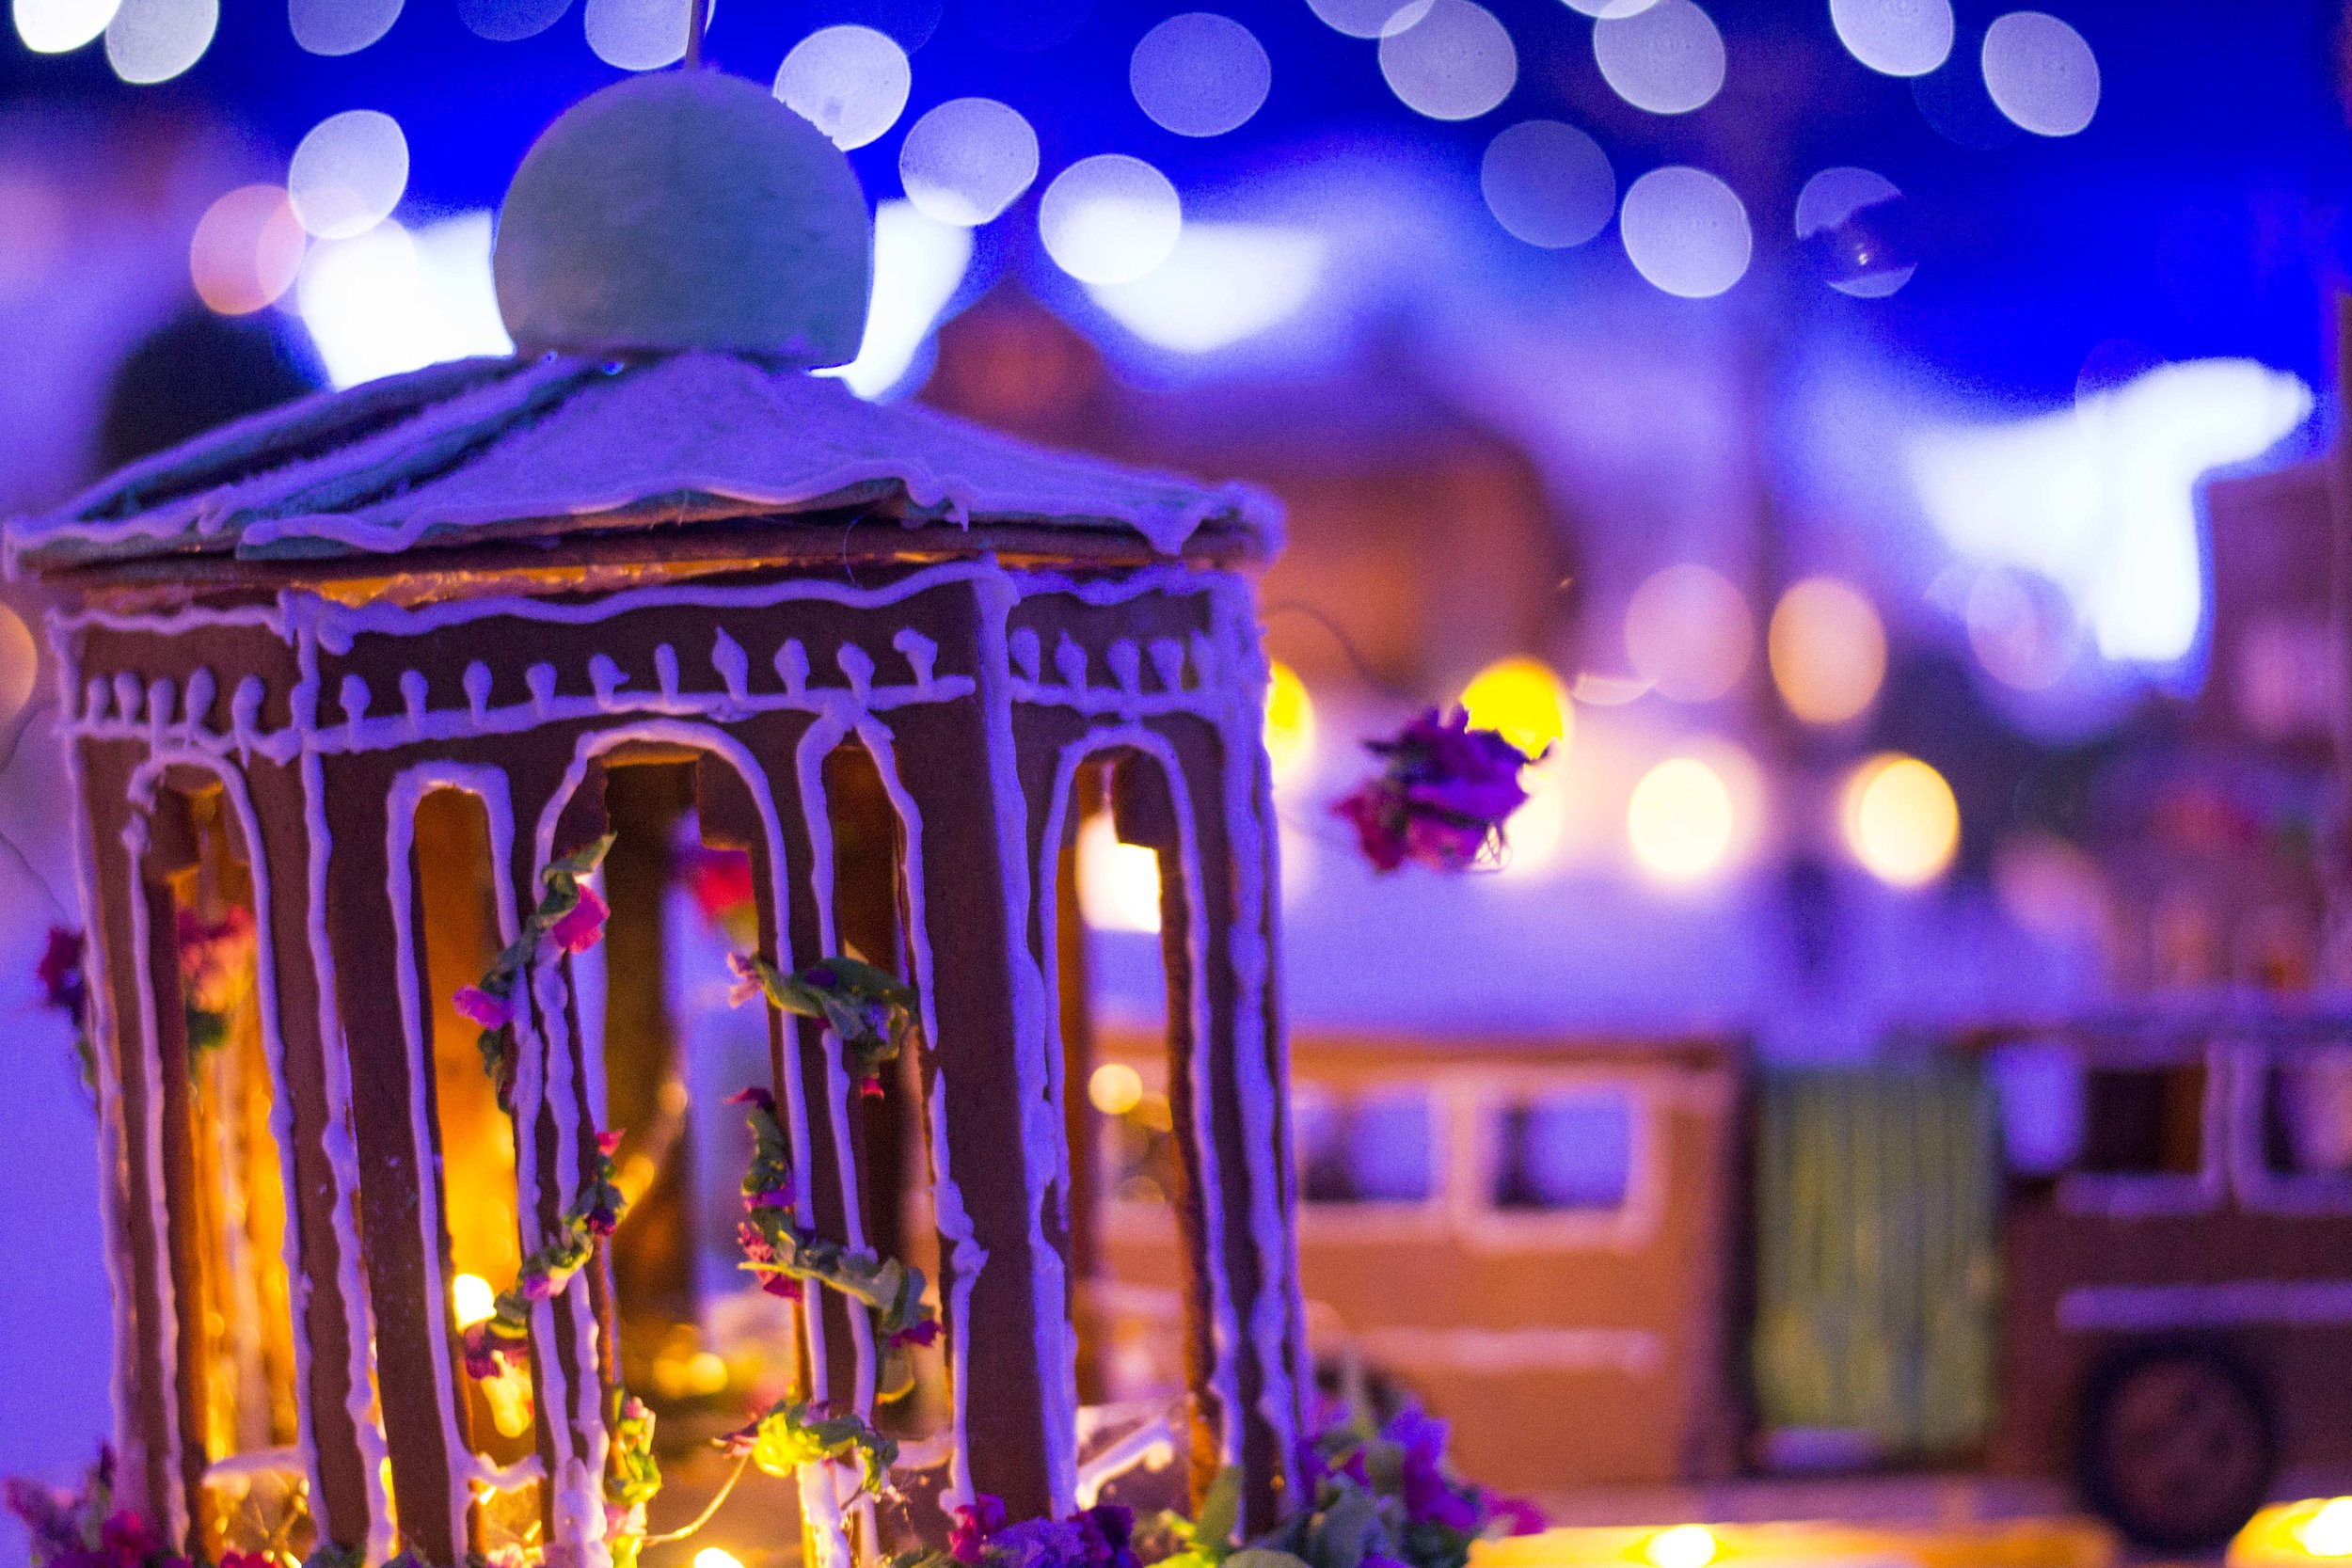
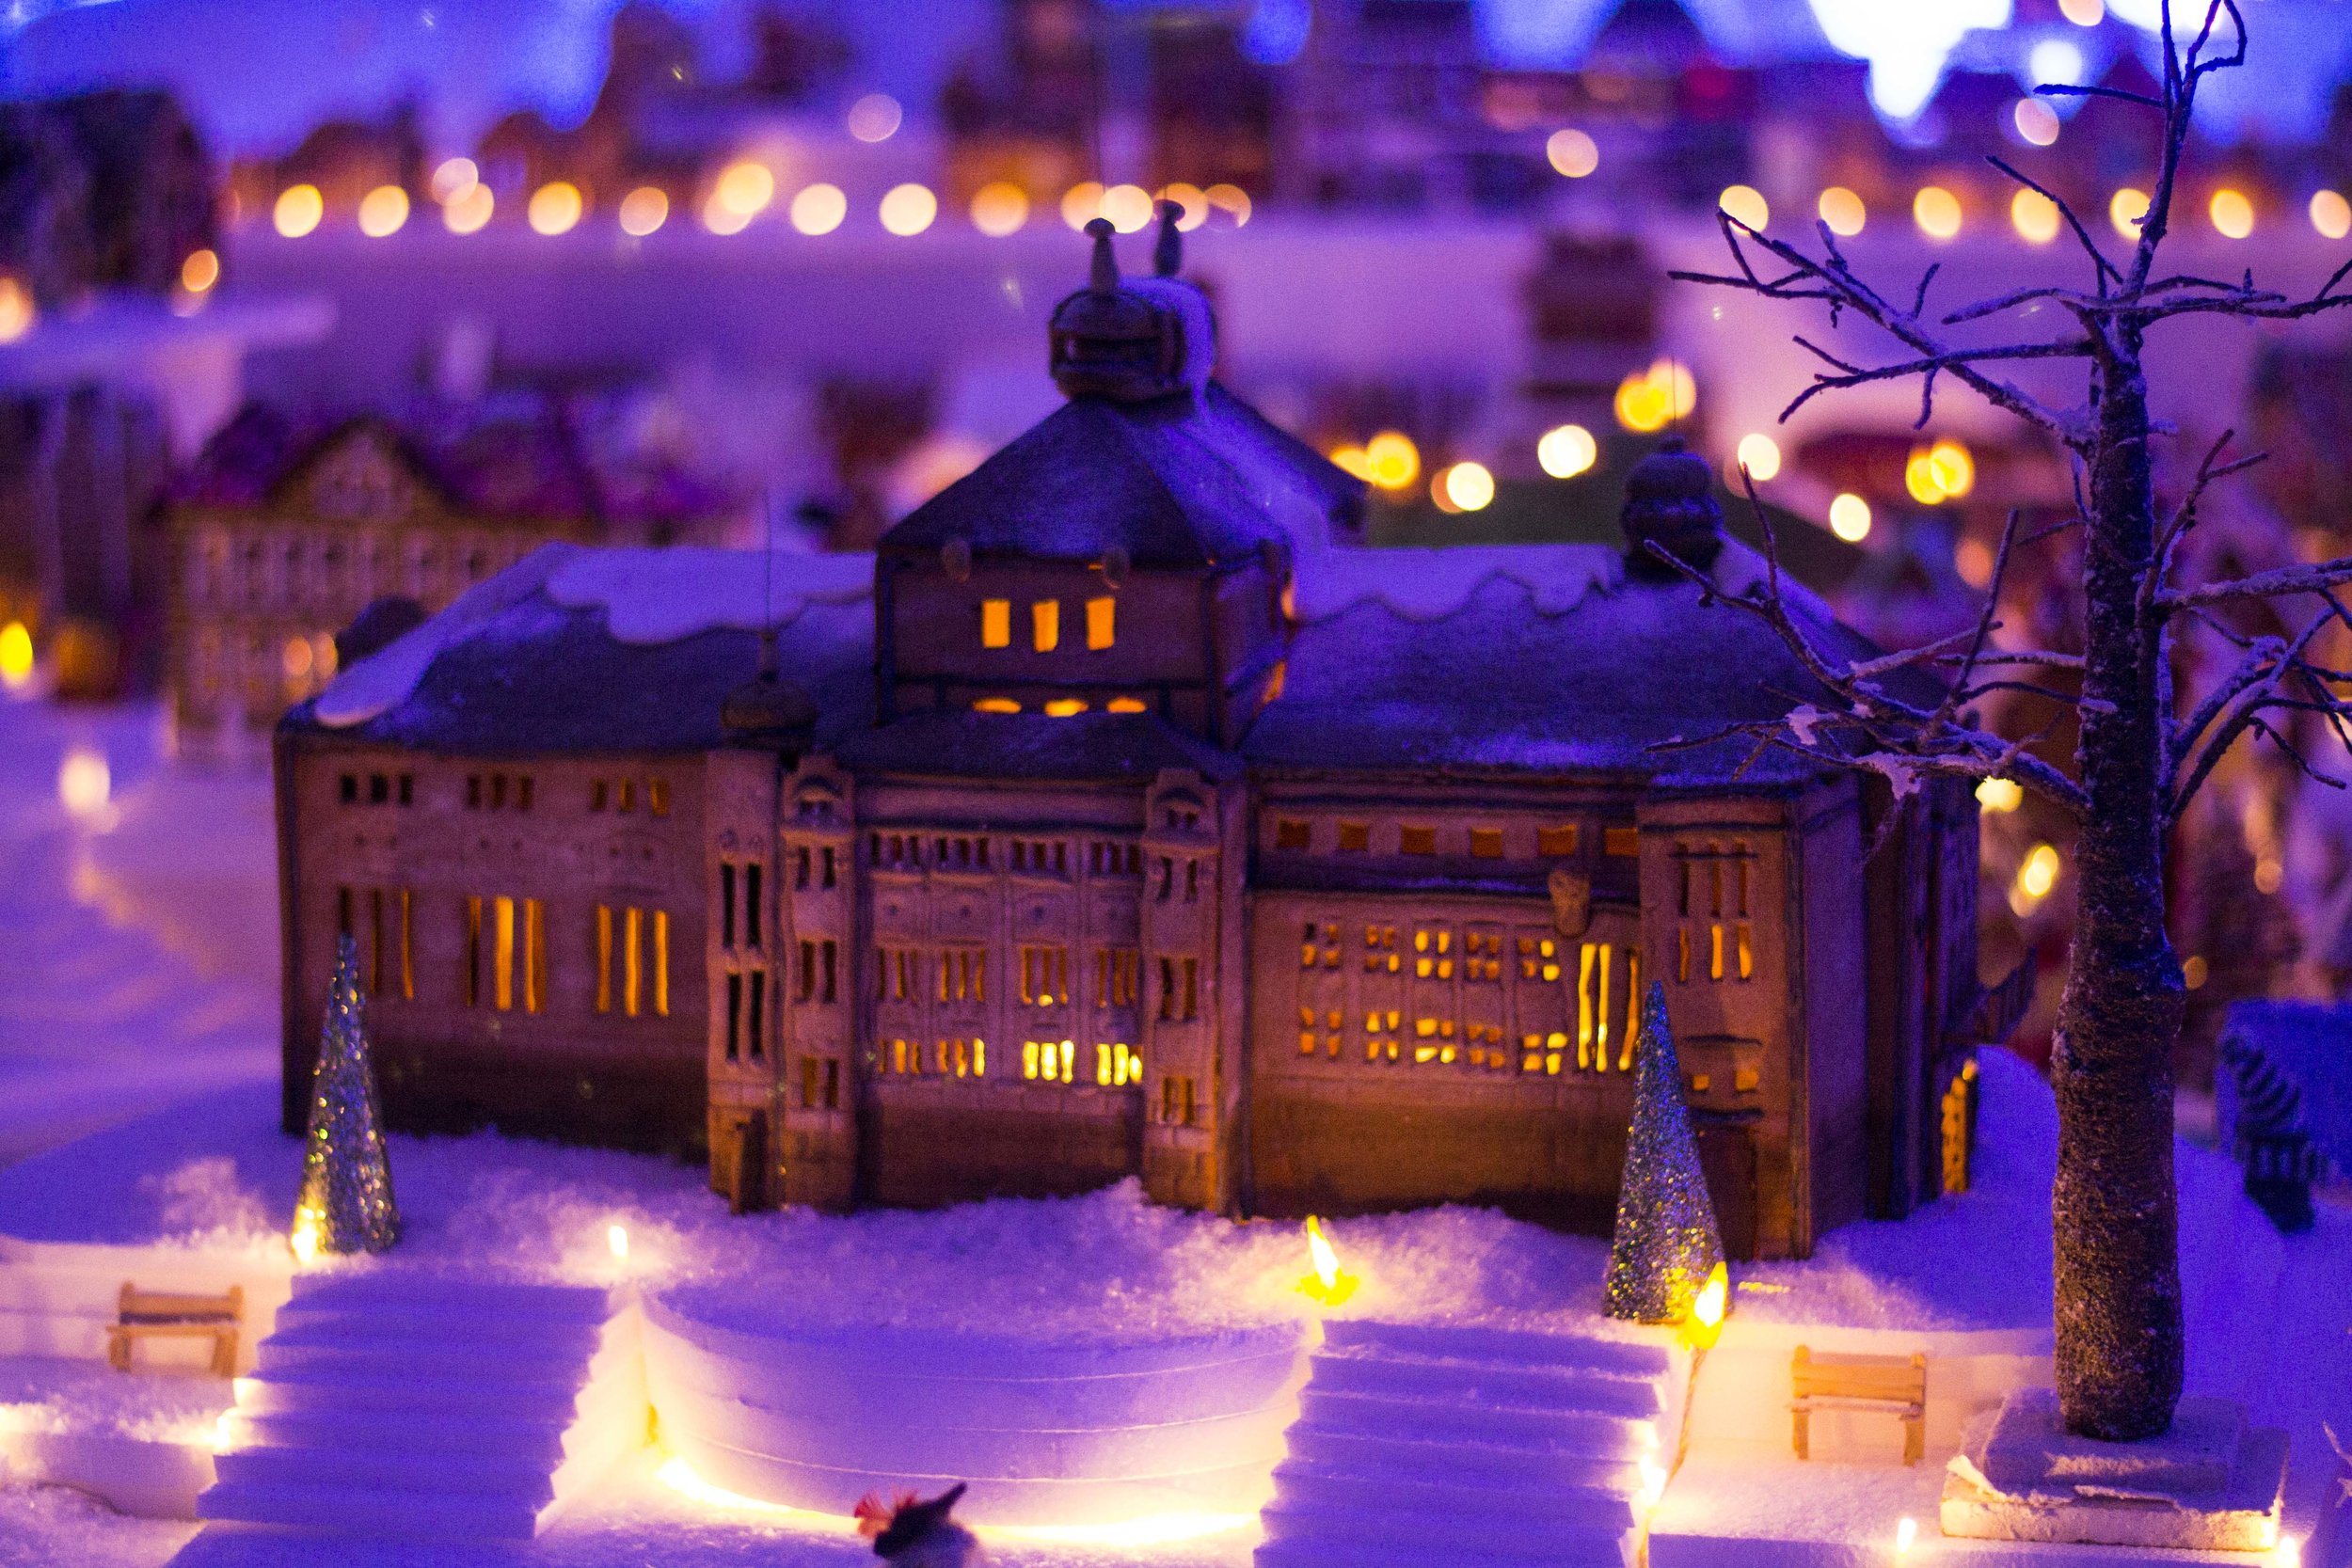
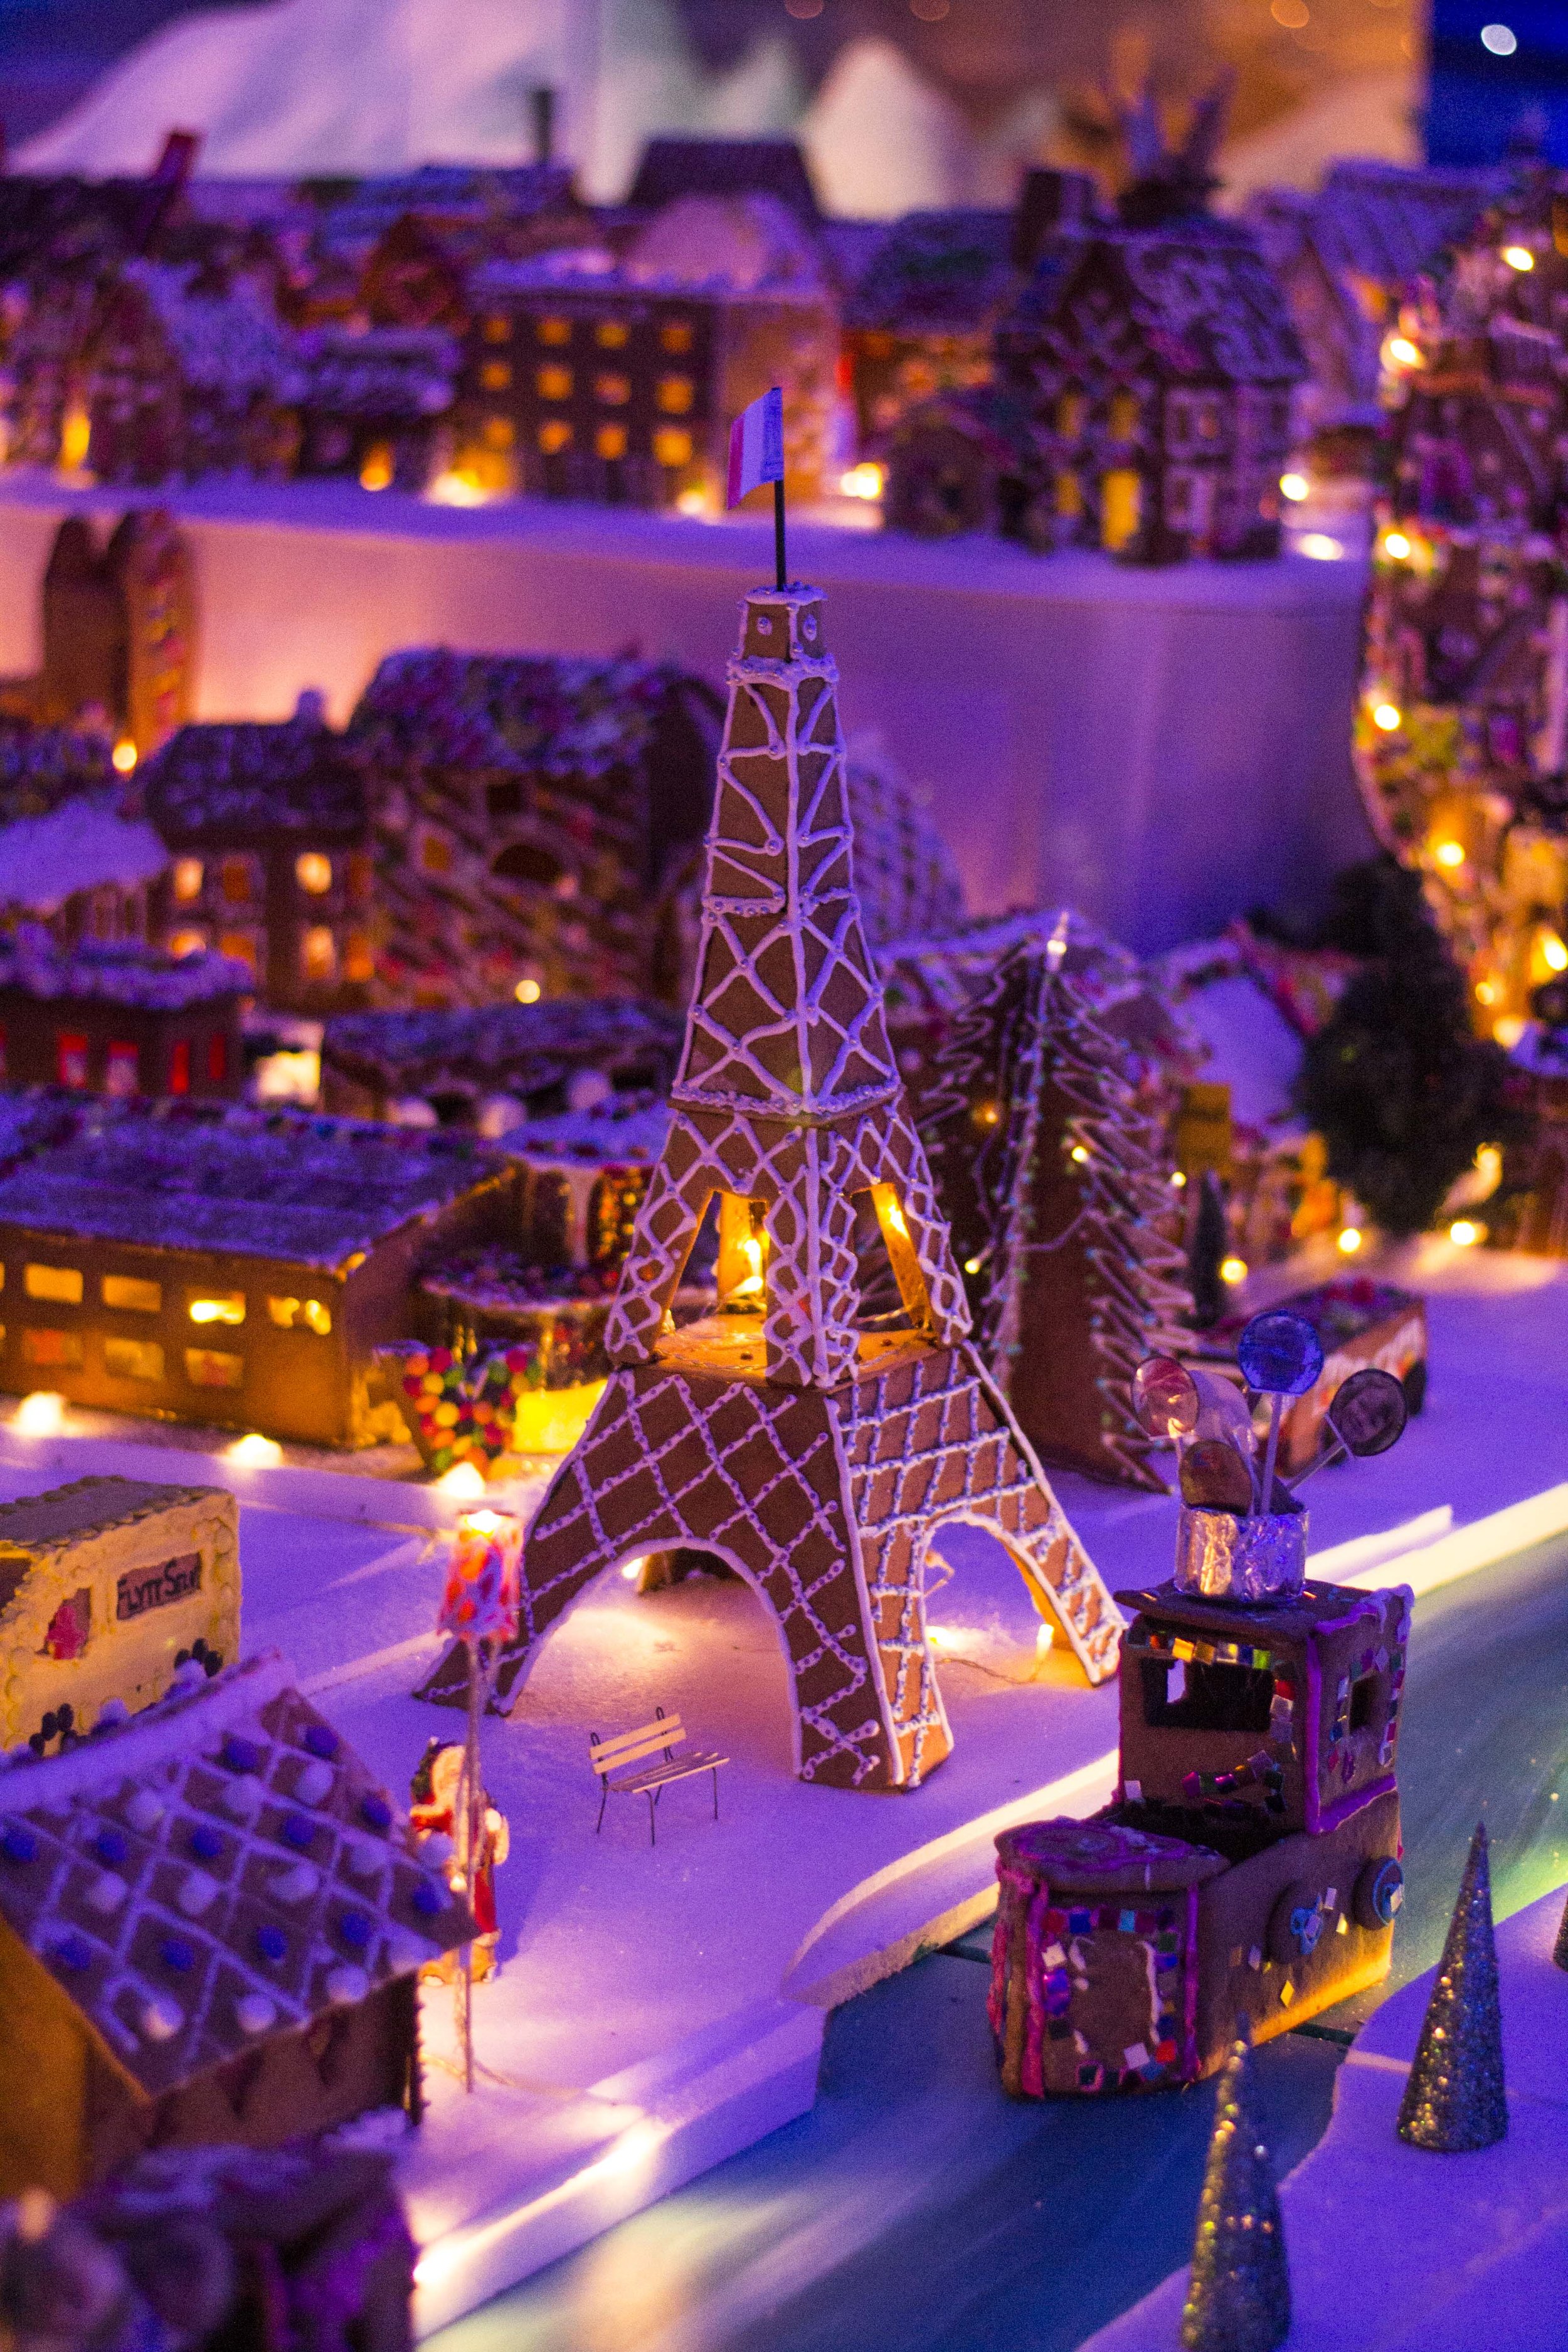
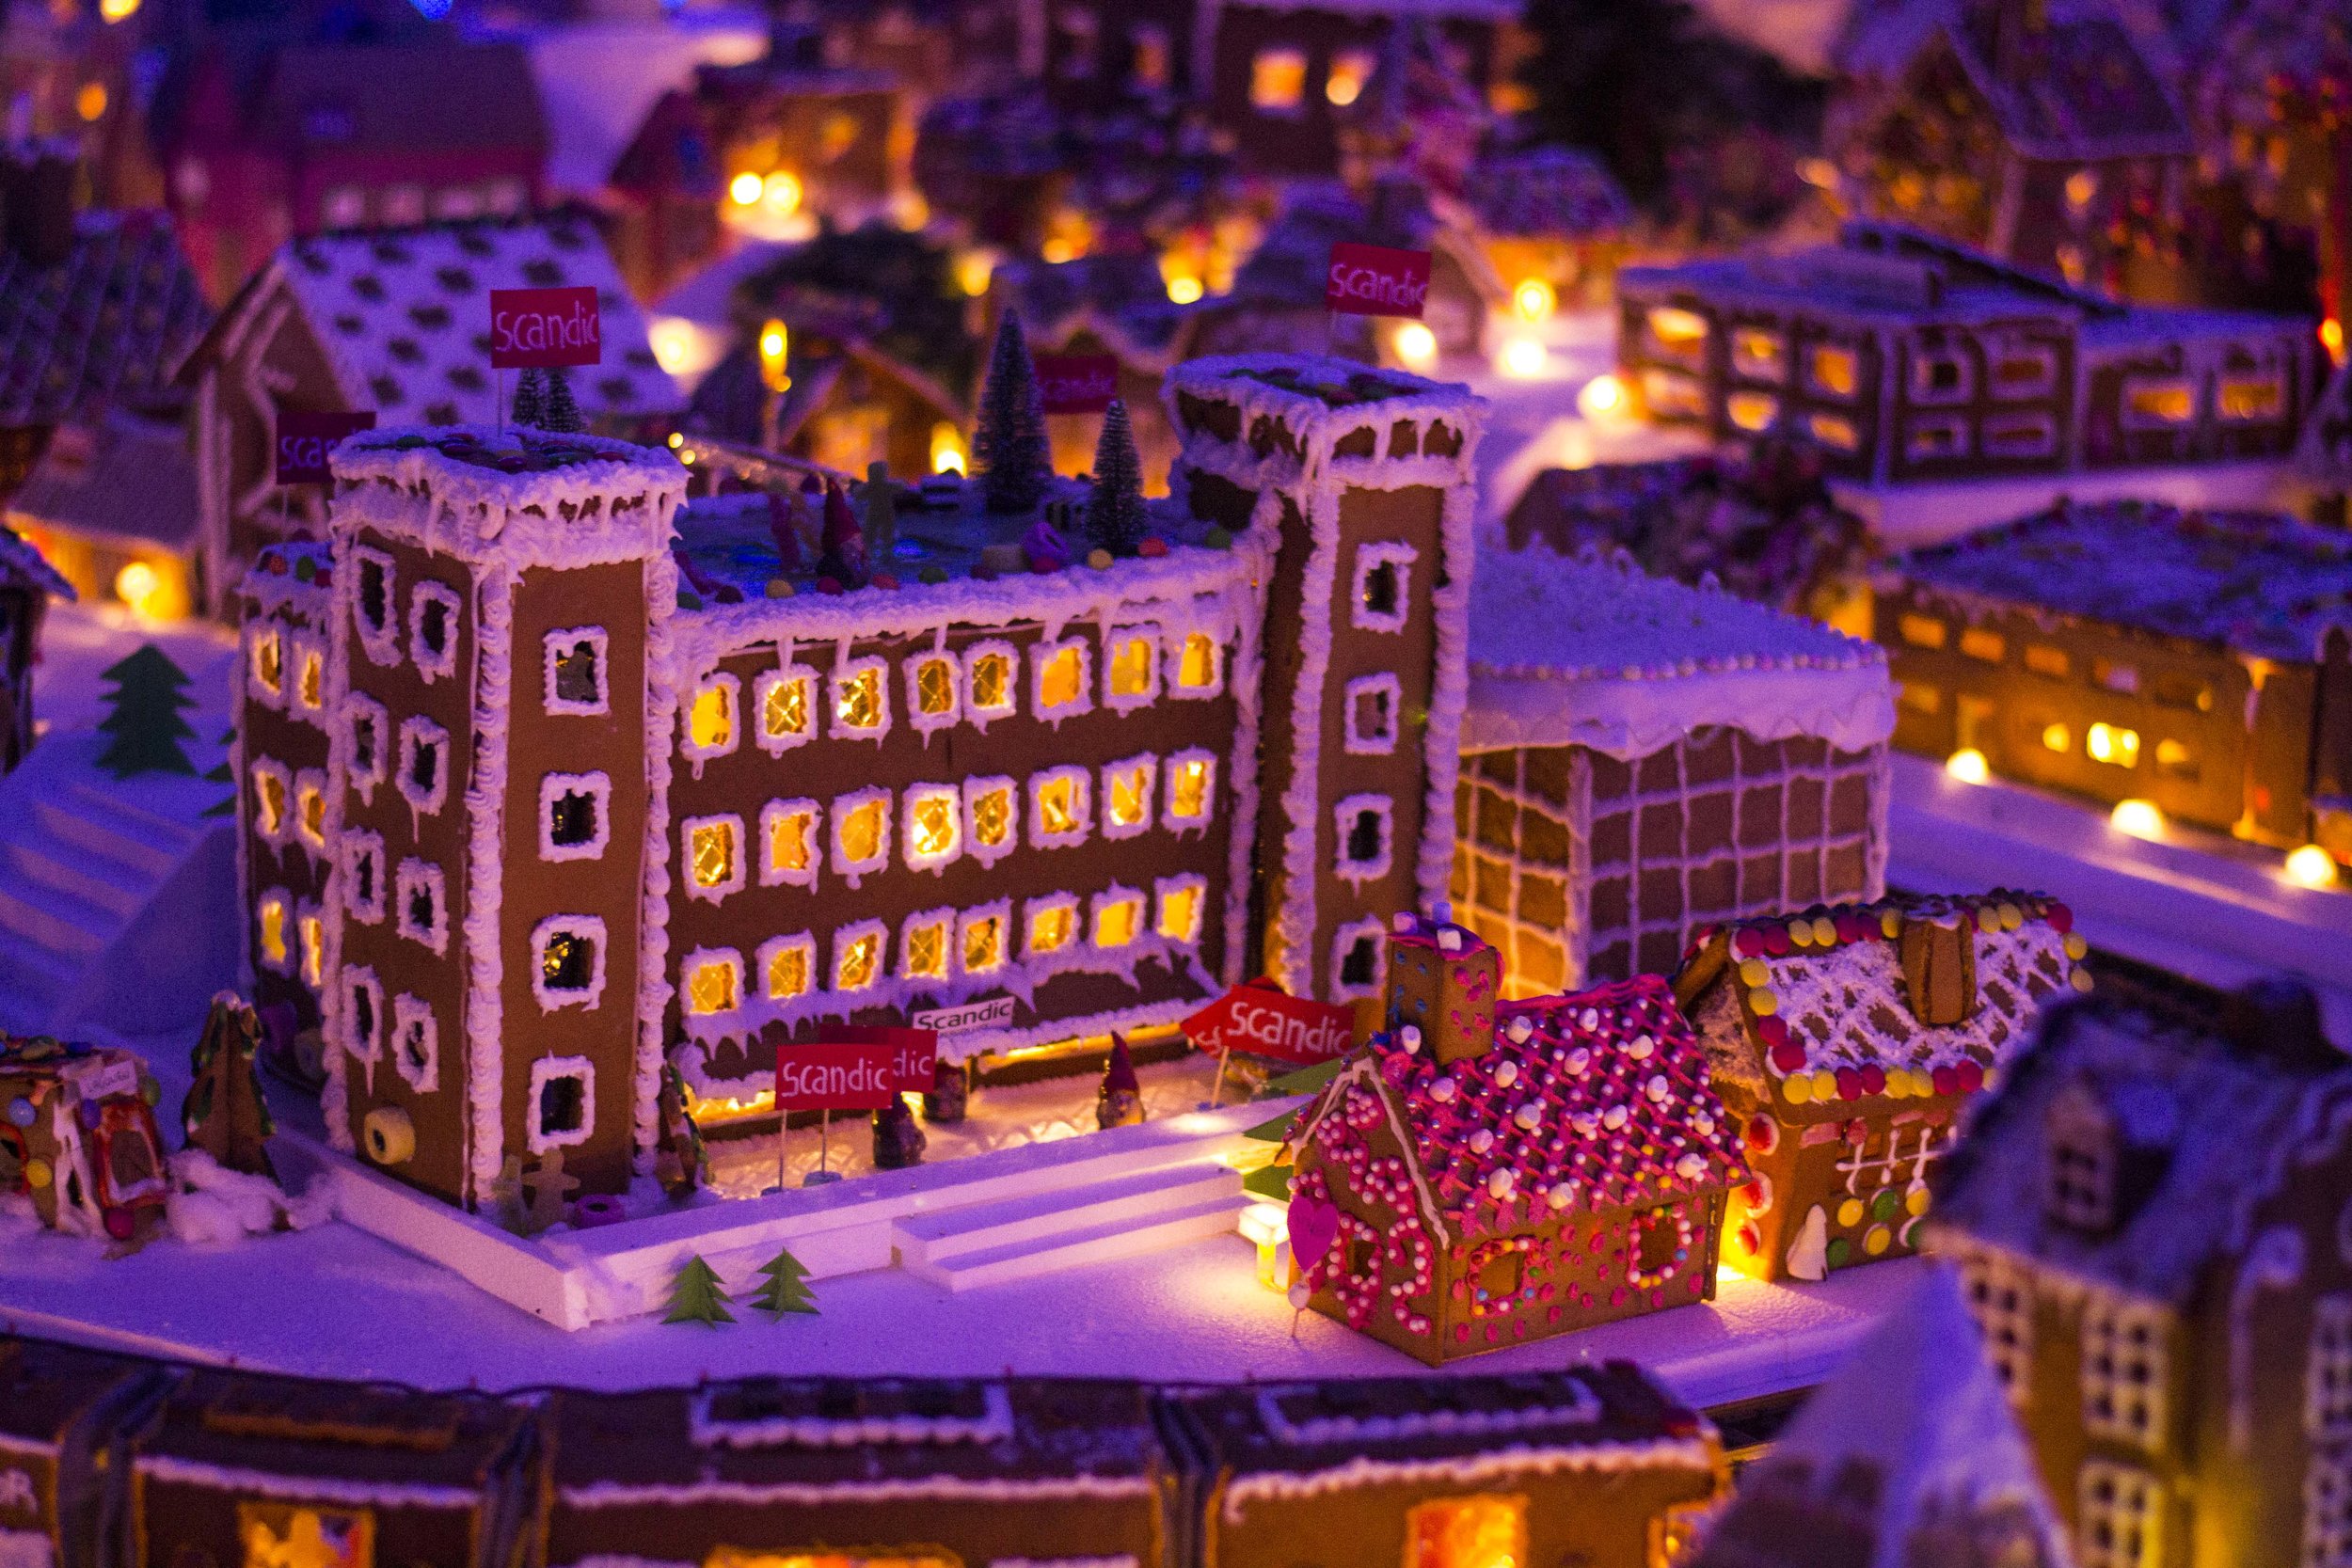
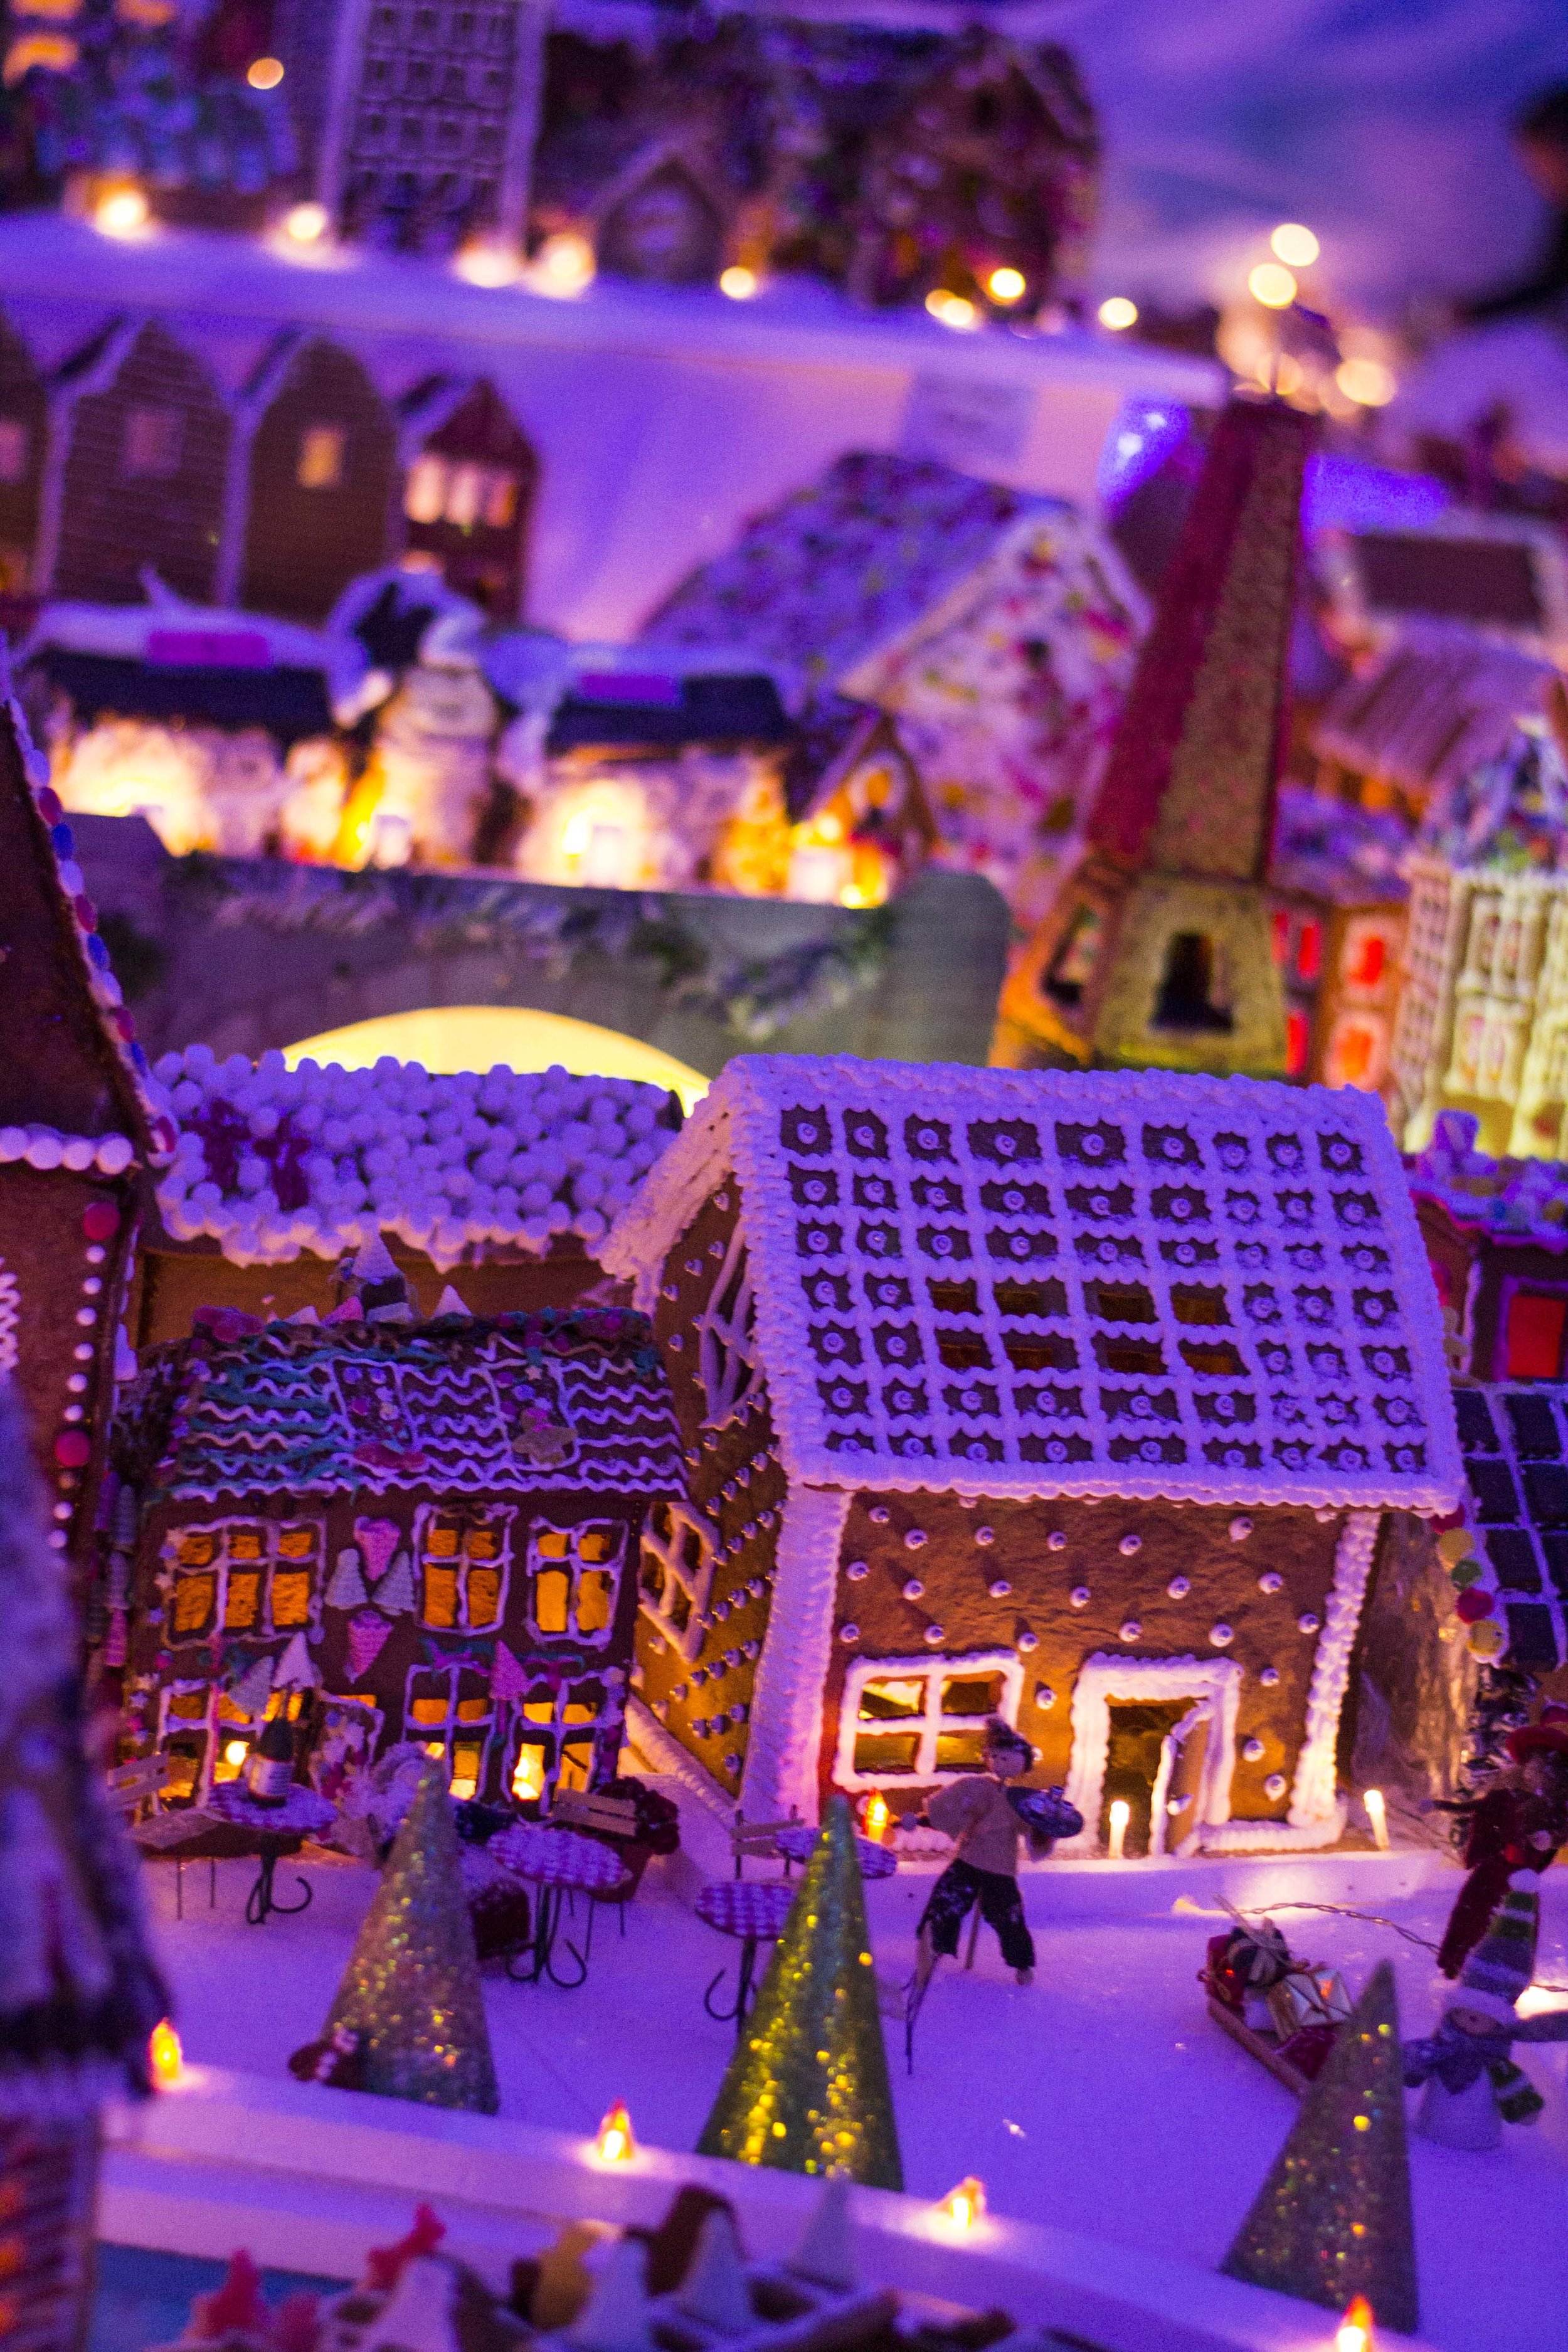
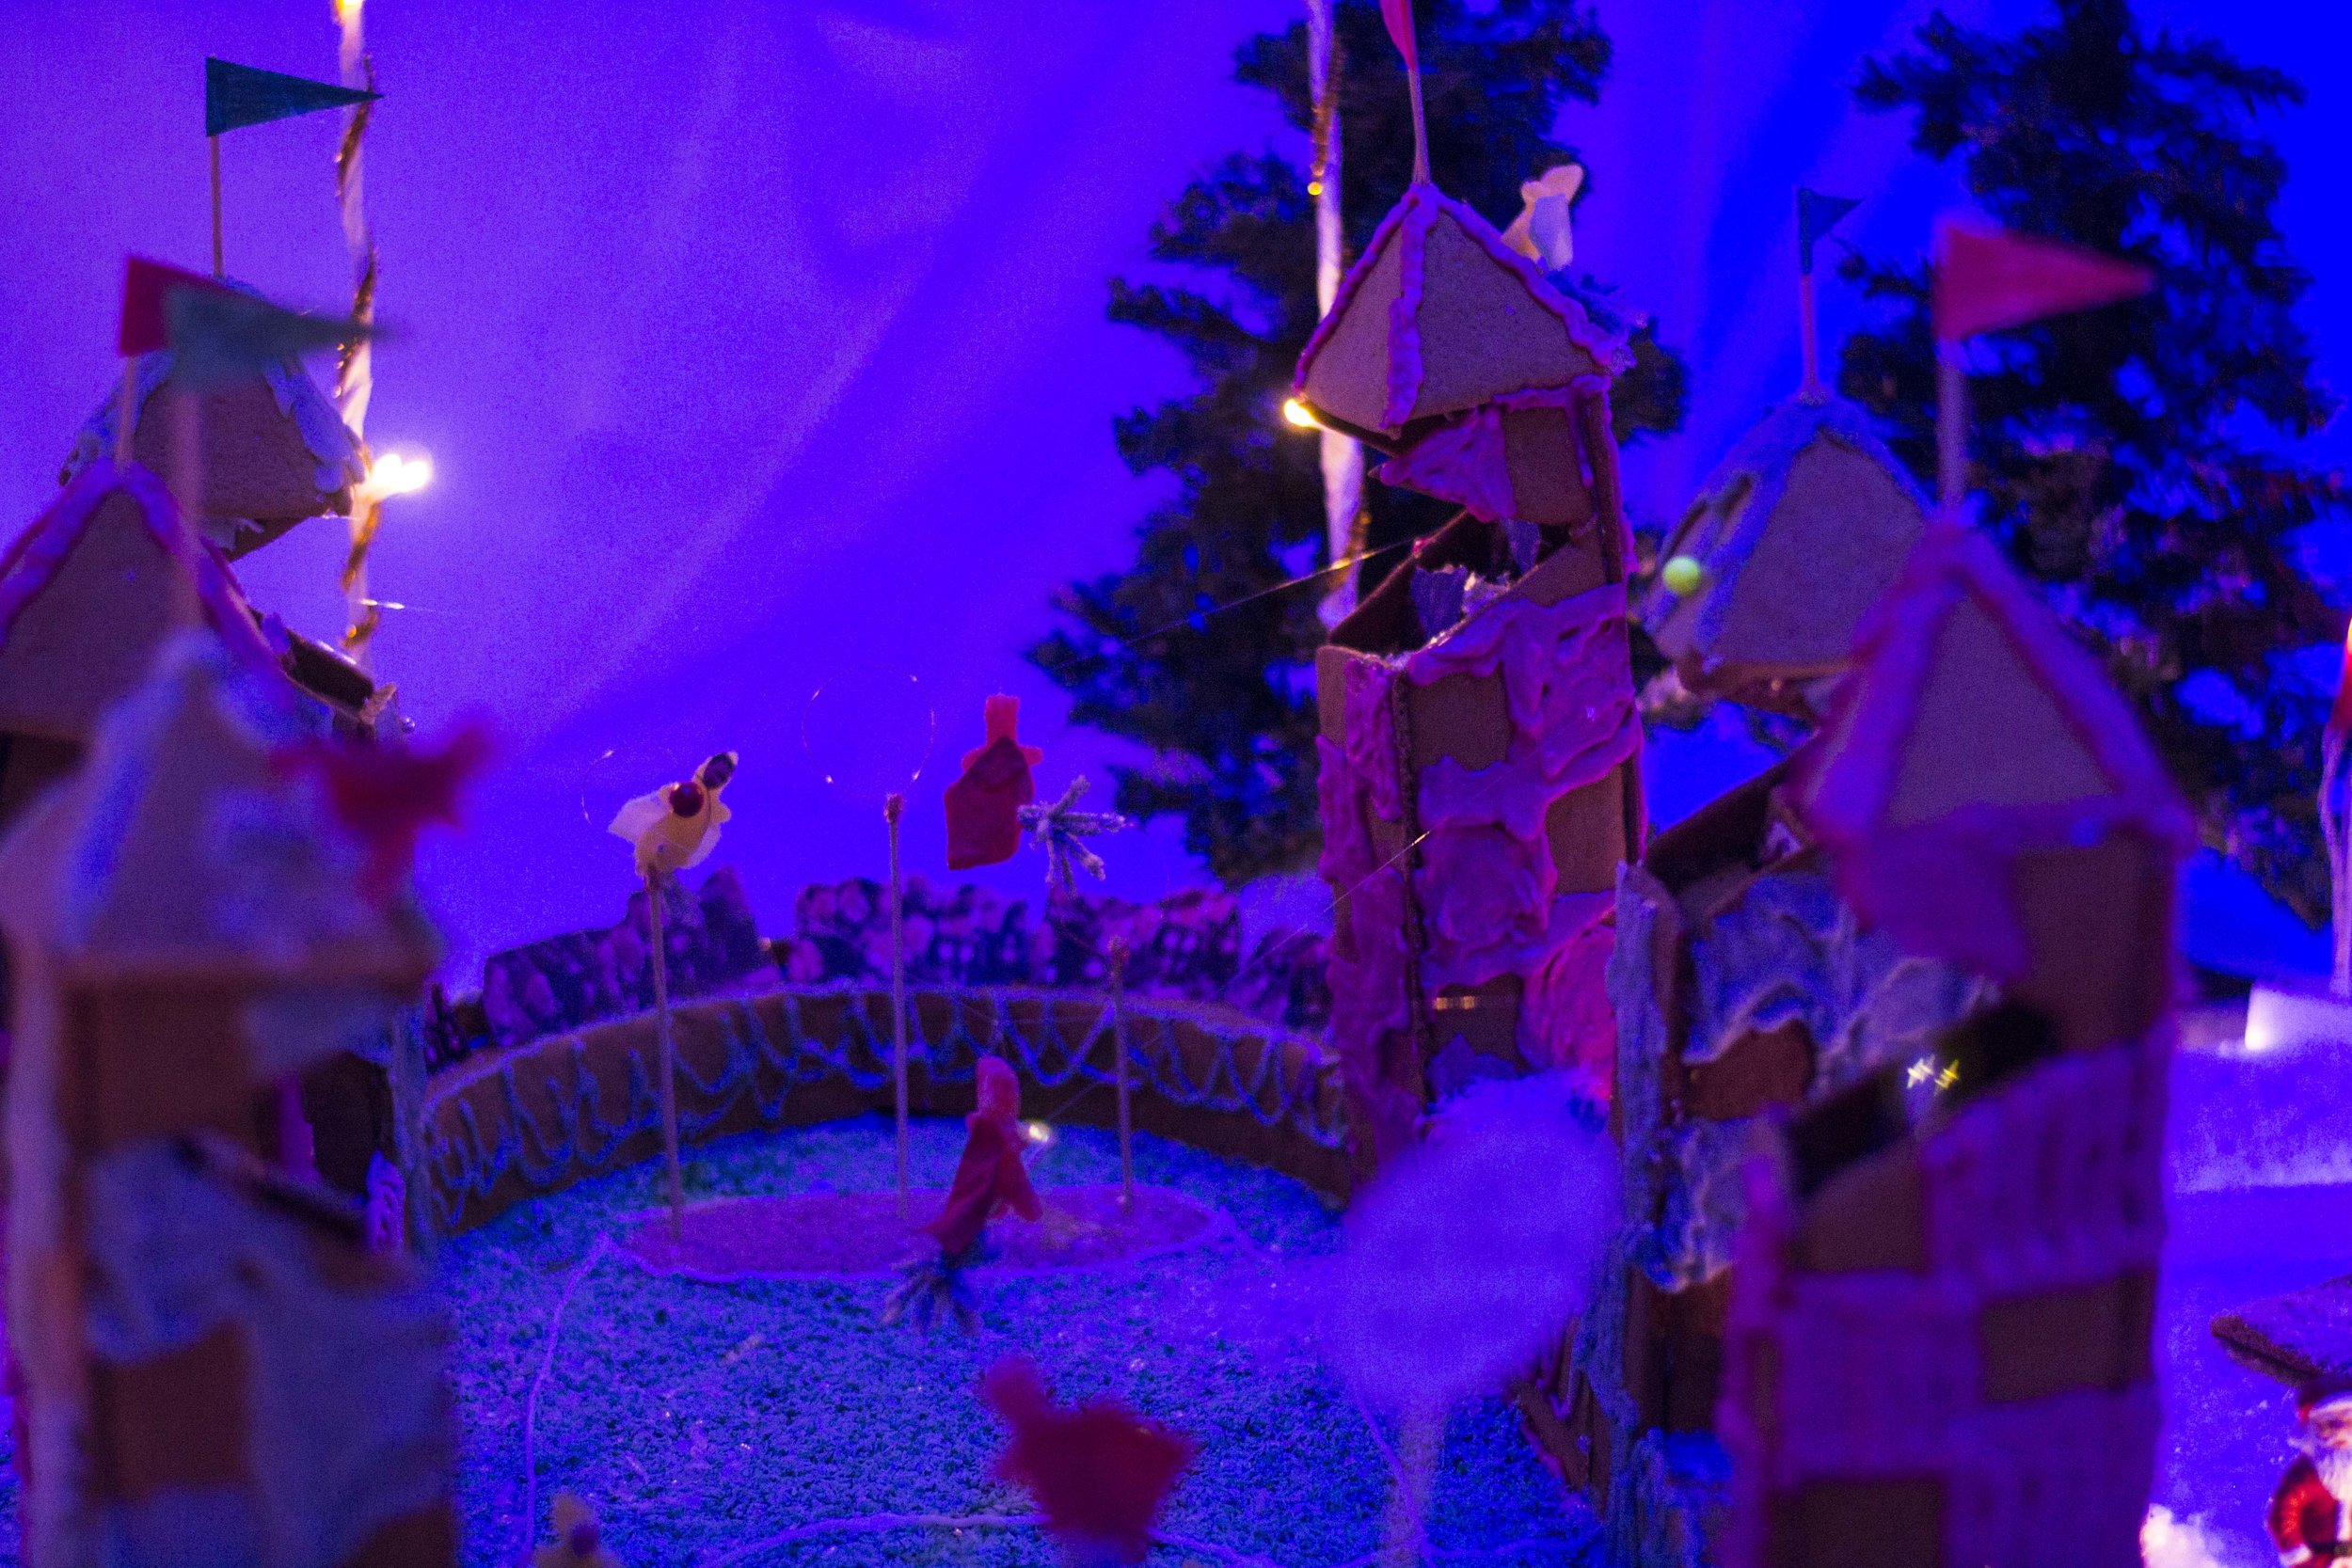
But really, America needs to take a pointer or ten from the way Europeans do Christmas. While we didn’t go to a Christmas market in Bergen (don’t worry, I’m still hitting the upper-teens in other cities!), we did go to a Gingerbread Exhibit. Based off of the sketchy building it was in, I had some pretty low expectations for what to expect, but dang, Bergen LOVES its gingerbread. A large section of the exhibit was a recreation of Bergen itself with scaled mountains and funicular trains. Other parts were random yet wildly fun like a Quidditch field, Death Star, and Frozen castles. What’s even sweeter is that many of the gingerbread houses are made by schools and students, so it’s really a community effort!

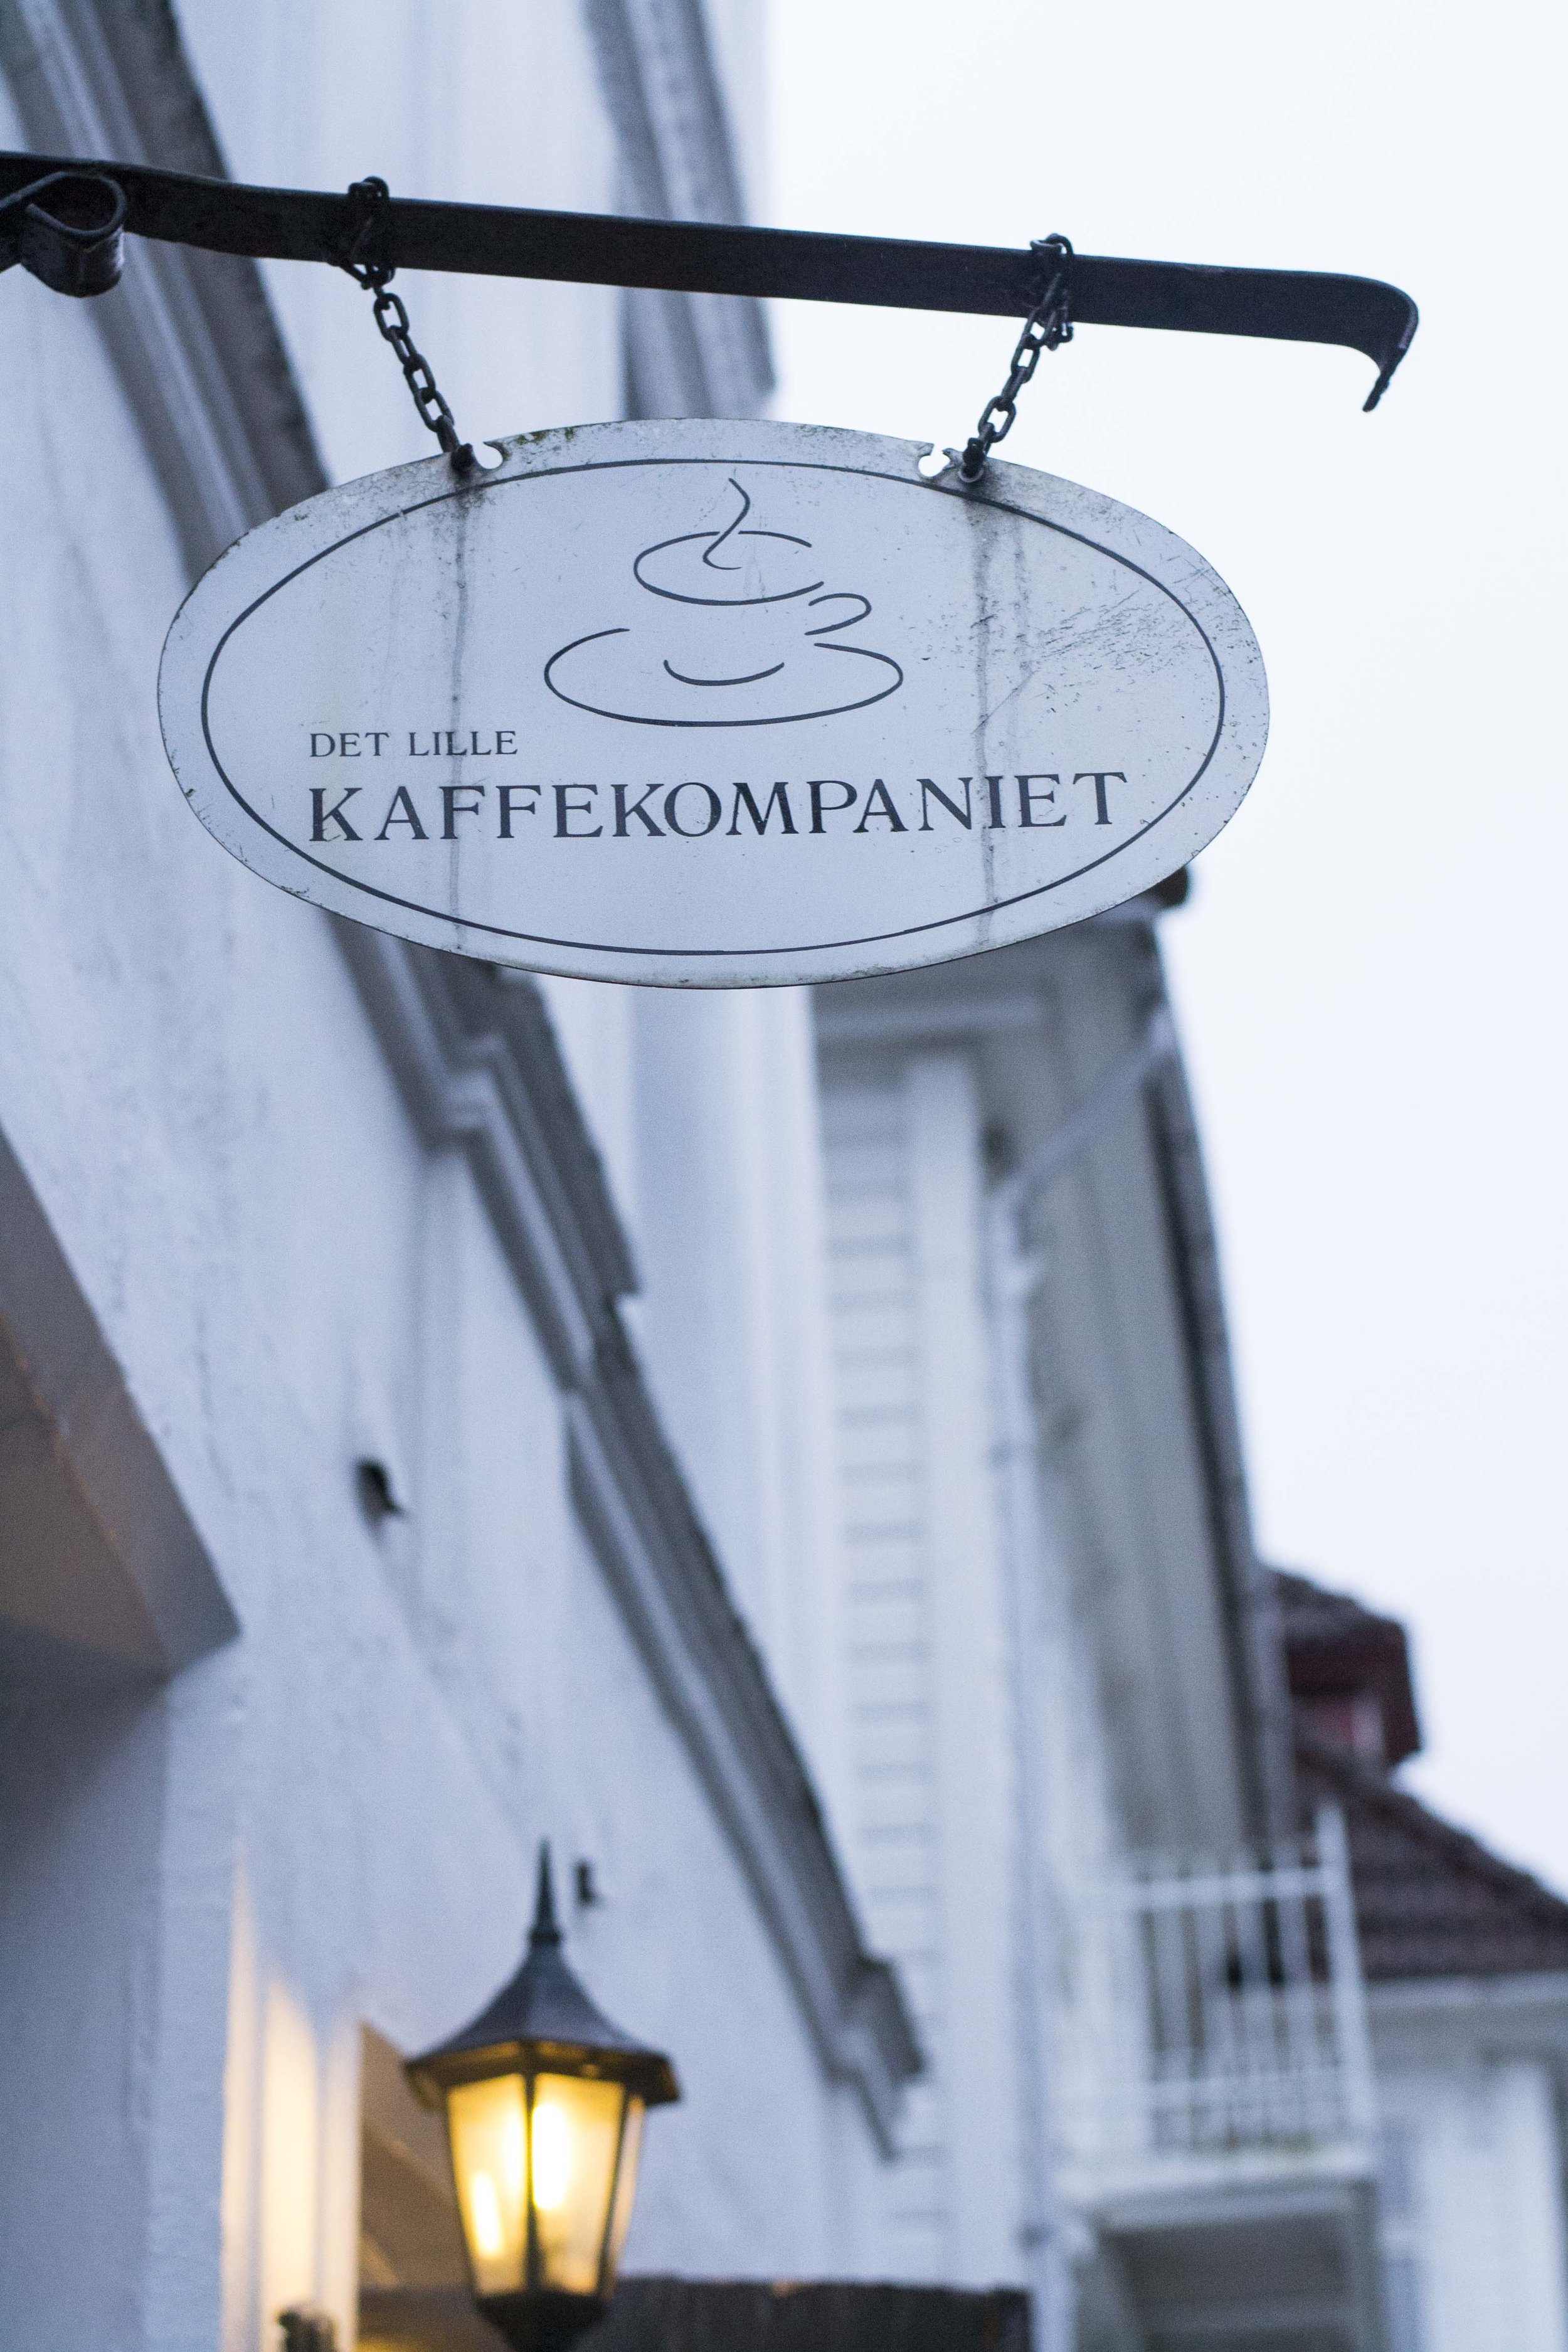
Also, my post on Bergen can’t go without a mention of Det Lille Kaffekompaniet, an incredible coffee shop my friend Kathryn recommended. It’s right by the funicular station, so we actually went for breakfast (latte + a slice of delicious carrot cake for me) and post-forest warm-up (mint mocha, my favorite!). As a note, the Norwegians seem to love to sleep in so it didn’t actually open until 10am – my type of people!

Yet another huge thank you to Kathryn for sending over such wonderful recommendations for Oslo, the fjords trip, and Bergen! Also a load of hugs over to my new friends Cameron and Felicity for sharing such a fun day with me and being hospitable enough to welcome me into their home (aka hotel room) to warm up, provide me with a cup-of-soup dinner (backpackers know how to save money!) and even lend me a nail clipper because the travel struggle has been too real. Forest explorations and troll discoveries were so much more fun with you two, and I can’t wait until our next travel reunion!

If you're planning your own trip...

Accommodations: 

  • I stayed at the Bergen YMCA Hostel & actually would not recommend it. Surprising, right? The facilities were decent, but the shower was just absolutely infuriating. It required you to press a button every 9 seconds to keep the water on. I get that they want to conserve water & save money, but at least give us 30 seconds! 

Transportation:

  • Bergen is extremely walkable & we didn't need to take any public transportation or cabs during our time there!
  • I took the Flybussen from central Bergen to the airport for about 90.0 Kr. I left very early in the morning & I think they run on a different express schedule at that point, so I actually had to run from my original stop to another stop to catch the bus. One of those things where I made it on the bus & never quite figured out what I did wrong or right! Besides that, an easy trip though. 

Food:

  • Det Lille Kaffekompaniet, the cafe, for delicious coffees & cakes!


ABCD Trip Part 2: Antelope Canyon by Amanda Liew

It's embarrassing, but 2016 has flown by so fast, that I am only now getting to editing my ABCD Trip from...September 2015. Corey, Benedetto, and Dana have been bugging me for nearly a year to see my photos, but between my extra travels through Europe, starting a new job, entering a new relationship, and more, it's been hard to find the time to sit down and edit the thousands (literally) of photos that I have on backlog.

 Nevertheless, I am absolutely determined to blog all aspects of my travelventures before my memory fades, if only for myself & my own pleasure.

After leaving the Grand Canyon, the four of us drove from the Grand Canyon to Antelope Canyon. While the drive straight through was supposed to be 2 hours and 40 minutes, one of our big regrets was not leaving ourselves enough time to see the Grand Canyon from a different view along the drive. There were so many points that we wanted to stop & just couldn’t because we were trying to make our first tour at 10am in Upper Antelope Canyon. We also naively thought we could just “pop in” to Horseshoe Bend to take a quick look & did not factor in a mini hike to a proper viewpoint.  

Nevertheless, this was one of the most incredible parts of our trip! Based off of our research, you have to do a guided tour for both the Upper & Lower portions of the canyon (details below). We did Upper at 9am in the morning, went to Page for lunch, did Lower at 1:30pm and then caught the sunset at Horseshoe Bend around 5pm.  

Without a doubt, Antelope Canyon is every photographer’s dream. The way the canyon changes throughout the day, the way the rocks can appear blue, purple, red, or pink just with light and shadows, the way that the entire canyon was carved out of wind and water…it’s all just incredible. This was by far my most photographic-centric part of the trip, especially since the “hikes” themselves were not strenuous at all for our group. I loved how abstract the photos came out & how you can't always tell if you're looking up or through the canyon. The way the light beams would hit the ground below or bounce through certain crevices only made the canyon all the more magical.

If you’re planning your own trip:

Tours:

  • There are a lot of tours that go through Upper & Lower Antelope Canyon. I picked the following based off of some other reviews, but to be honest there is only one “route” through the canyons and therefore I would assume the tours can’t differ too much.
  • Upper Antelope Canyon: Antelope Canyon Navajo Tours, $40/person*
  • Lower Antelope Canyon: Ken’s Tours, $20/person*
  • Navajo Grounds Entrance Fee: $8/person*
  • *As of September 2015 

Hotels:

  • Best Western View of Lake Powell Hotel - a pretty decent hotel! There was a great pool and jacuzzi with a view. Nothing out of this world, but it gets the job done, was decently sized, and clean.

Food:

  • Big John’s Texas BBQ (https://www.yelp.com/biz/big-johns-texas-bbq-page) - surprising to find a Texas BBQ spot in the middle of Page, but this was legit. We ordered a huge fill of ribs, brisket, sides, and ate to our heart’s content. Incredibly friendly waitstaff too! Definitely the perfect meal in between our tours.

DSLR Photography: 

  • If you are looking to get some really spectacular shots, keep in mind that the regular tours move pretty quickly through the canyons & you won’t have an opportunity to set up a tripod. Admittedly, I skirted the rules a bit by lingering behind as much as possible on our tours to get certain shots with long exposures (sans tripod), but it was very rushed.
  • I noticed that some of the other companies have Photography Tours which cost much more, but unfortunately that would have meant going without my 3 friends which wasn’t really an option.
  • Given limits on shutter speed & wanting to use a pretty large depth of field, you’ll certainly need a high ISO. I could get away with shooting at ISO 3200, f/4.0, 1/25 for some of my handheld shots, but other times would have to rely on steadying my camera against a rock of some sort.


Tiny Person Photoshoot: Baby Weston by Amanda Liew

A few months ago, I brought my camera along for fun to the joint baby shower for Amy & Renee. Fast forward to late August & imagine just how ecstatic I was when Amy asked me to take photos of the newest addition to her family: Baby Weston! One of my goals for this year is to branch out in terms of subjects, and I just couldn’t pass up the opportunity to photograph such a cute little nugget! A tiny person photoshoot - what an adventure, right? Because Amy didn’t have a specific plan or style in mind already, I originally planned to capture photographs that were gentle, intimate, and peaceful. Hilariously, Baby Weston had a different plan in mind. I certainly learned a lot of pointers during the shoot, that’s for sure. A few nuggets of wisdom on photographing the nuggets themselves:

  • Because of babies’ extreme short-sightedness (only a few feet at this point!), it required quite a bit of extra maneuvering and positioning to try and capture his gaze. This meant lots of squatting, jingling things, and shooting nonstop.
  • Many babies find running faucets extremely soothing which isn’t too far fetched, but it was pretty amusing to watch Weston go from crying to “in the zone” the minute we leaned him over the sink. It made me wish I had a waterfall easy access all the time for when I'm stressed (how nice would that be..)
  • Cuddly and textured blankets are your best friend. It was so easy to spread one out on the floor & still have it large enough to capture straight down shots & angled depth of fields without catching the edge! You don't get this luxury with "big person" photoshoots, so take advantage of it in this instance.
  • Keep the camera on the entire time. I was able to capture so many tender moments between the family just while they were arranging themselves, comforting Weston, or changing his outfit. Some of the photos of Weston clinging to Amy’s shoulder are so much more precious than anything we could have pre-posed.

One thing that I definitely want to improve on is shooting in low light settings. Even with a f/3.2, I had to bump up the ISO quite a bit & the graininess definitely comes across. As I continue to develop as a photographer, I'm starting to consider different equipment options (reflective surface probably would have come in handy here).

Aside from the photos themselves, this photoshoot was the 2nd time that I tried out my new donation-in-liew-of-payment method (get the pun..get it..?). A few months ago I first tested this out by asking Sarah Jane to donate to Krista’s mission trip, and similarly I asked Amy to donate to our church’s new women’s ministry which I strongly believe in. It’s continued to be a win-win-win for all involved: beautiful photos for the “client” // an implied valuation attached to my time & effort that doesn’t commoditize my art // an extra donation to a worthy cause! Beyond that, it’s been wonderful to connect my clients with those in need of the donations, thus helping to form a stronger connection within our community. If anybody else has unique payment systems, I would love to hear them!

Ethereal Light in Bushwick: Sarah Jane Shanks Collaboration [Part 2] by Amanda Liew

  This is Part 2 of my collaboration with the life-loving Sarah Jane Shanks! To see Part I please click here.

For Part 2, I'm showing you guys the photos from the incredible rooftop of this apartment we used in Bushwick! The wind was blowing hard and it was a lot colder than it looks, but we laughed our whole way through, played with the breeze as much as possible, and witnessed swatches of colors appear in the sunset behind us. I had so much fun experimenting with light out on the rooftop and in the interior shots in Part 1. It's incredible how just the slightest of movements, the tiniest of blockings, can completely change how a photo comes out. Soft hues versus sharp contrasts are all possible. While normally I would try to be editing the colors of my photos to remove any "unnatural" hues, I actually loved the shades cast on Sarah Jane as the sun set and sought to capture them even more. 20150403_0280_ALiew_SJShanks Collab 20150403_0311_ALiew_SJShanks Collab 20150403_0328_ALiew_SJShanks Collab 20150403_0331_ALiew_SJShanks Collab 20150403_0339_ALiew_SJShanks Collab 20150403_0343_ALiew_SJShanks Collab 20150403_0345_ALiew_SJShanks Collab 20150403_0351_ALiew_SJShanks Collab 20150403_0353_ALiew_SJShanks Collab 20150403_0358_ALiew_SJShanks Collab 20150403_0366_ALiew_SJShanks Collab20150403_0373_ALiew_SJShanks Collab